Knowledge base
Understand Nocturne
What each step in the pipeline actually does, and how to choose between the options it offers. Installing the app and the tools it drives is its own page: Install & set up.
Getting started
Nocturne turns a stacked smart-telescope image into a finished picture through a guided, non-destructive flow. Nothing you do is permanent until you export, so you can experiment freely — undo, redo, or jump back to any step.
1. Install it
Grab a build from the downloads page — macOS or Linux — and see Install & set up for the first-launch step each platform needs and for the free tools worth adding. None of them are required to start.
2. Open a stack
Choose Open Image and pick a stacked master (.fit / .fits, or a .tif stacked in another tool — see below). Don't have a stack yet? Use Stack to point Nocturne at a folder of raw subs — it grades out the bad frames, aligns the rest (handling the field rotation from an alt-az mount), and integrates a clean master for you. If your subs cover several pointings, tick Mosaic and it stacks each panel, plate-solves them and assembles one wide image. That one needs ASTAP installed, and takes considerably longer. A stack can also run in the background: press Stack in background and the app stays usable while it works, with progress in the Jobs panel.
Opening a TIFF
A master stacked in Siril, APP or DeepSkyStacker can be finished here, and a picture you already finished can still reach Share, Star Spikes, Upscale and the plate-solve annotations. Nocturne works out whether the file is still unstretched — in which case the whole process applies, exactly as for a FITS — or has already been stretched, in which case it opens at the finishing steps and nothing tries to stretch it again. It decides by measuring the pixels and says which it chose, so you can correct it if a starless frame or an unusually bright subject fools it.
A TIFF carries no capture details — no target, frame count, exposure or camera — so the Import panel shows only what can be read from the file and its name, and Nocturne will not guess a camera it was not told about. An embedded colour profile is ignored.
No data of your own yet? Download a sample set — real Seestar captures, free to use, ready to open.
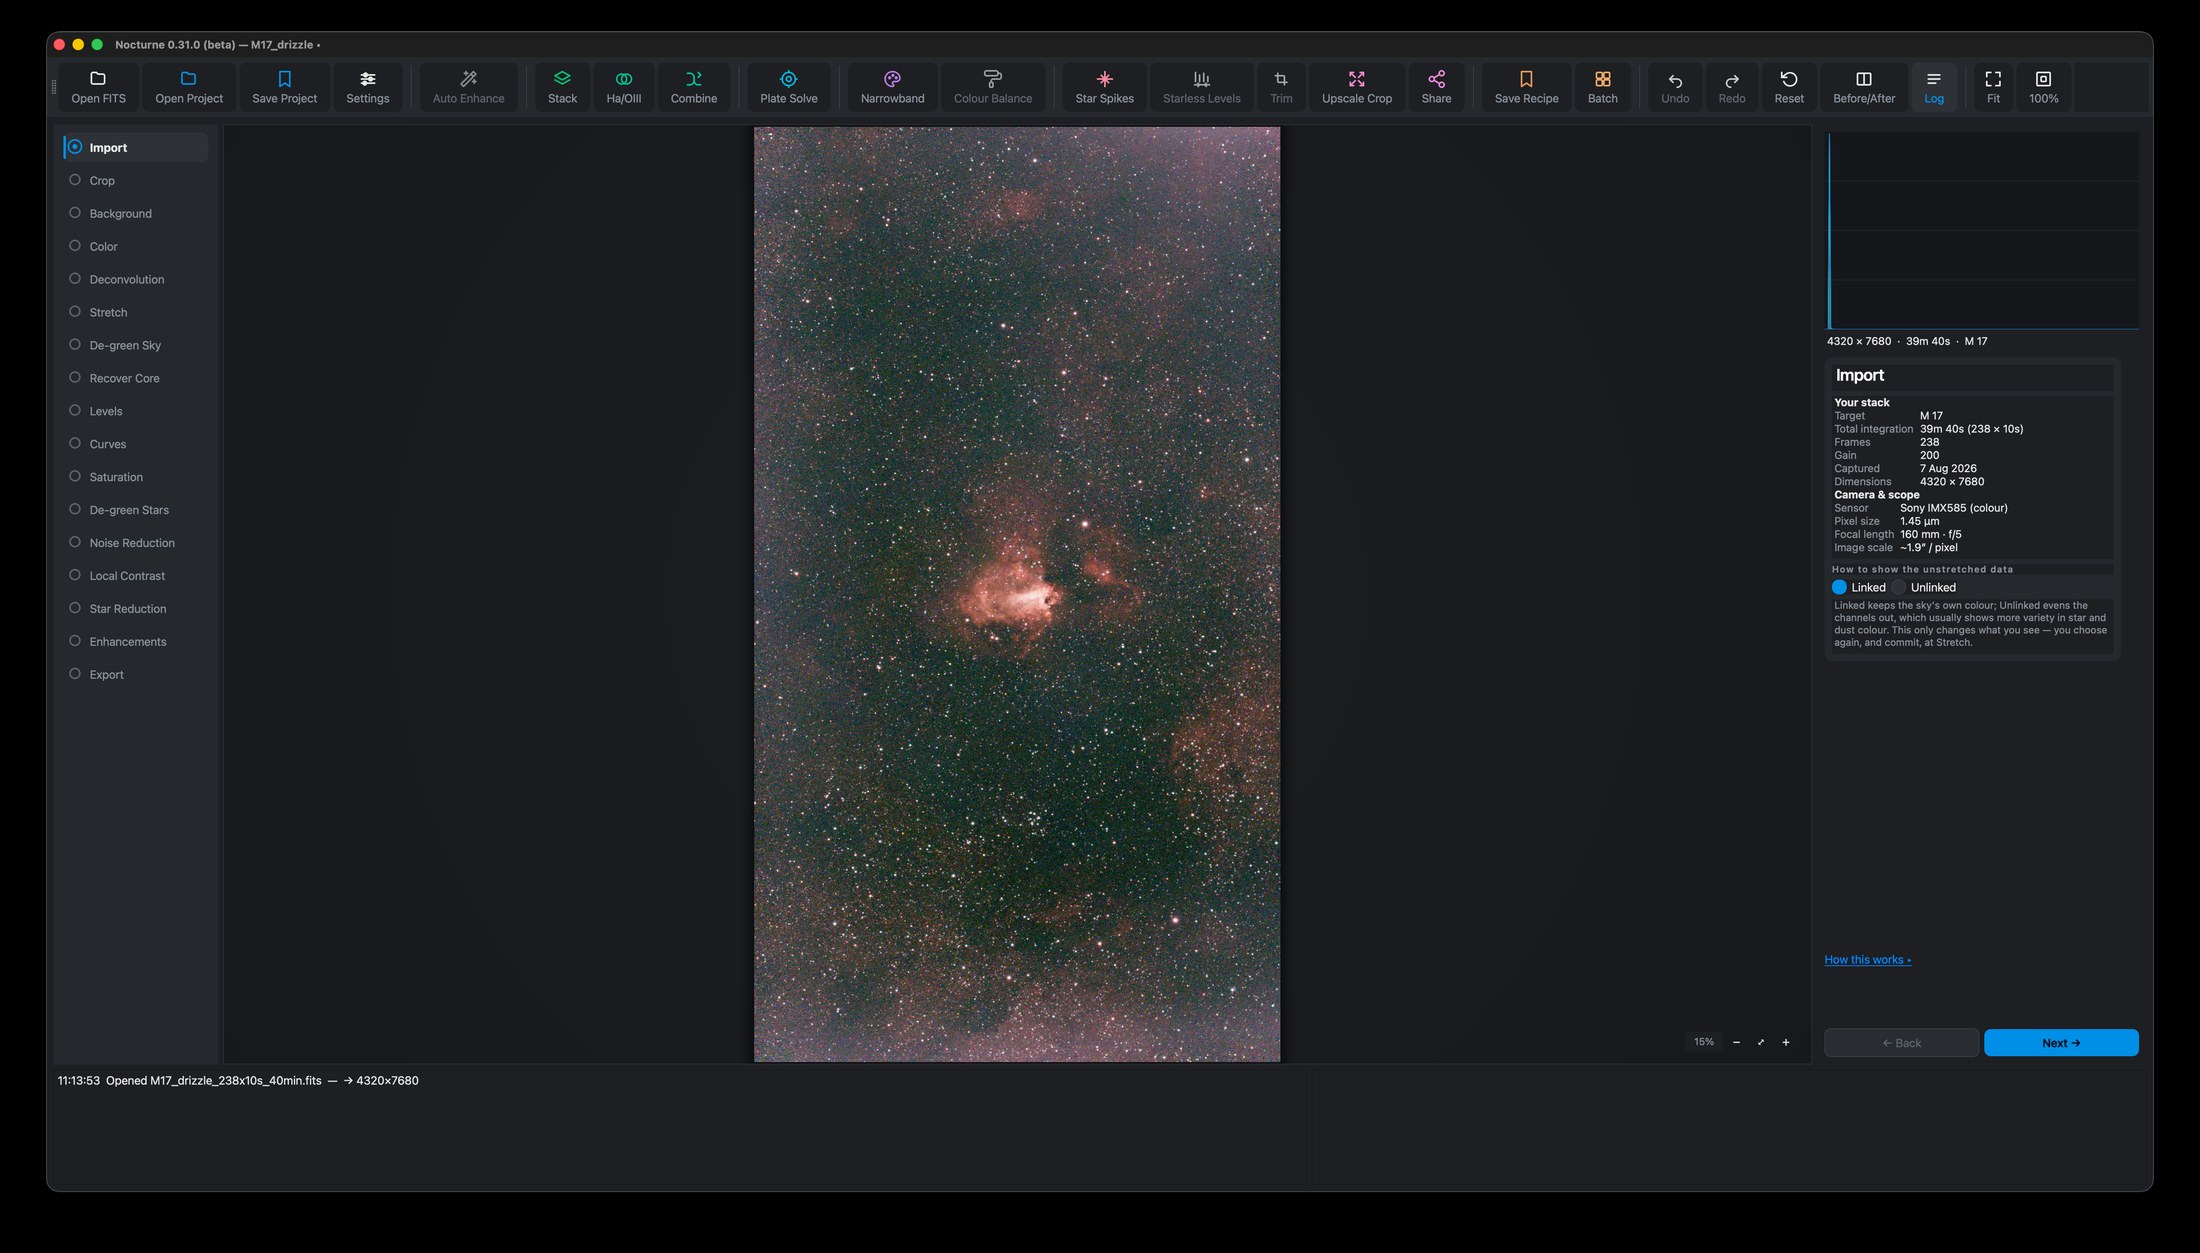
Raw data looks almost black — that is normal. Astronomical data is linear, so it stays dark until it is stretched. Nocturne previews it stretched so you can see what you are doing, and commits the real stretch when you reach that step.
Why your first open looks like nothing3. Work down the steps
Each step offers simple choices (often just Light / Medium / Strong) with a live before/after. The panel explains what the step does; once you know it, collapse the help with “How this works” and it stays out of the way. When you're happy, move on with Next.
The external tools
Nocturne drives a few best-in-class tools rather than reinventing them: GraXpert for gradients and denoise, StarNet2 for star separation, ASTAP for plate solving, and RC-Astro if you have it. The first three are free. Every step that can use one also works without it, so none of this blocks you from starting.
How the pipeline works
A quick tour of the steps, in the order Nocturne walks you through them. You can skip any you don't need.
Prepare — Stack, Crop, Background
Stack builds a master from raw subs (or you open one directly). Crop trims stacking artefacts at the edges, with composition guides. Background (GraXpert) removes gradients and light-pollution glow so the sky is even and neutral — tick Show what was removed afterwards to see the gradient on its own and confirm it took sky-glow rather than the faint edges of your target.
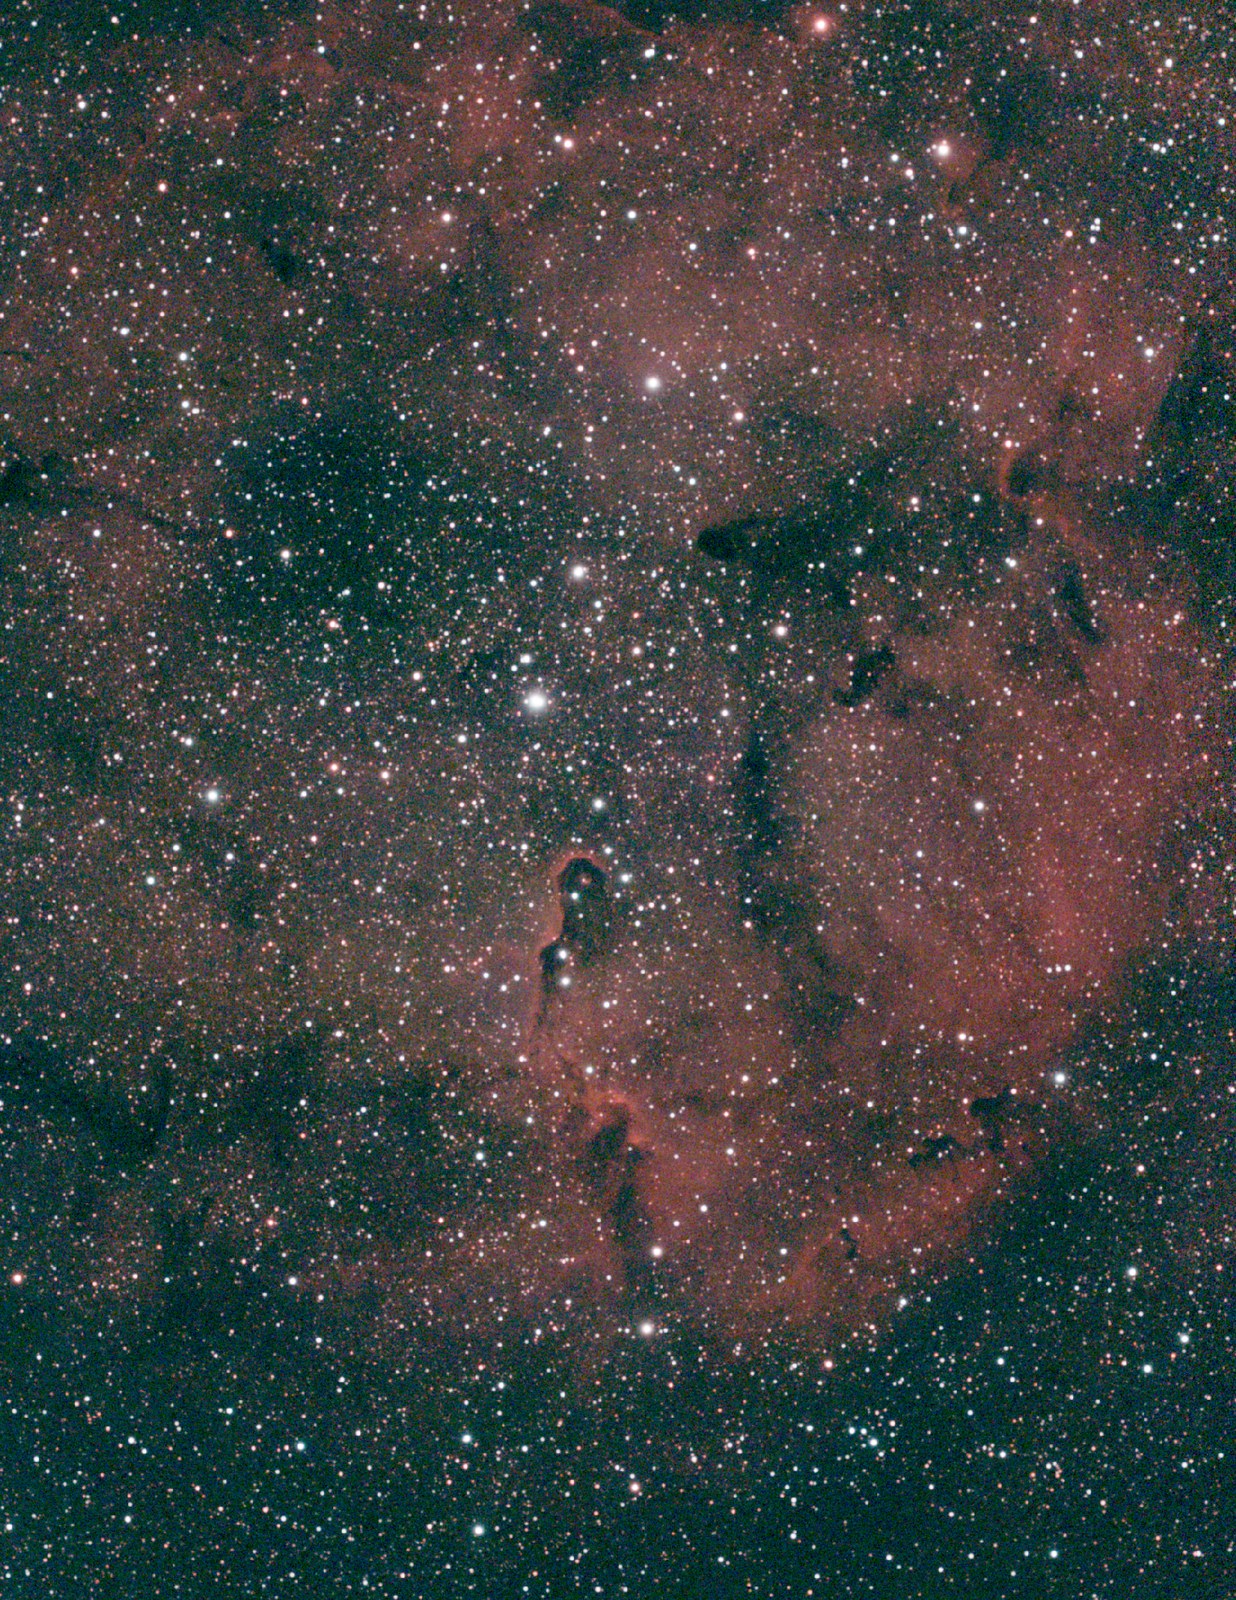
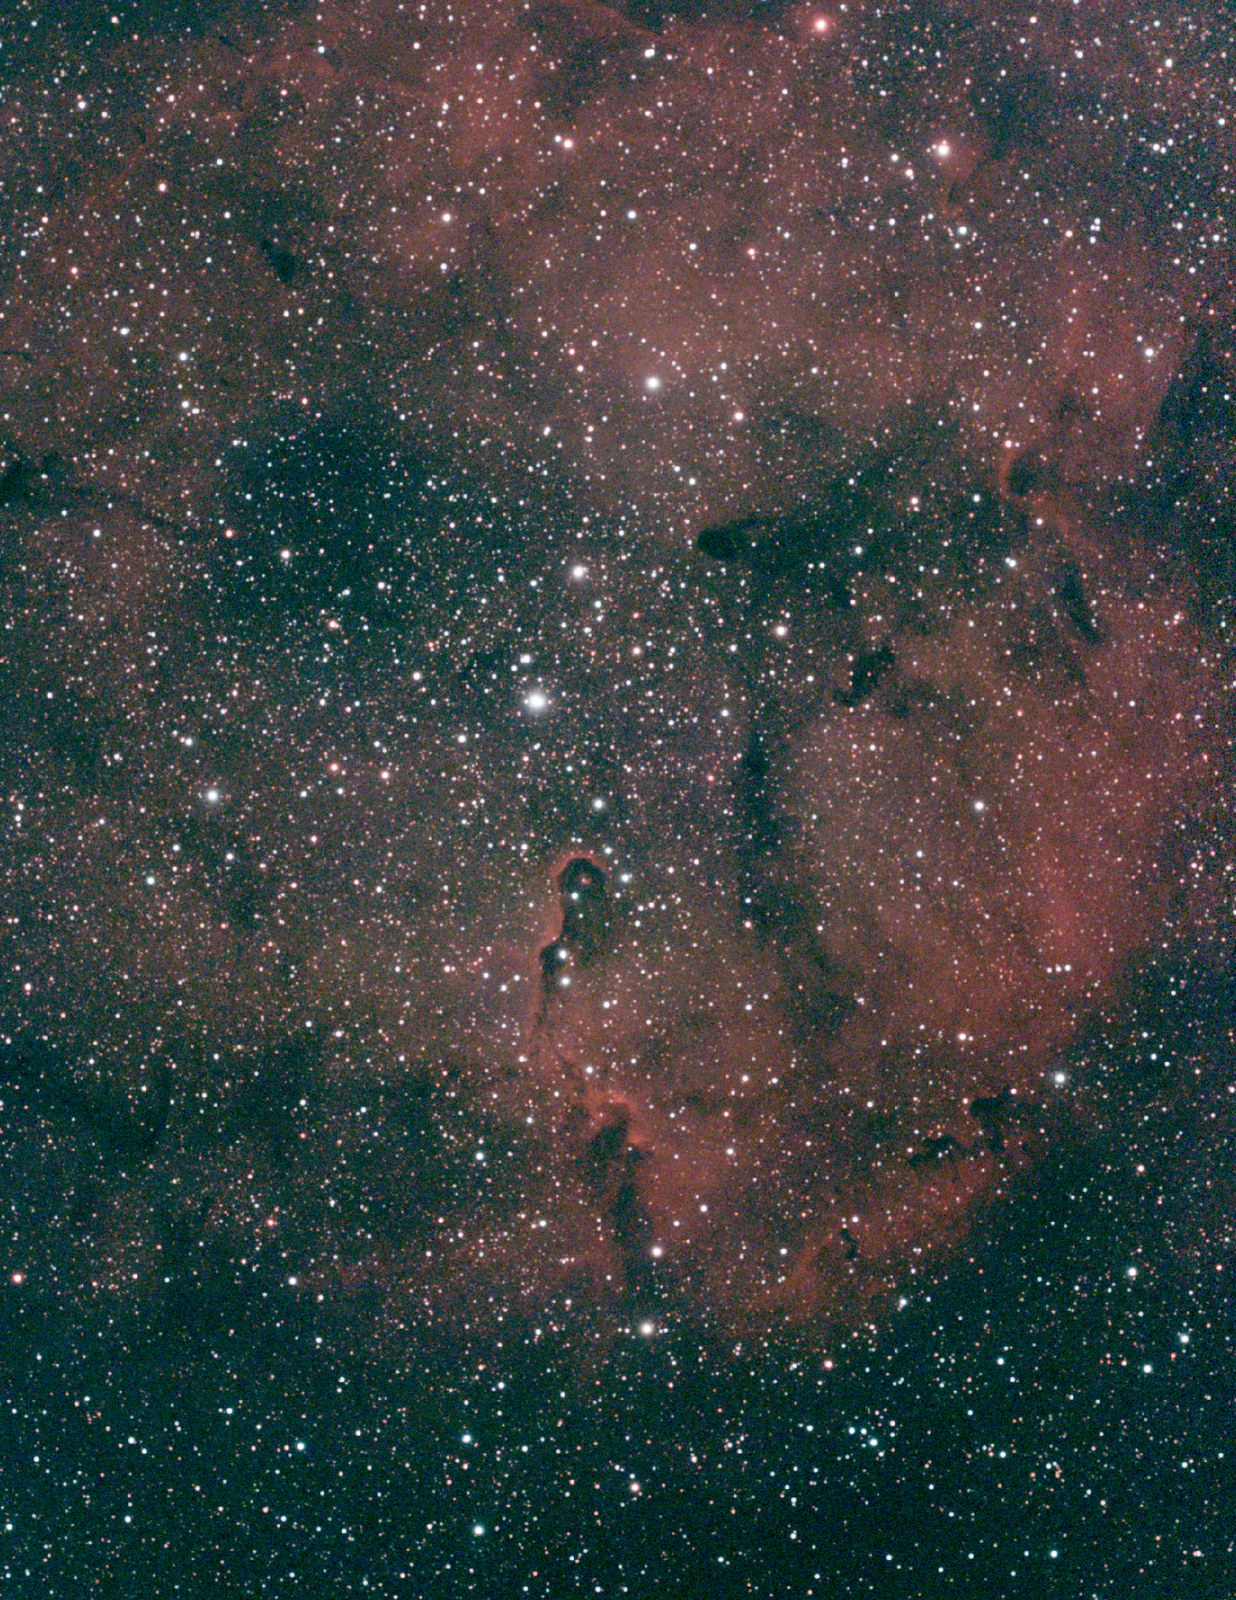 BeforeBackground removed
Background extraction on IC 1396A. Corner-to-corner brightness across the frame drops by 39% — the glow goes, the nebula stays.
Colour — sky balance or photometric
Colour neutralises the sky and sets white balance. Choose Sky balance (works offline) or Photometric (SPCC), which measures real catalogue stars in your frame to get colour objectively right. Then, if the result is not quite to your taste, two sliders — Green ↔ Magenta and Cool ↔ Warm — shift the overall colour with a live preview. They multiply the channels rather than clipping one, so the colour differences between stars survive: an orange star stays orange next to a blue one. Seestar data tends to land slightly magenta, and that is the camera rather than the stacking, so a small nudge toward green is often all it wants. If you shot a dualband/LP target, Colourise and the Narrowband tool map that Ha + OIII data into a finished two-gas colour image in a single press.
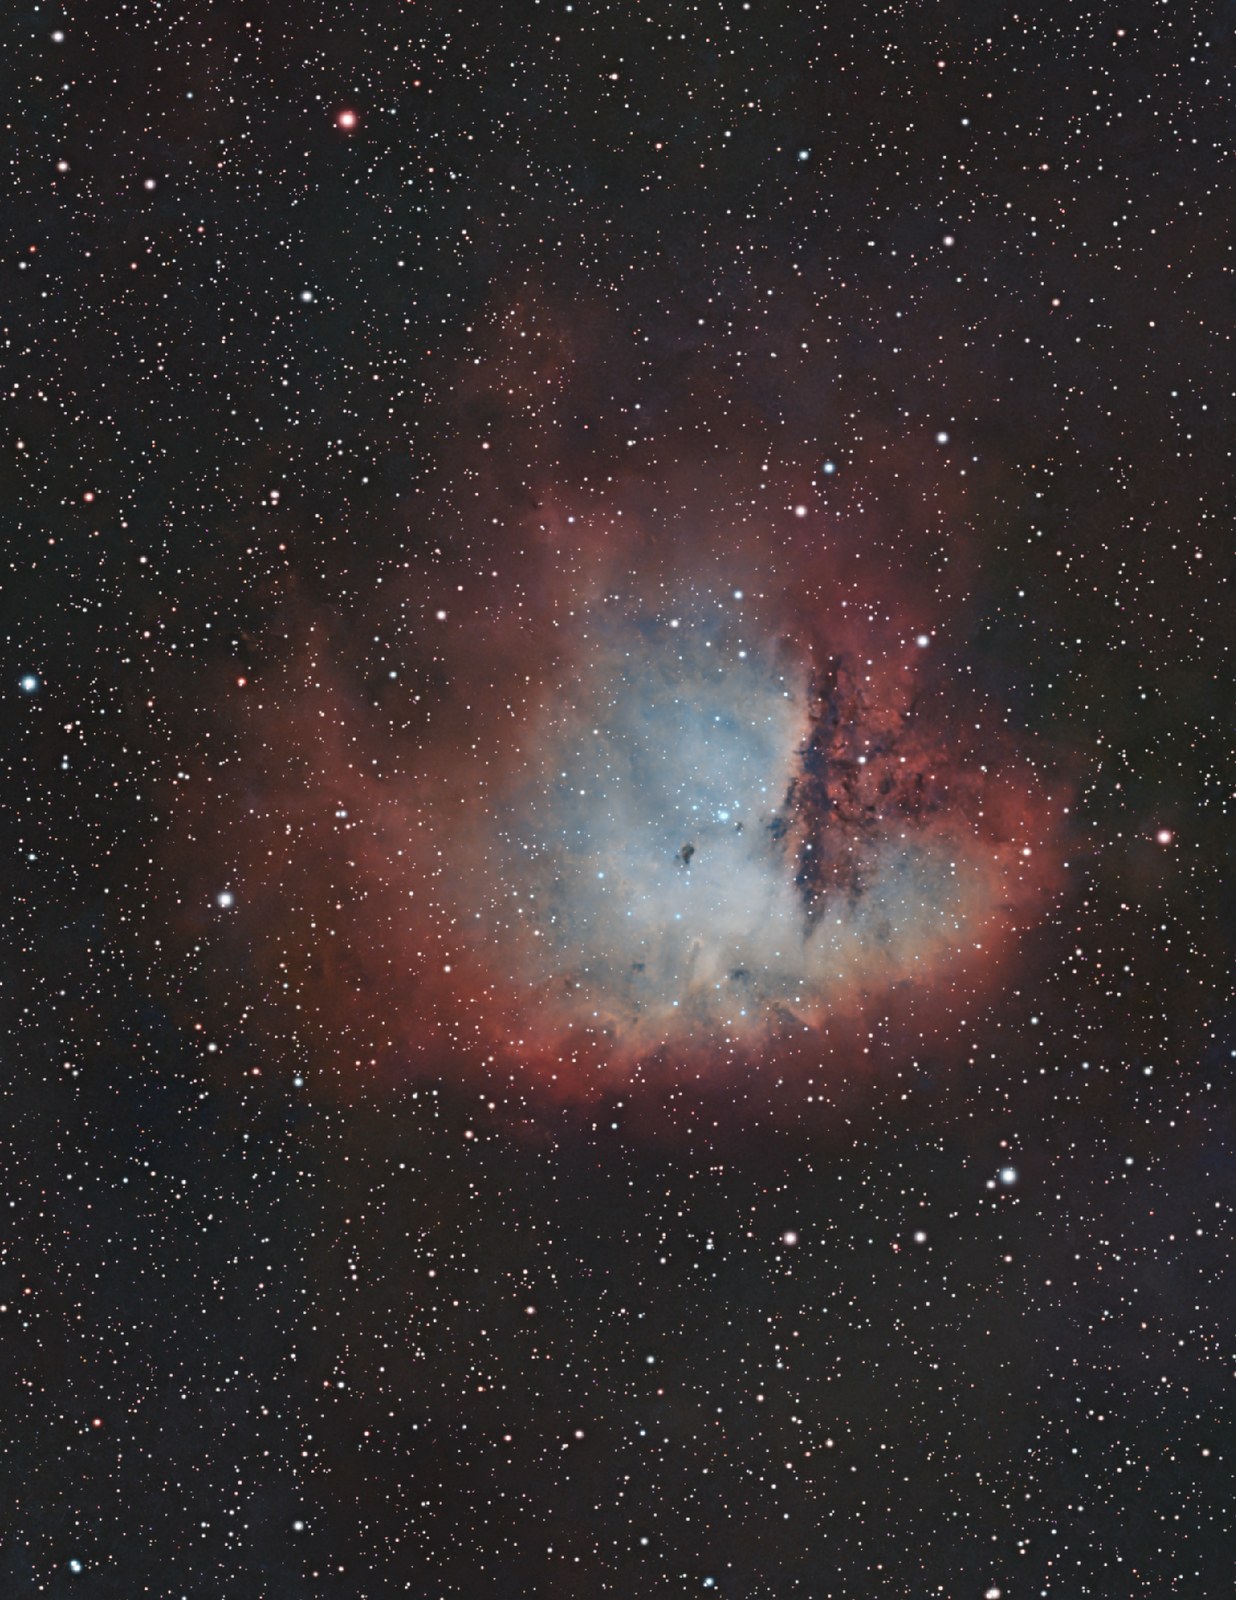
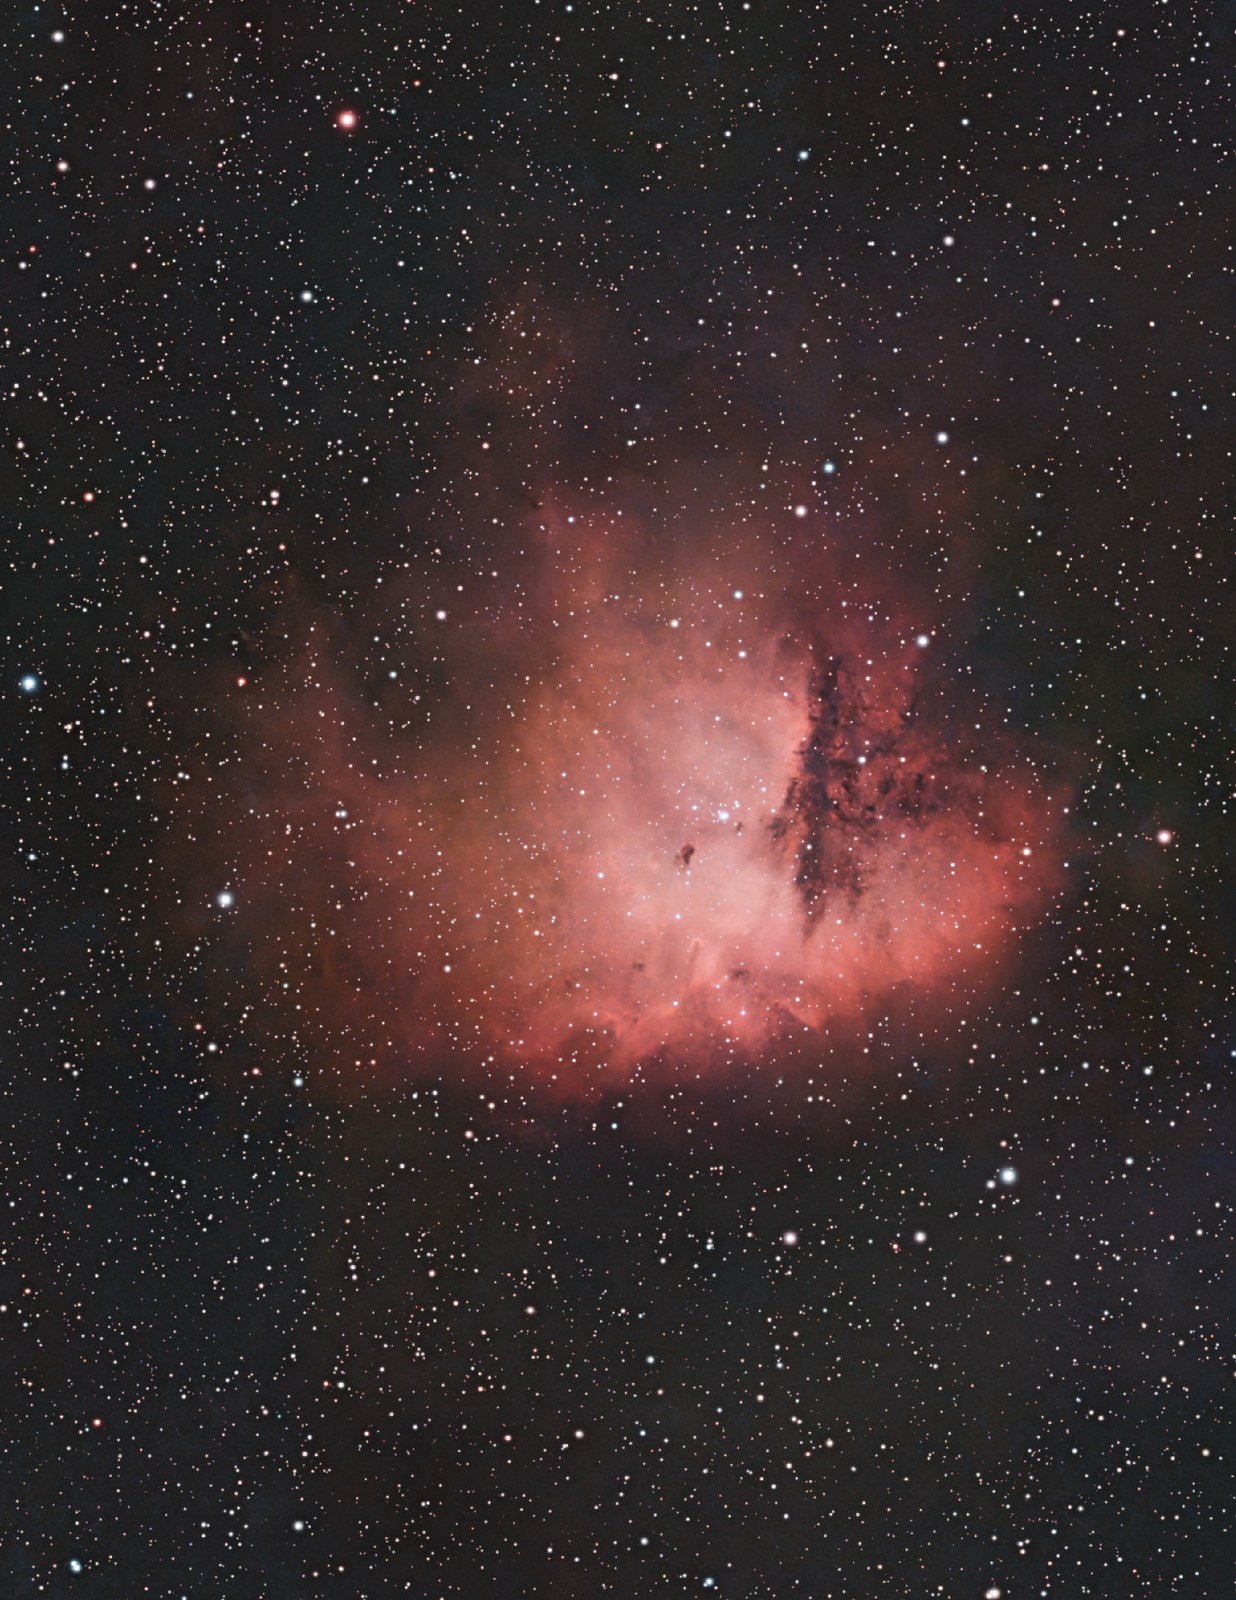 Dualband masterNarrowband
NGC 281 through the Narrowband tool. The oxygen core separates from the hydrogen shell that surrounds it — two gases the camera recorded together, told apart.
Detail & stretch
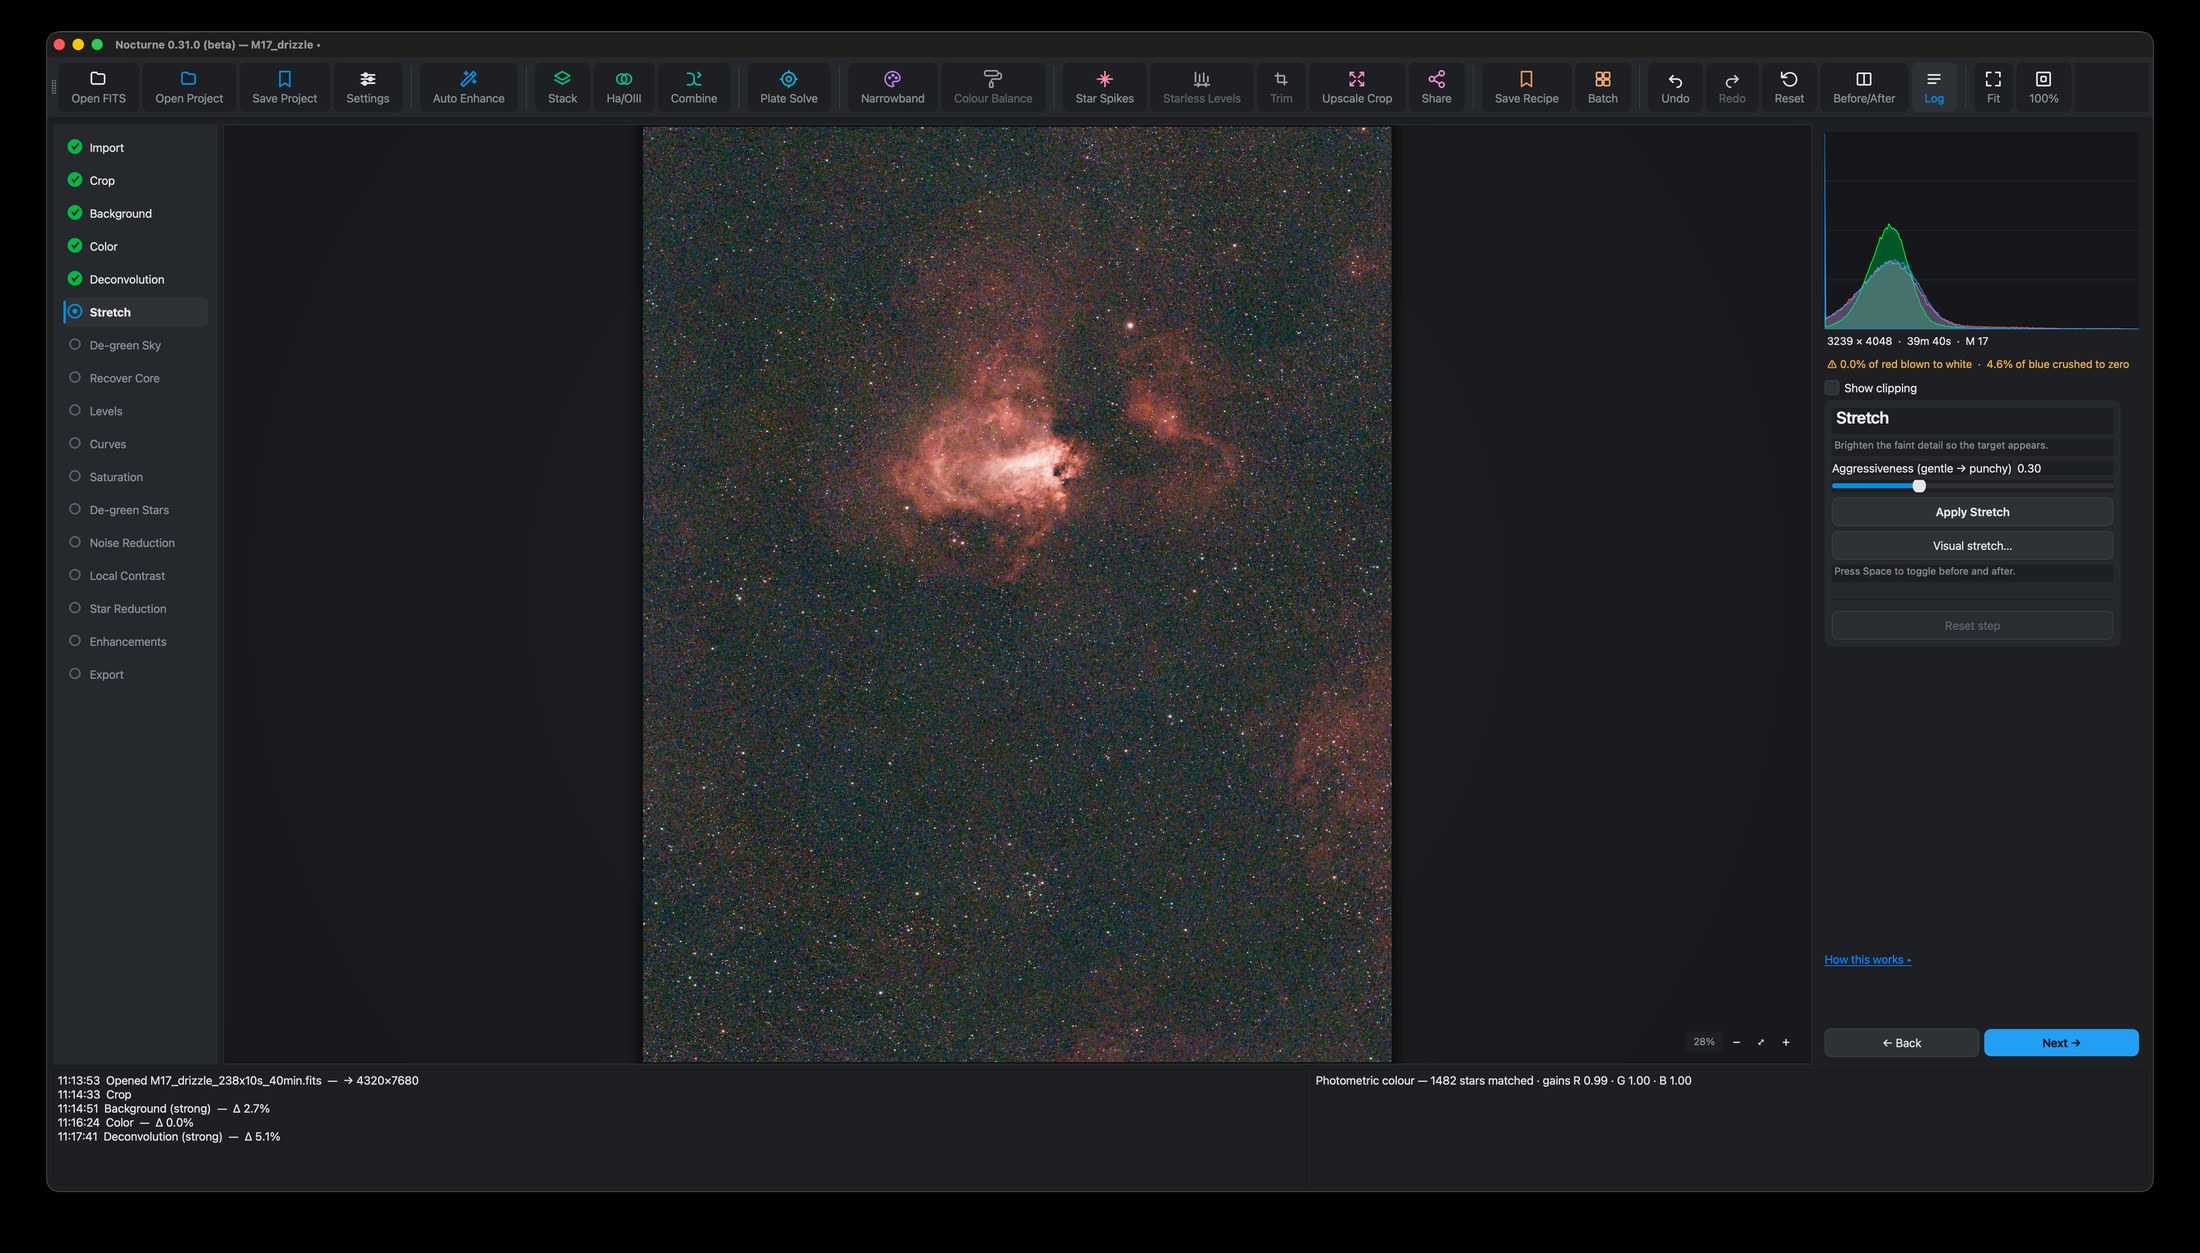
Deconvolution sharpens tight star and structure detail while the data is still linear (BlurXTerminator, or a free fallback). Stretch is the big reveal — it pulls the faint signal up into the visible range. Recover Core tames blown-out galaxy and nebula cores (HDR), and Levels and Curves fine-tune the tones.
Choosing a stretch by looking at it
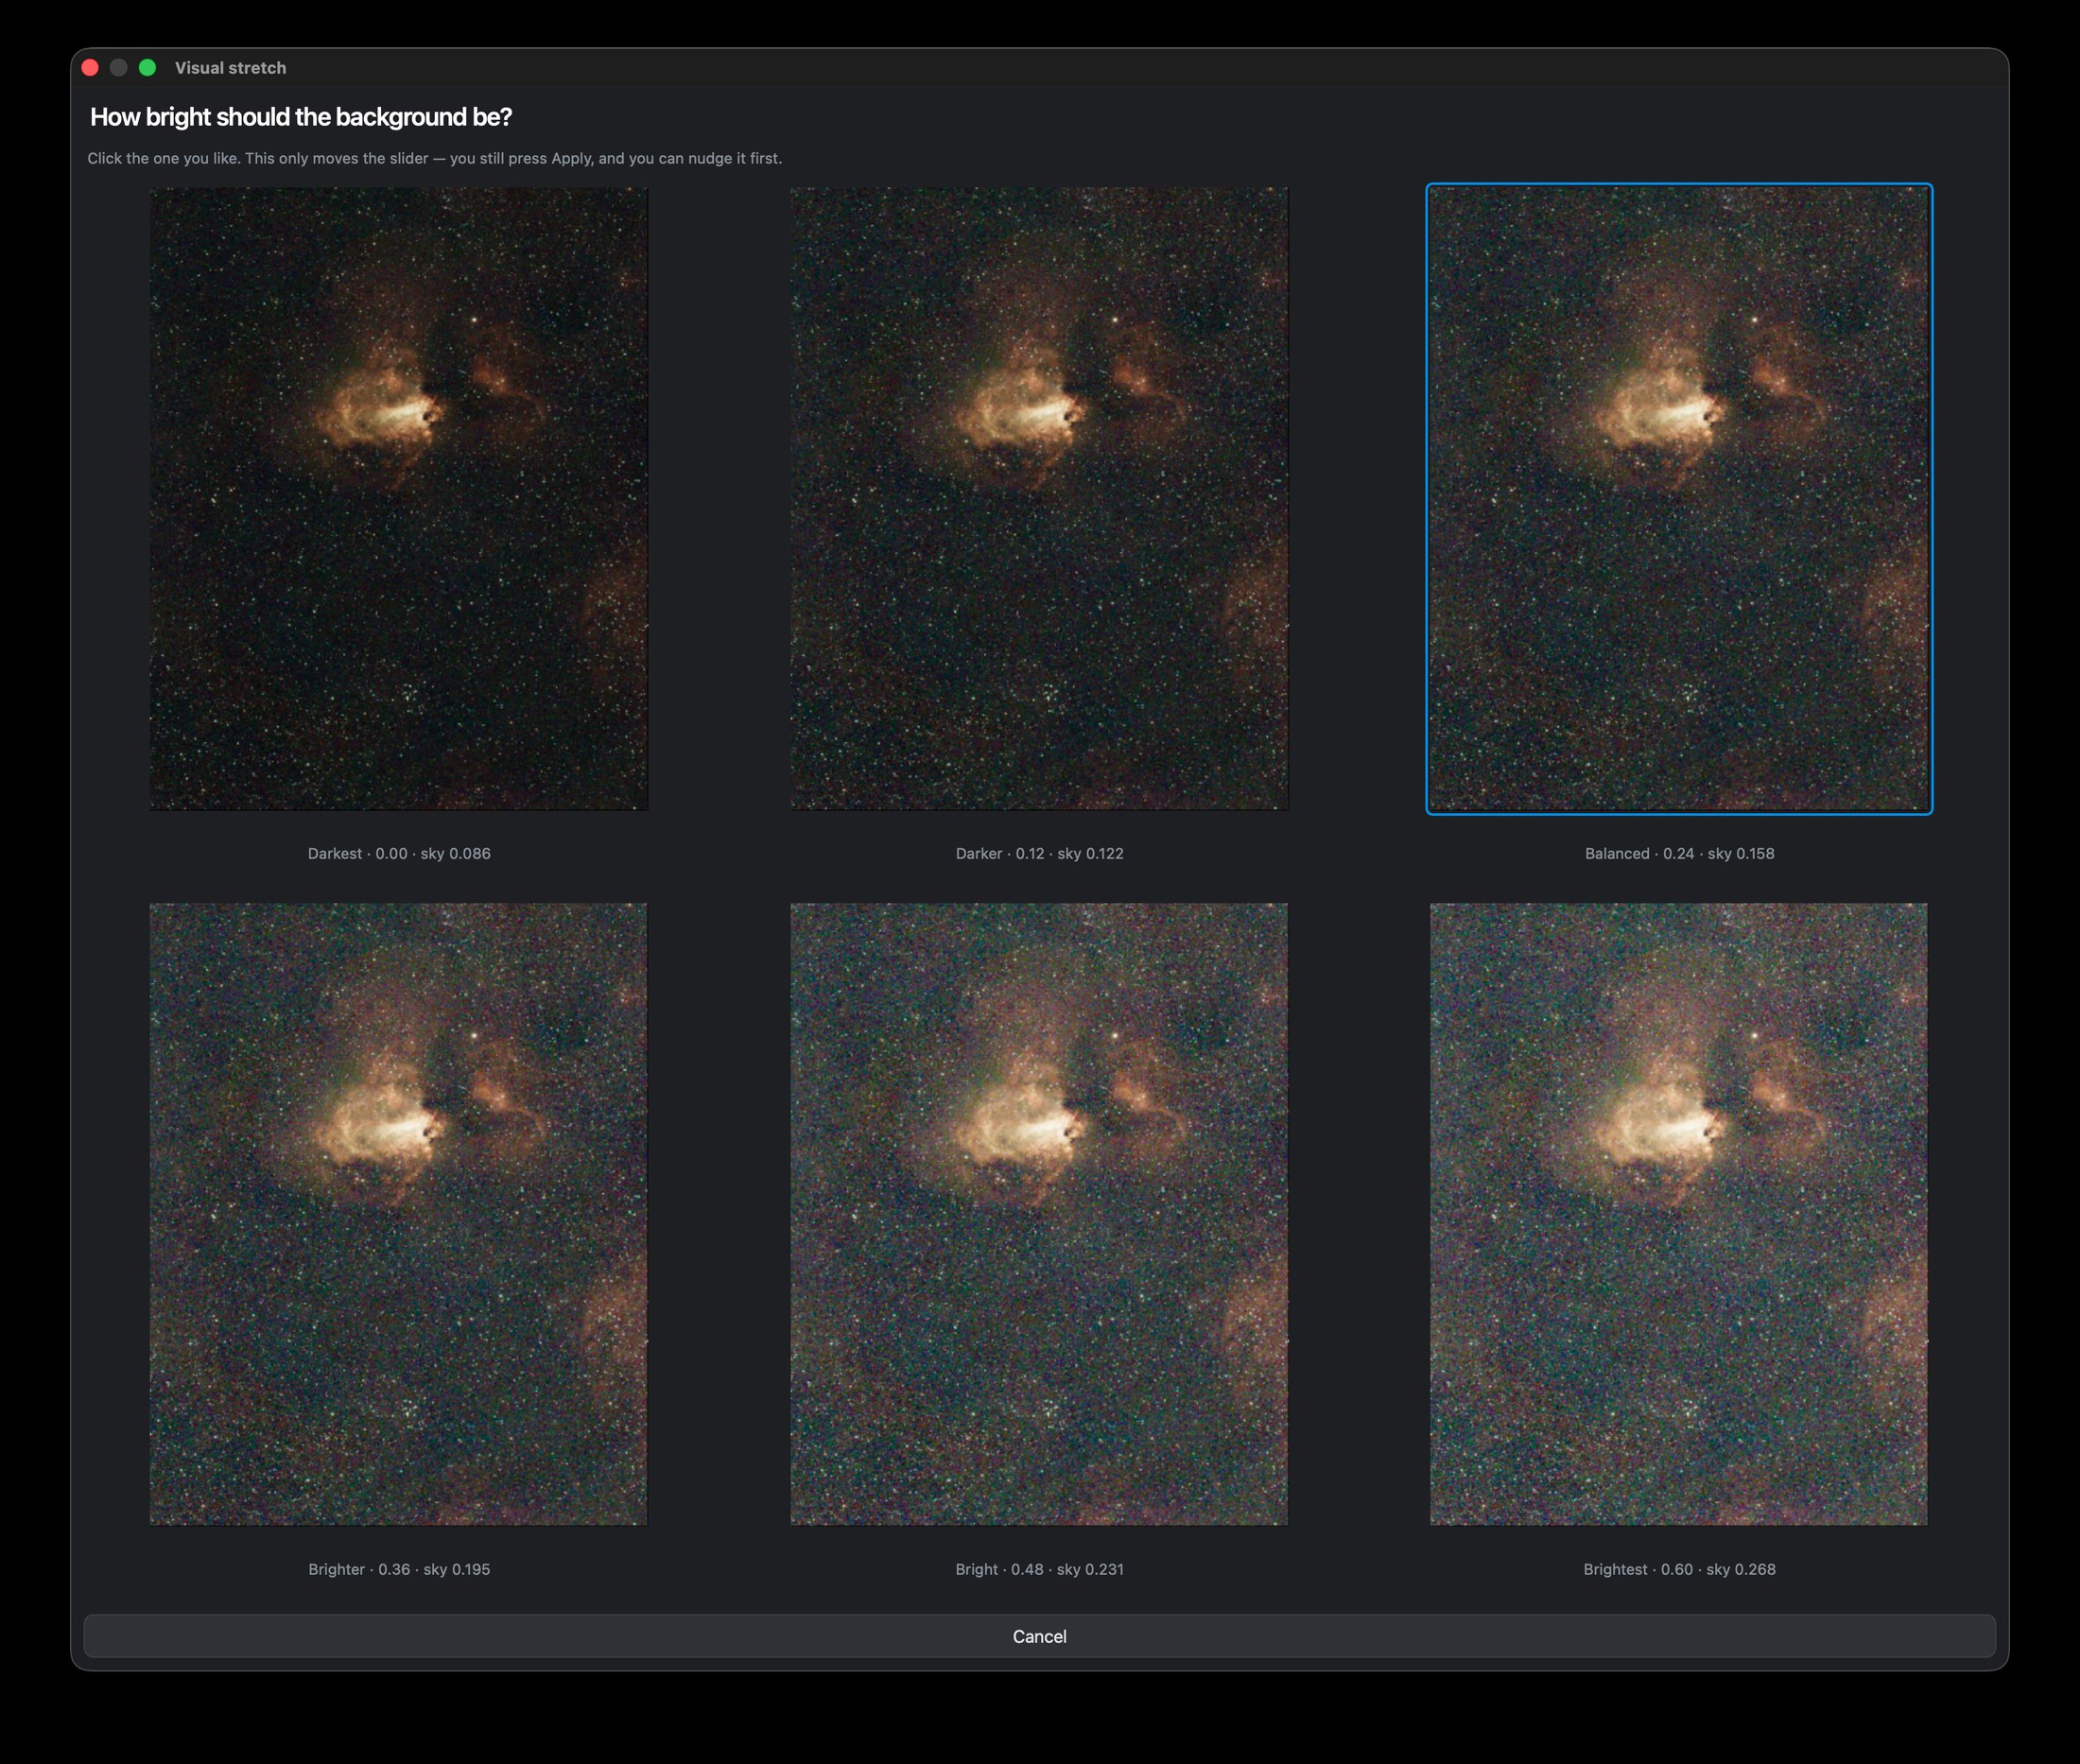
The stretch is the one step where there is no right answer, and the honest way to say so is to show you. Visual stretch, on the Stretch panel, opens your own image rendered several ways and asks you to click the one you prefer. It only moves the slider — Apply still commits, and you can nudge the slider afterwards.
It asks two things, one at a time.
Colour first: linked or unlinked. A linked stretch puts one curve through all three channels and keeps the sky’s own colour. An unlinked stretch normalises each channel on its own, which evens the sky out and usually brings out more variety in star and dust colour. Both panels are rendered at the same brightness so that only the colour differs — one decision at a time. Neither is labelled the correct one, because neither is: they are two defensible readings of the same data.
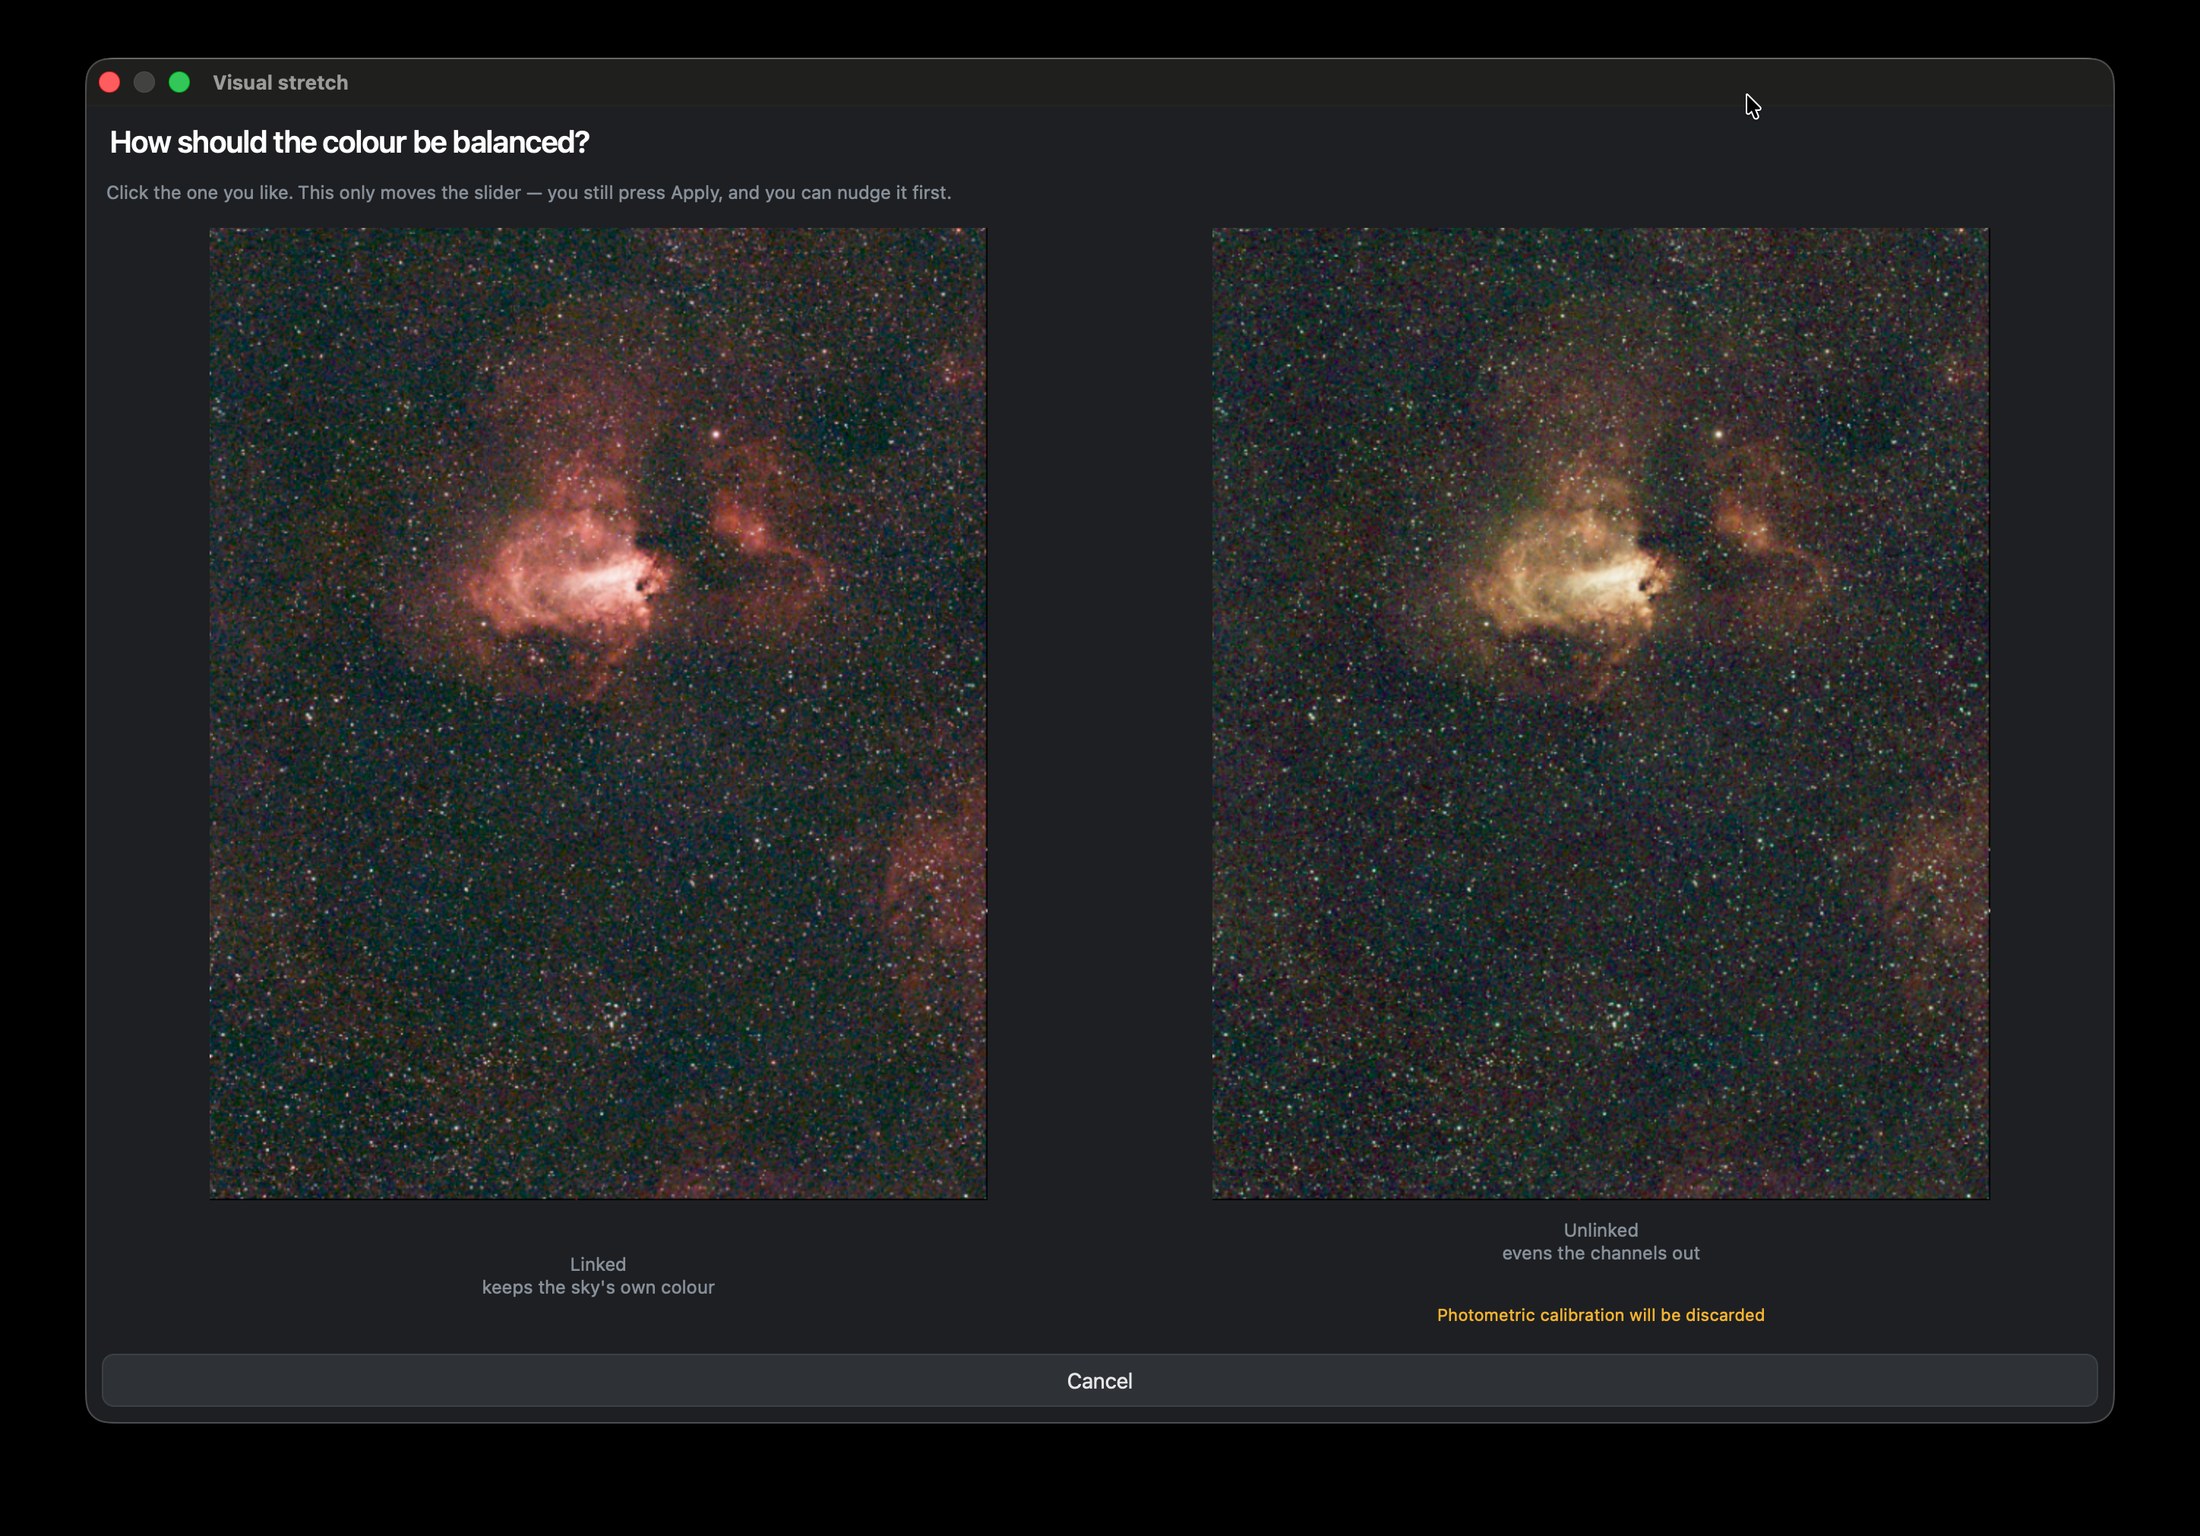
Then brightness. Six real stretches of your image, from darkest to brightest, each labelled with the slider value it lands on and the sky level it produces. Click the picture you like. A darker sky looks cleaner, because the same grain is far less visible on it — but pull too far and faint nebulosity stops being visible at all, and that loss cannot be recovered later. There is genuinely no universal answer: across four of our own targets the same photographer wanted the darkest option three times and something two steps brighter on the fourth.
You can also make the colour choice earlier, at Import, where a Linked / Unlinked switch changes only how the unstretched data is drawn. Nothing is committed there — it is a way to see what is in the file before deciding anything — and whichever you pick becomes the starting point when you reach Stretch. One consequence worth knowing: an unlinked stretch undoes a photometric colour calibration completely, because normalising each channel is exactly what removes a per-channel correction. Choose unlinked and Nocturne skips the Colour step rather than letting you pay for one that would have no effect.
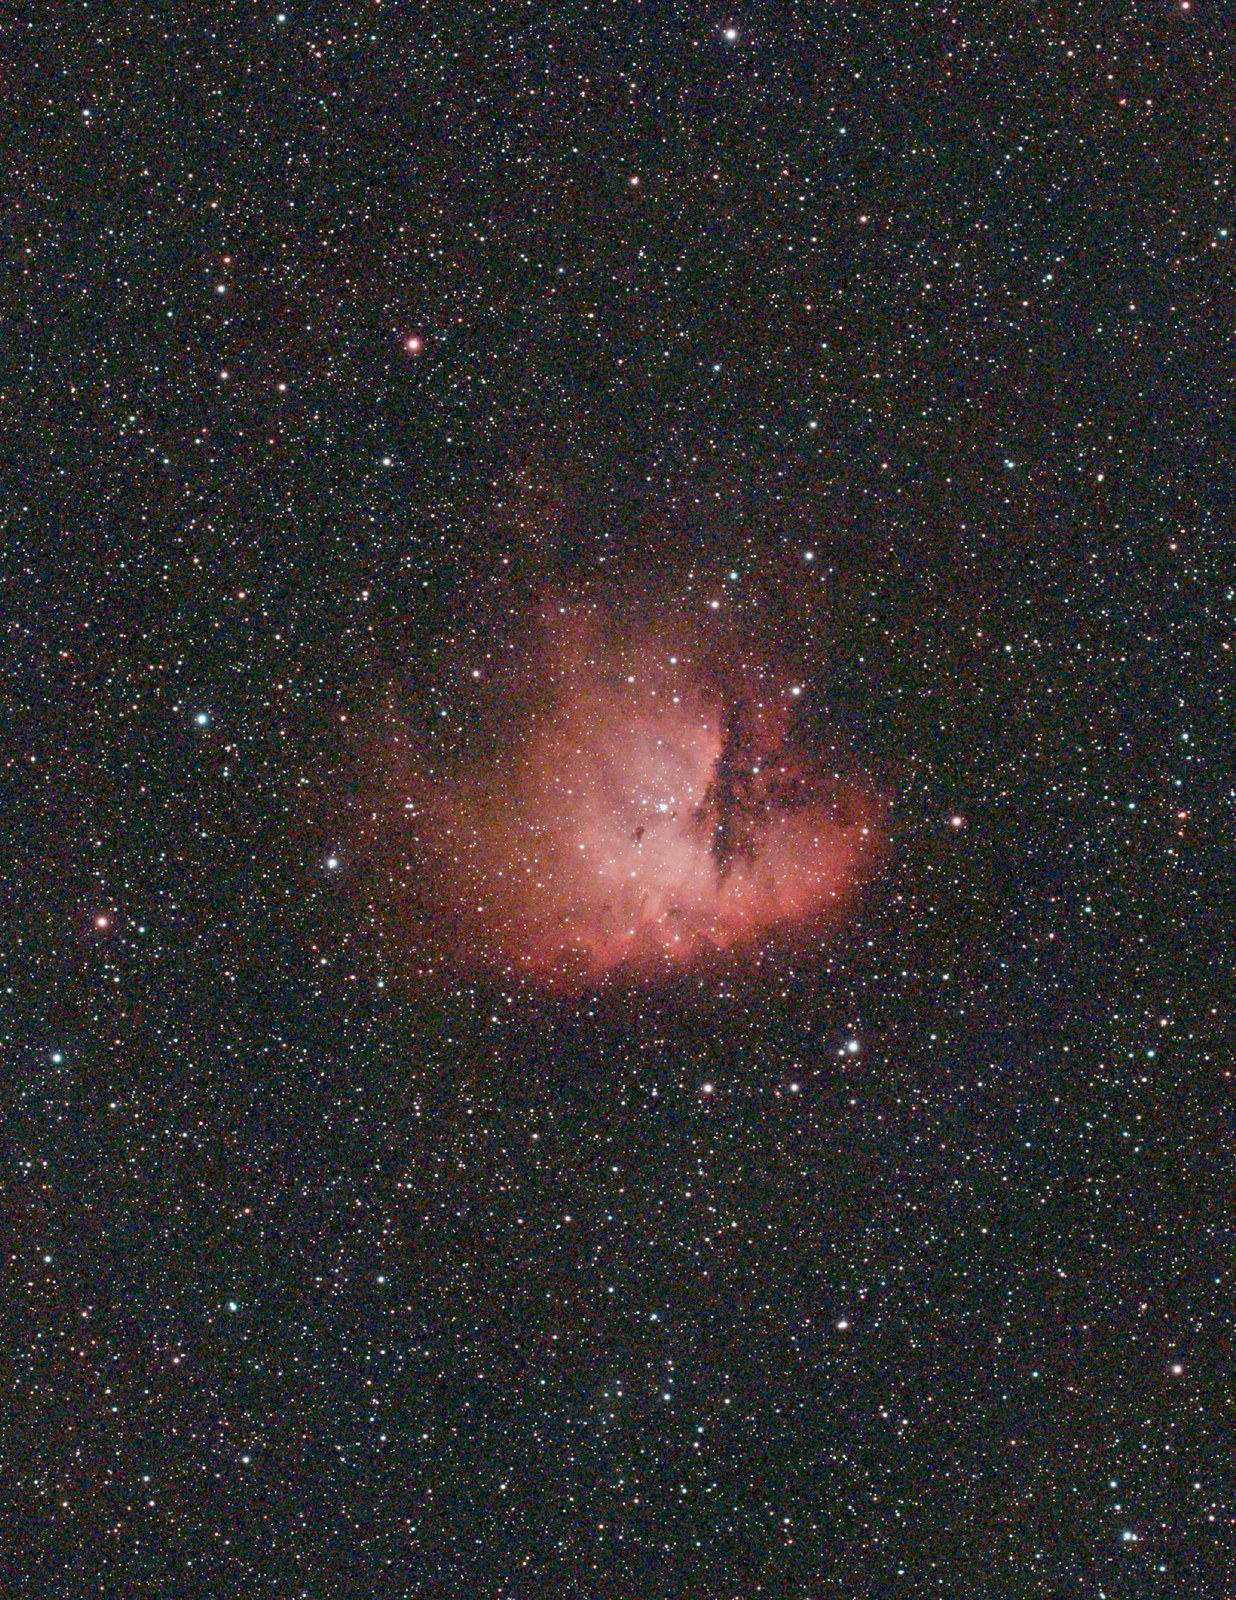
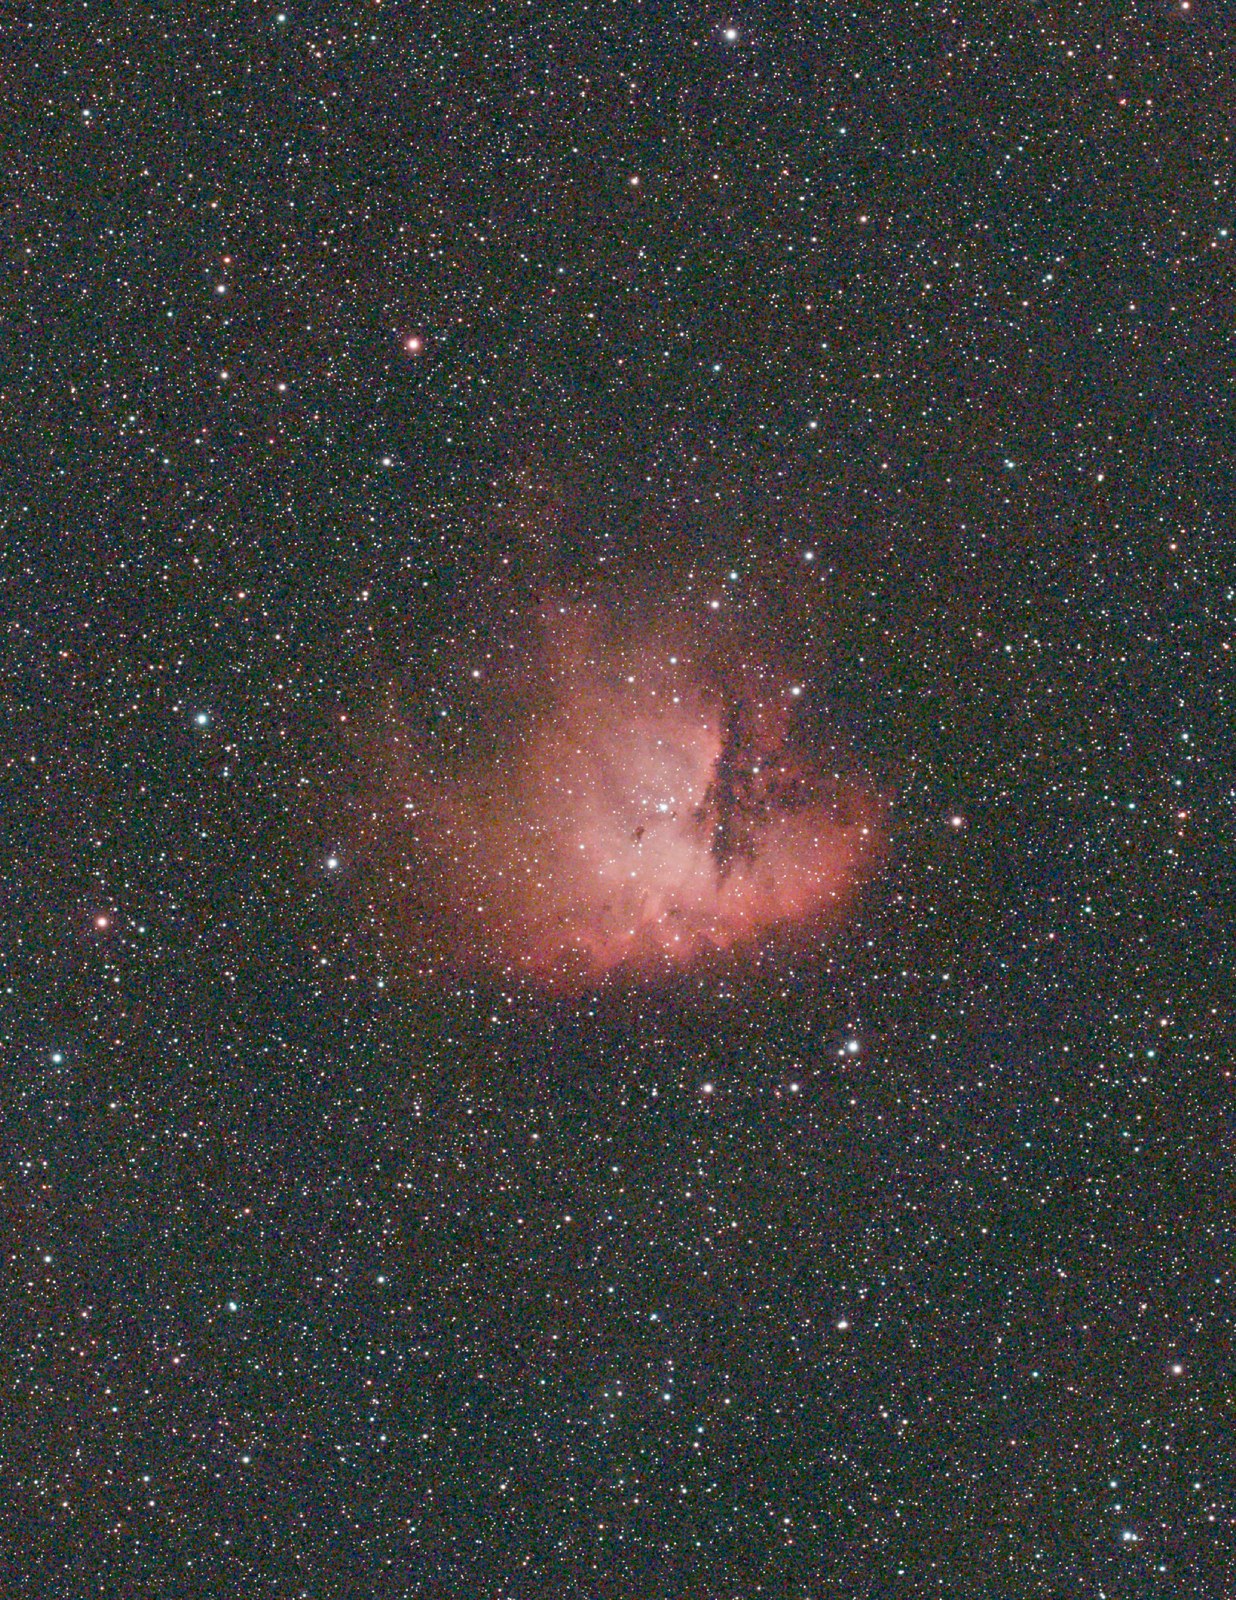 BeforeLevels
Levels on the same frame: setting the black point takes the sky from 42 to 27 and the picture stops looking washed.
Finish
Saturation (with a masked nebula boost), De-green Stars, Noise Reduction, Local Contrast and Star Reduction put on the final polish — each with a live preview and its own undo. Star reduction and the star-aware steps work even without RC-Astro, using a built-in star separator. Star Spikes can add artistic diffraction spikes if you like the look.
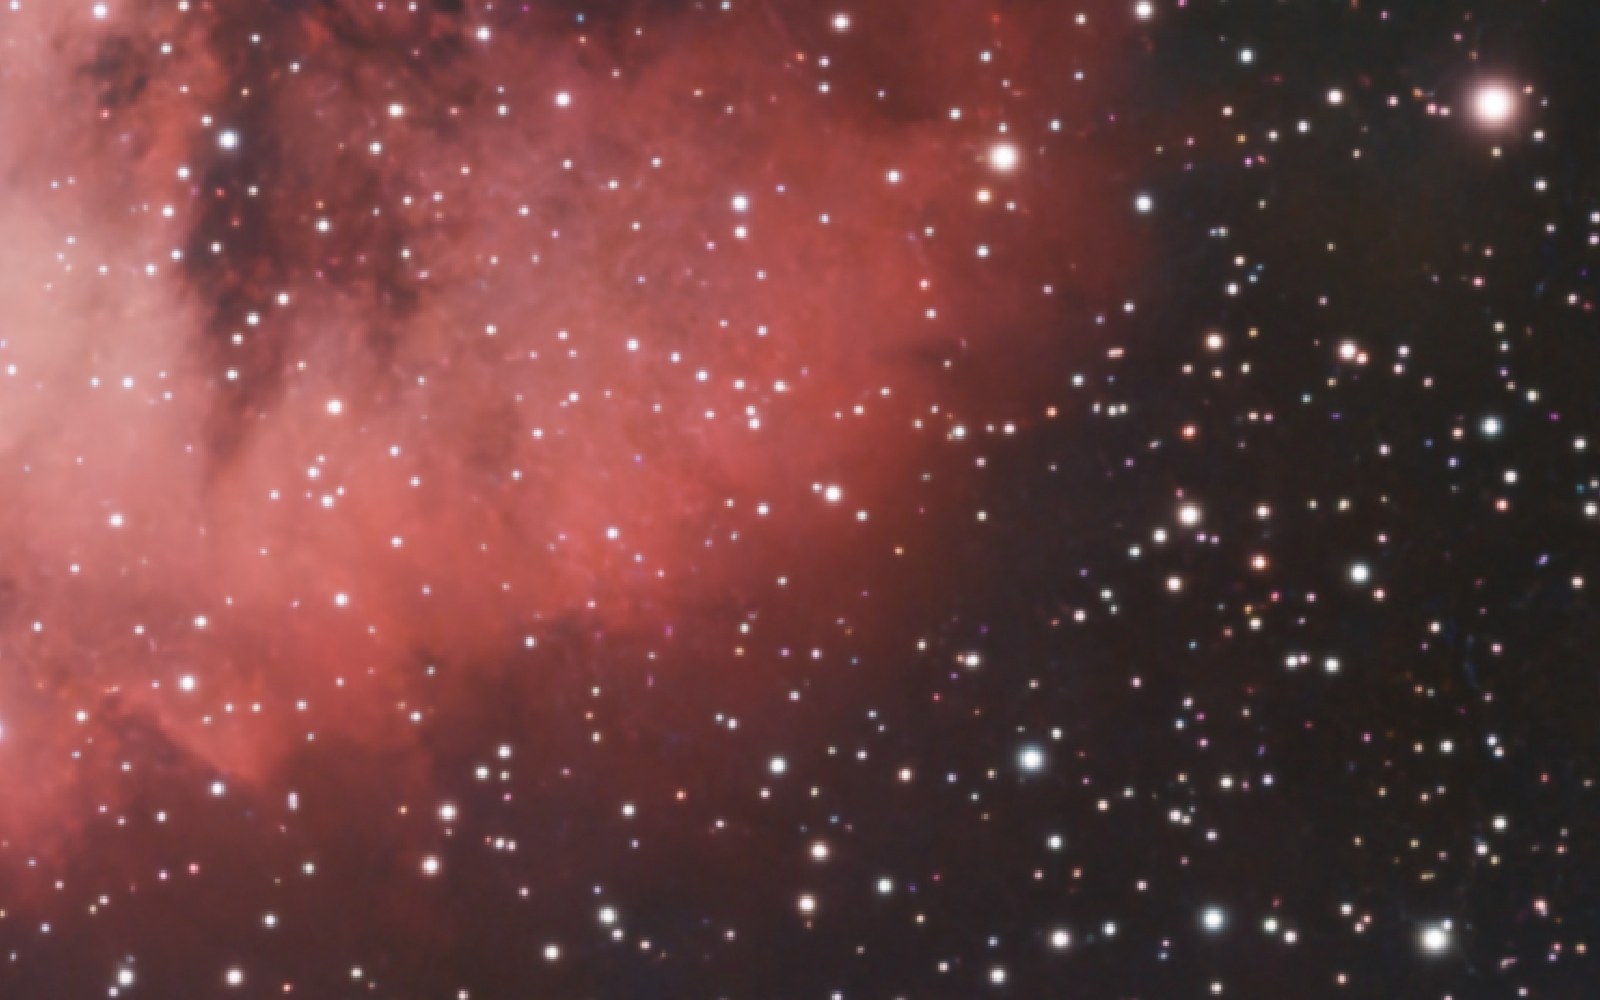
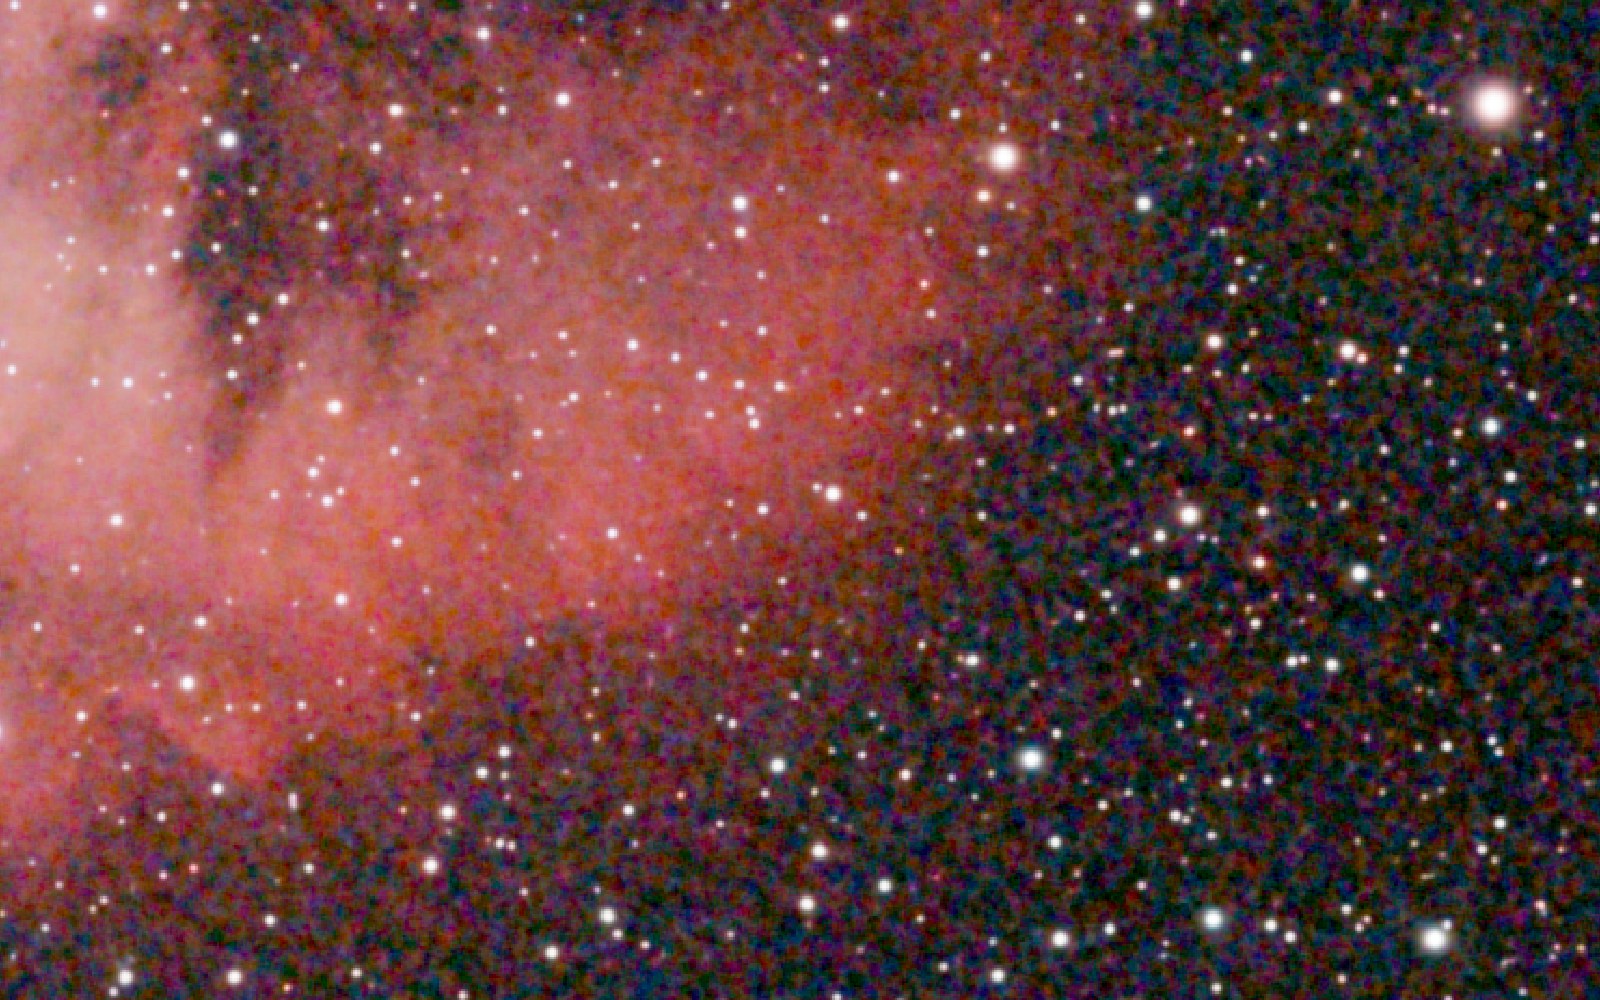 BeforeDenoised
Noise Reduction, shown at full pixel scale rather than shrunk to fit. Background noise falls by 93% and the stars keep their brightness.
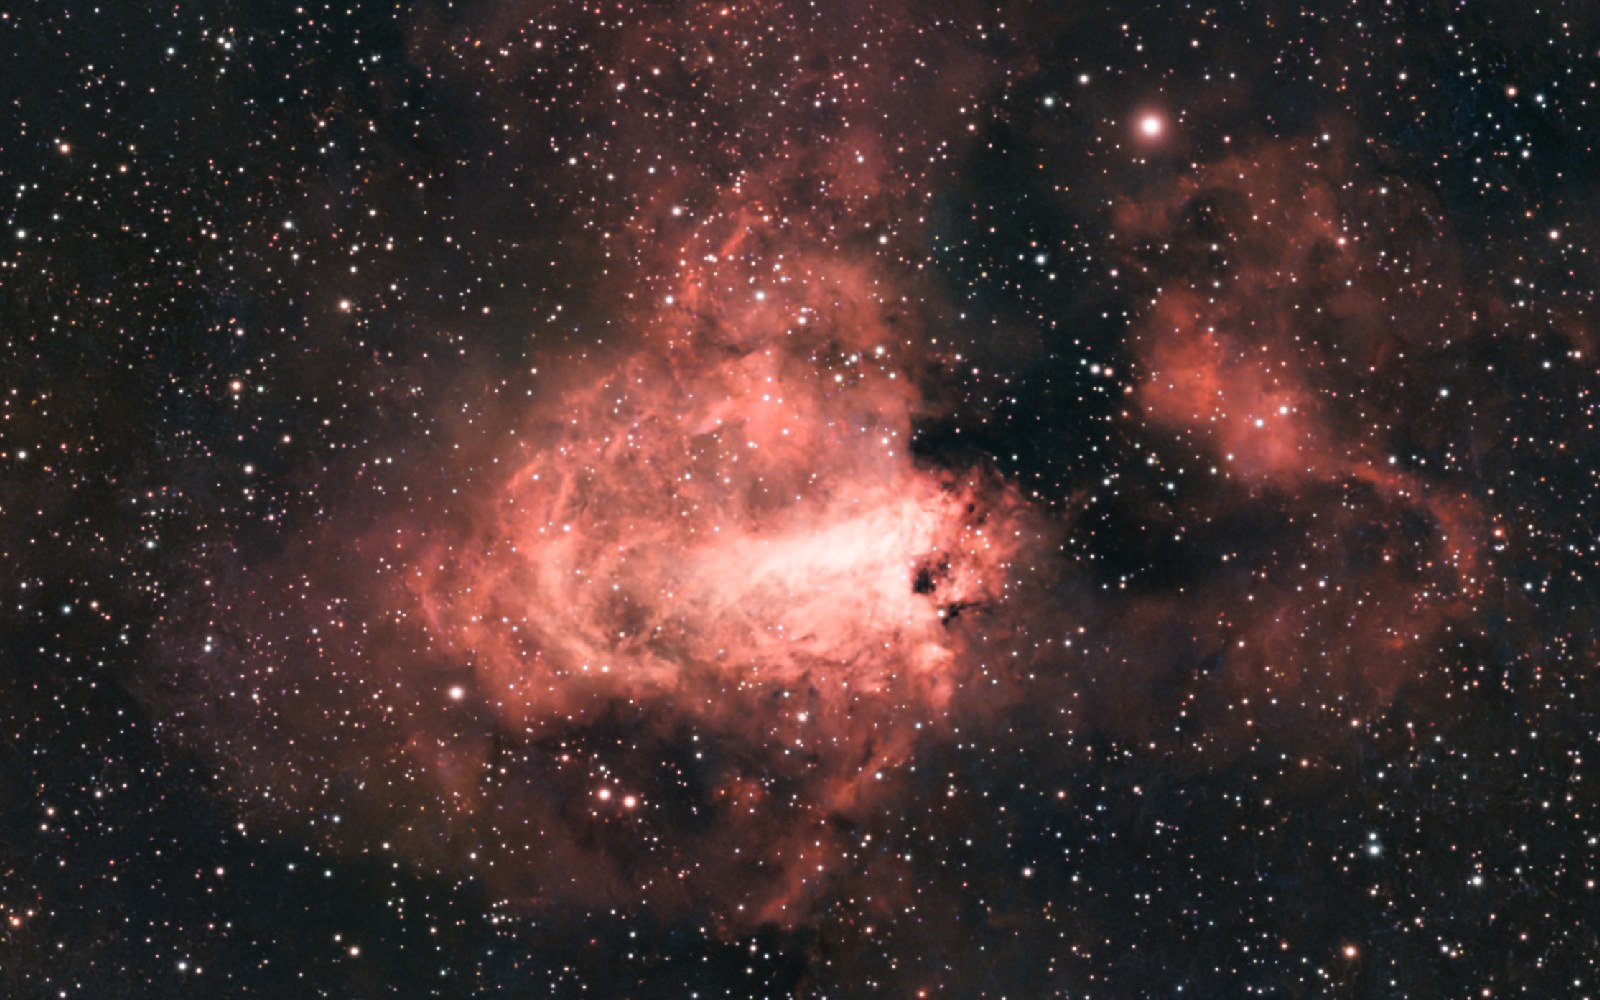
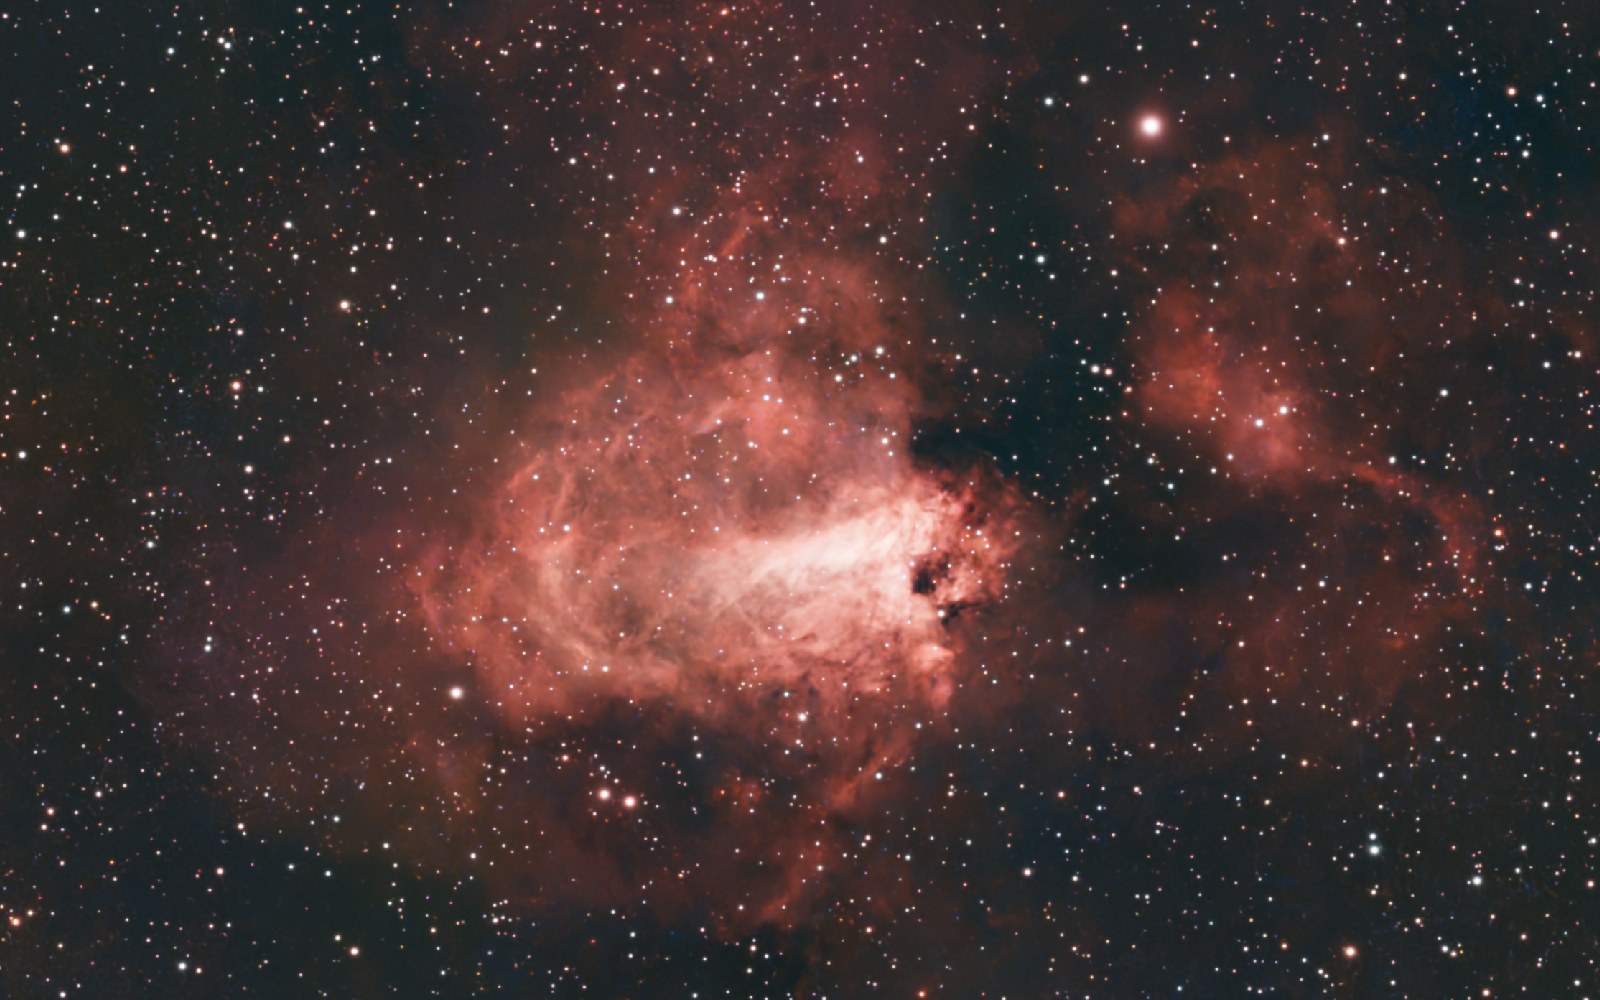 BeforeLocal Contrast
Local Contrast adds 31% more mid-scale structure. It lifts the background grain with it, which is why it belongs after denoise.
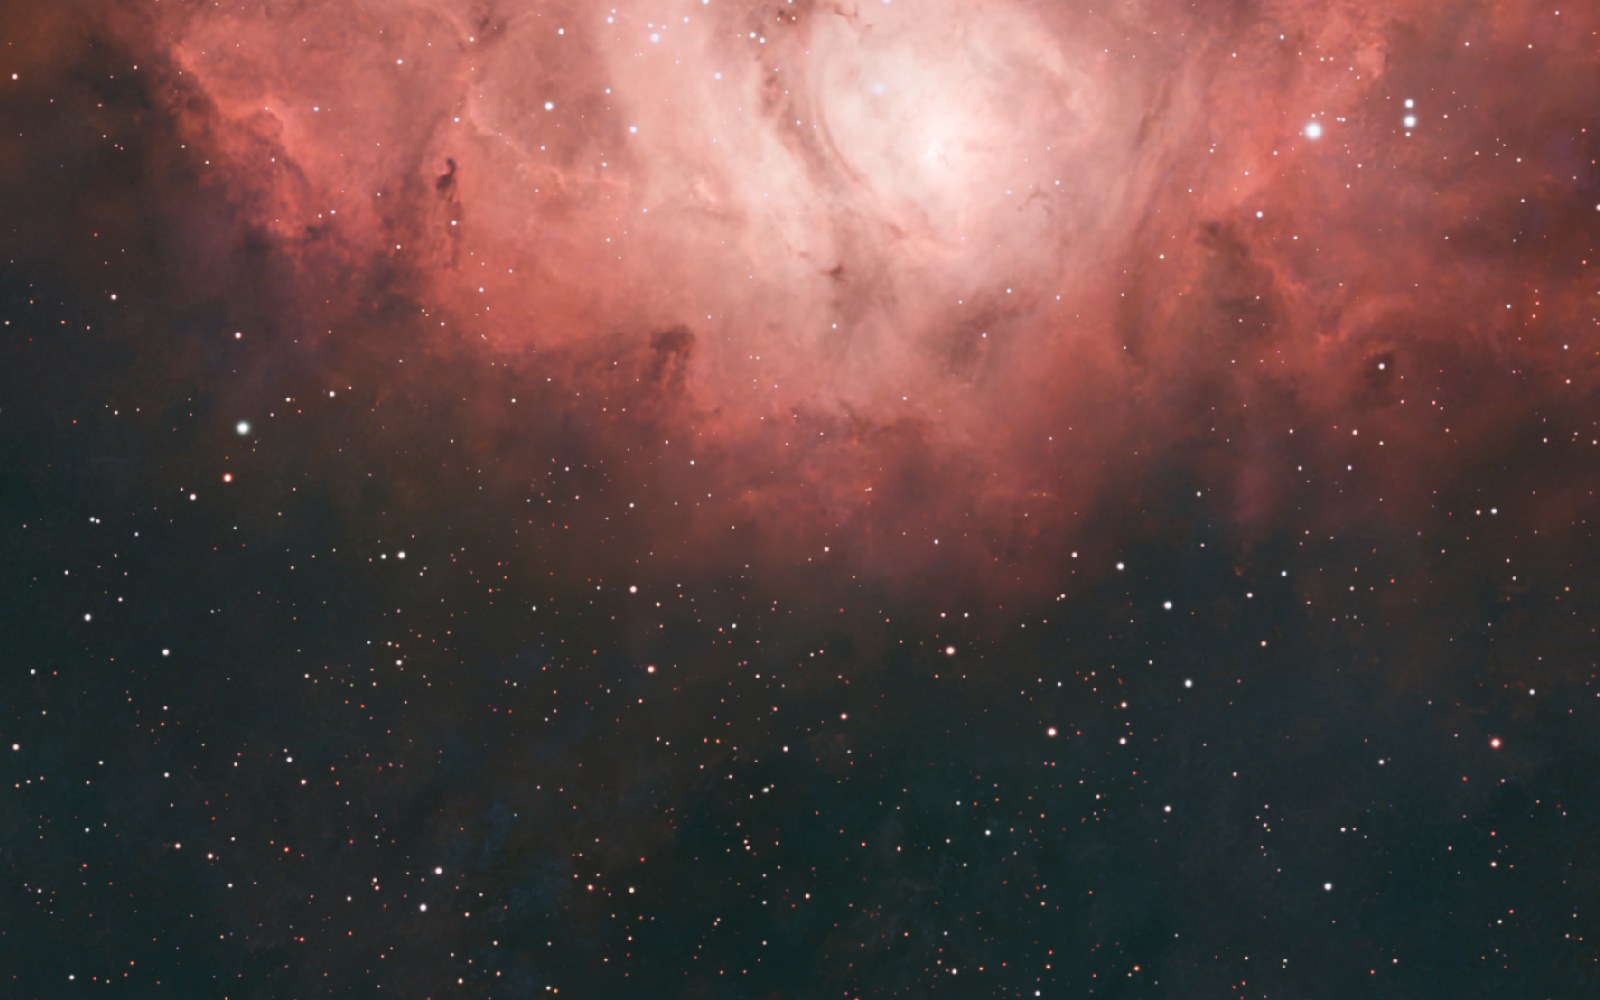
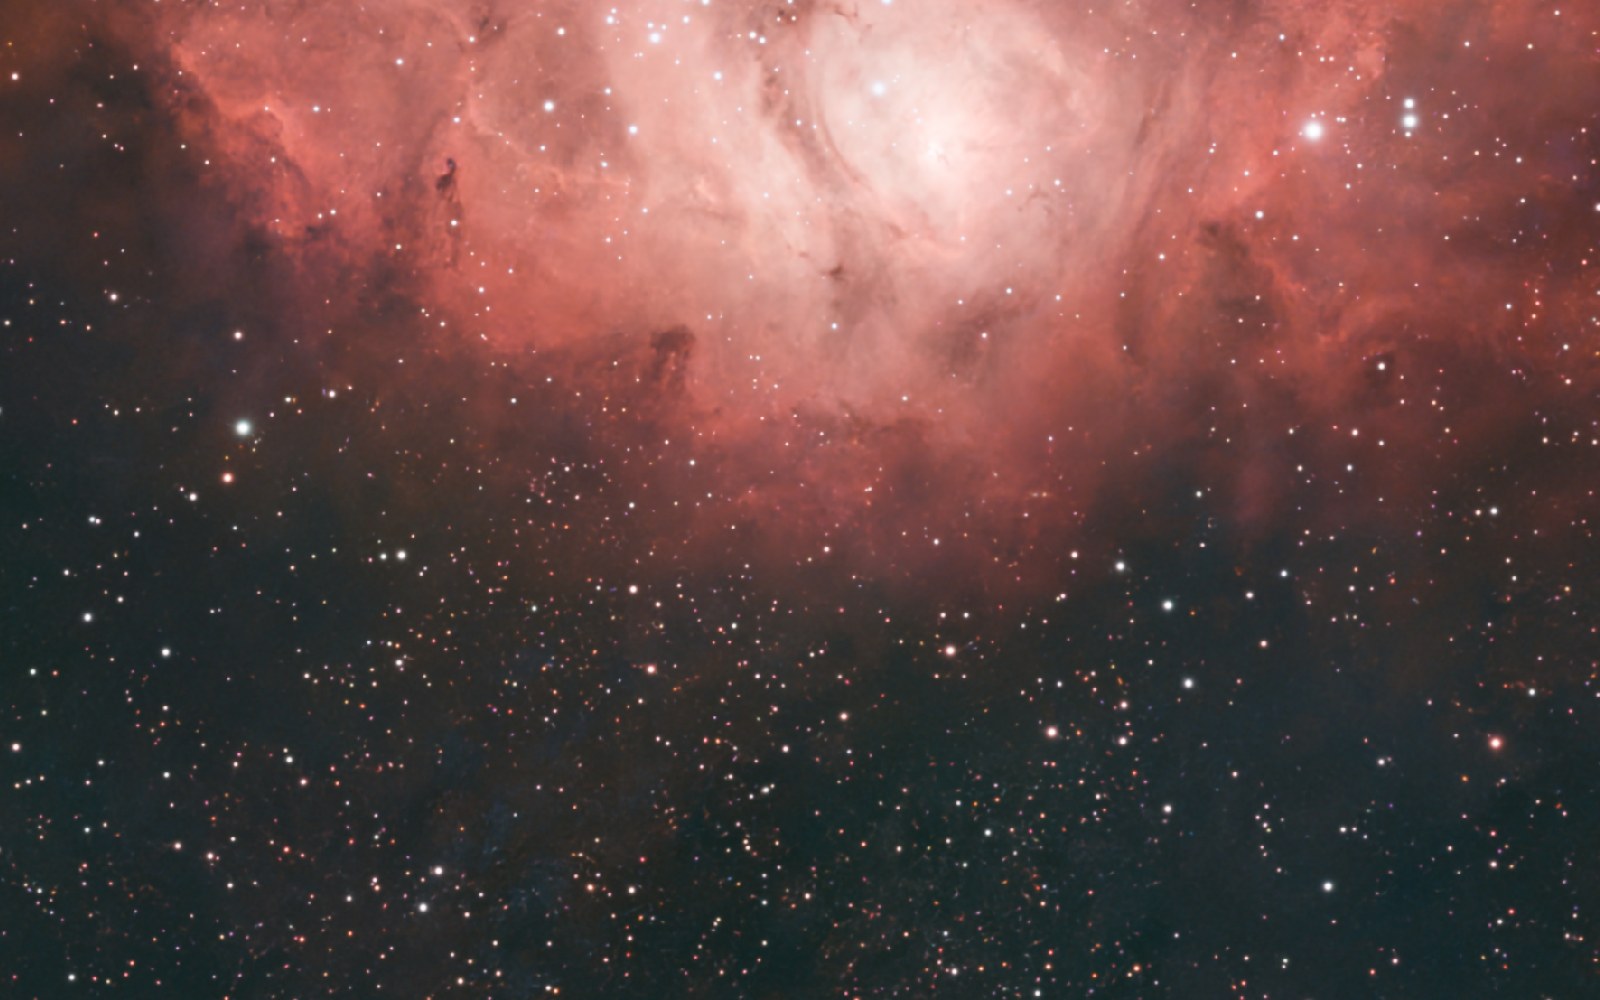 BeforeStars reduced
Star Reduction takes 13% out of the star area. The bright cores stay sharp points; it is the faint wings that go.
Enhancements & Export
Enhancements offers eleven tap-to-stack finishing moves — hue-selective colour boosts, vibrance, star colour, sky darken/lighten, dark structure, soft glow and nebulosity sharpening. Each tap is its own undoable nudge, so you can dial the effect in precisely. Export writes a finished 16-bit image (and, if you plate-solved, burns in the annotations and keeps the WCS in exported FITS).
Late fixes — Trim & fullscreen
Trim is the crop for artefacts you could not see at the start. The first crop happens on linear data that is nearly black, so ragged stacking edges and smeared corners often only appear once you have stretched — and going back to Crop would throw away every step since. Trim appends a crop at the END of your history instead, with the same aspect ratios and composition guides. Press F at any point for fullscreen: everything except the picture steps aside, which is how you judge noise and star shapes without the interface competing for attention.
Colour, at the end
Colour Balance (toolbar) is for the finishing colour work that used to mean exporting to another program. Pick a tonal range — shadows, midtones or highlights — and push it toward a colour; each range keeps its own settings, so you can warm the midtones and cool the highlights in one go. Then narrow Limit to so the change only touches a band of brightness: on a galaxy, that lets you colour the arms and leave the golden core alone. Tick Show the mask and the areas that will change light up while the rest dims, so you can see exactly where it lands. Your stars are separated out and laid back untouched, and because it appends to your history it never discards work you have already done — run it twice with different settings if you want.
Some problems only become visible once the image is stretched. A ragged stacking border at the frame edge is the classic one: invisible in the linear data, obvious at the end. Going back to the Crop step would work, but it discards every step taken since — an hour of work to remove twenty pixels. Trim exists for exactly this: it's a finishing tool, not a pipeline step, so it appends to your history rather than reaching back into it. Your whole edit survives, and undo still works.
To find those edge problems in the first place, press F for a distraction-free fullscreen canvas and pan and zoom around the frame. Esc brings the panels back.
Plate solving & annotation
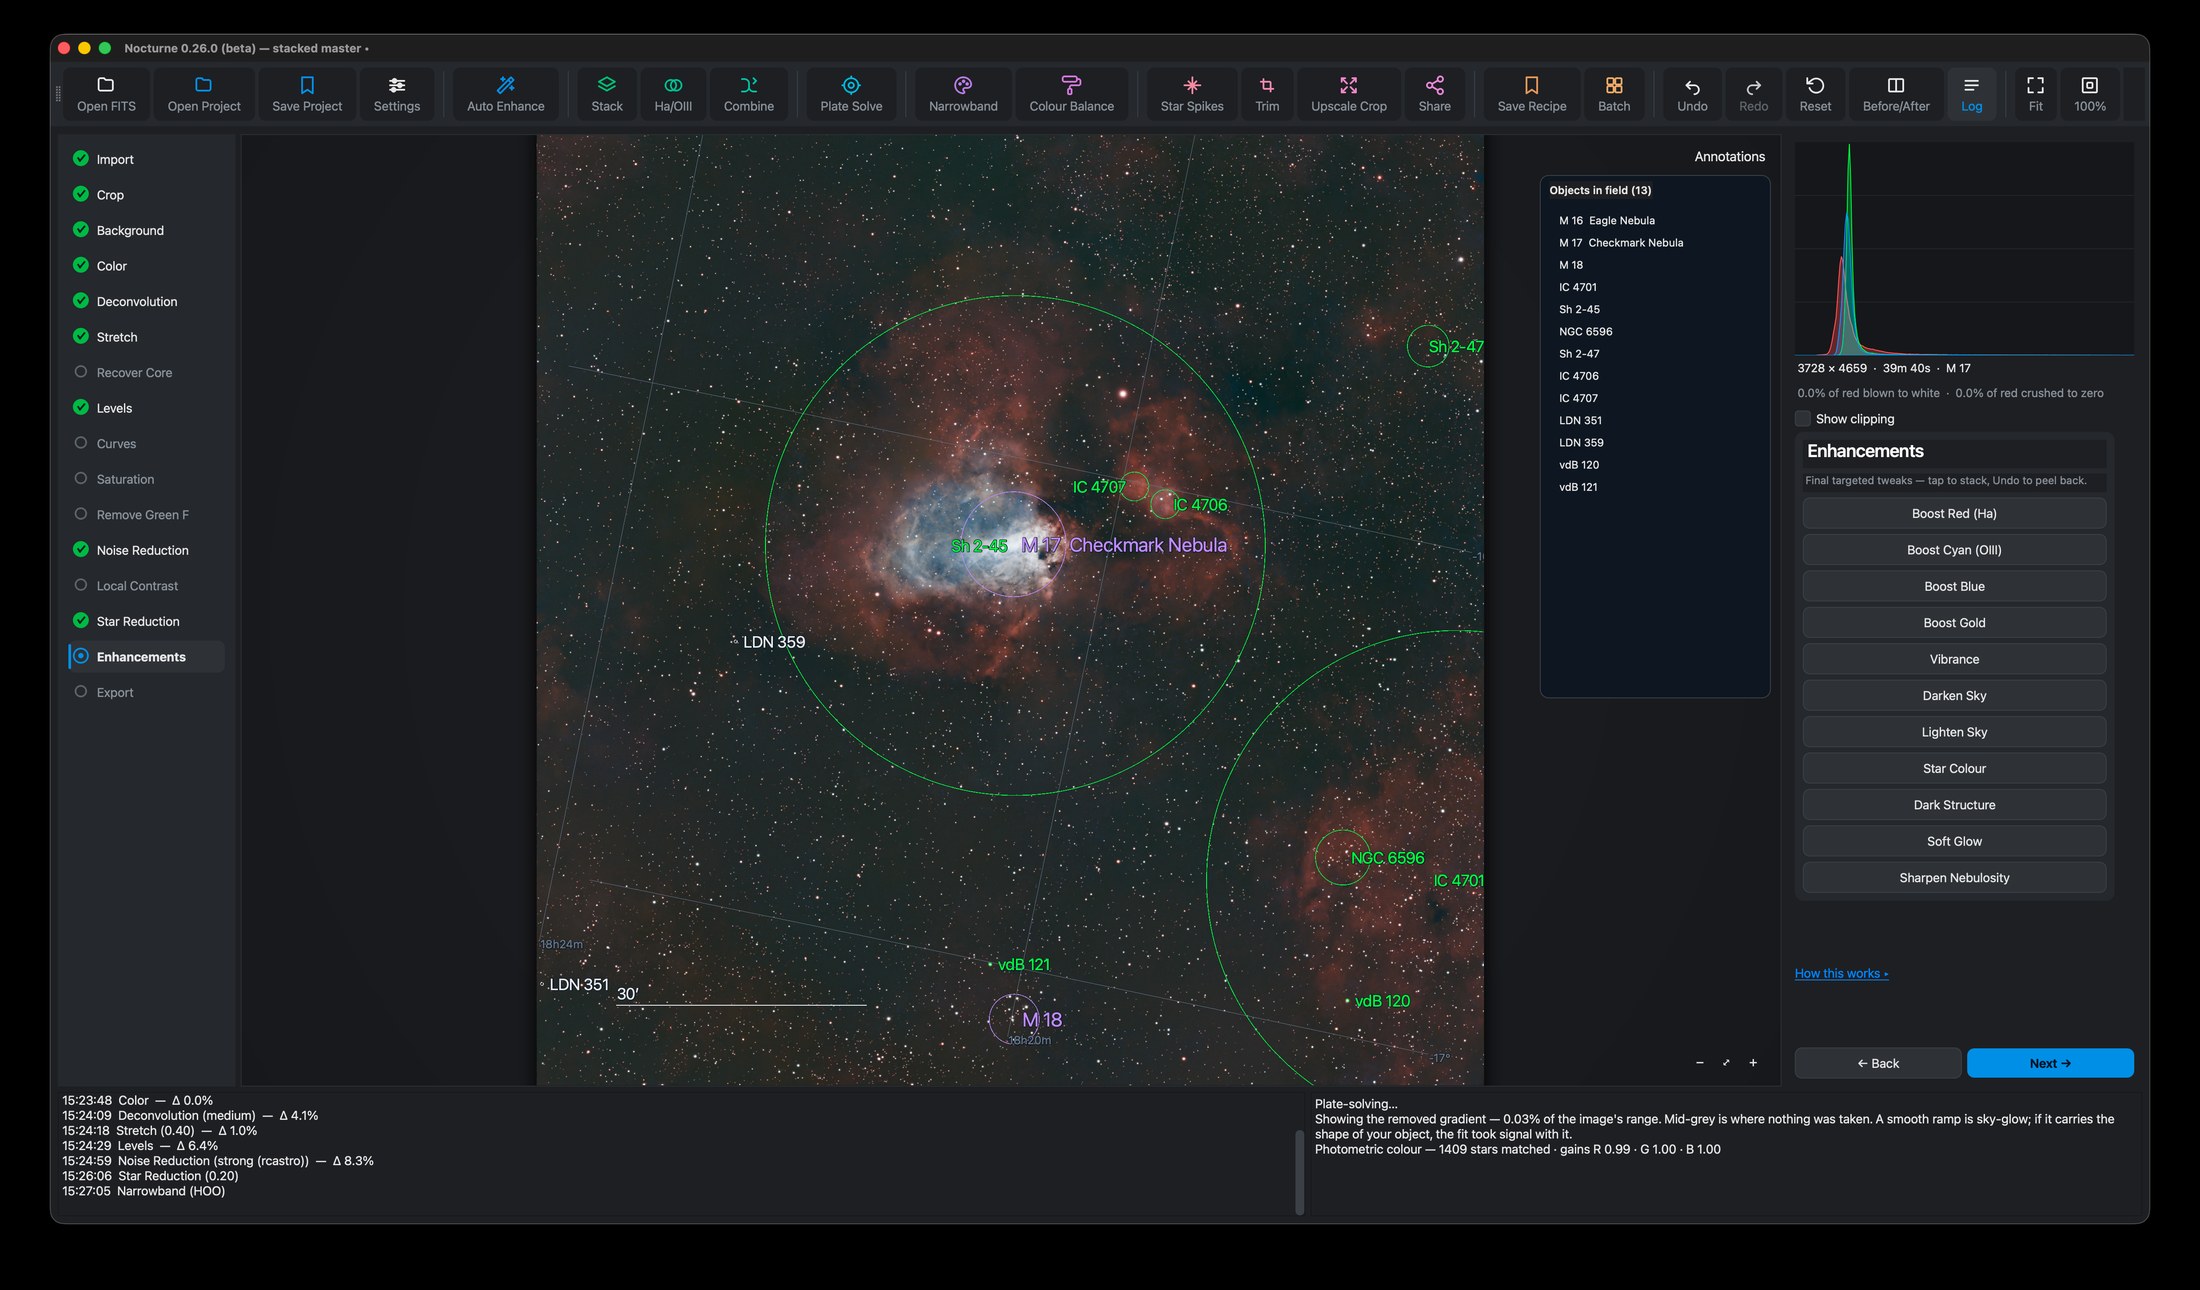
With ASTAP installed, Plate Solve works out exactly where your image points. Nocturne then identifies the target and can overlay deep-sky object labels, named bright stars, a compass and a scale bar — a great way to learn what's actually in your frame. Toggle the overlay on and off, and it burns into PNG exports if you want to keep it.