Start here
Your first picture in Nocturne
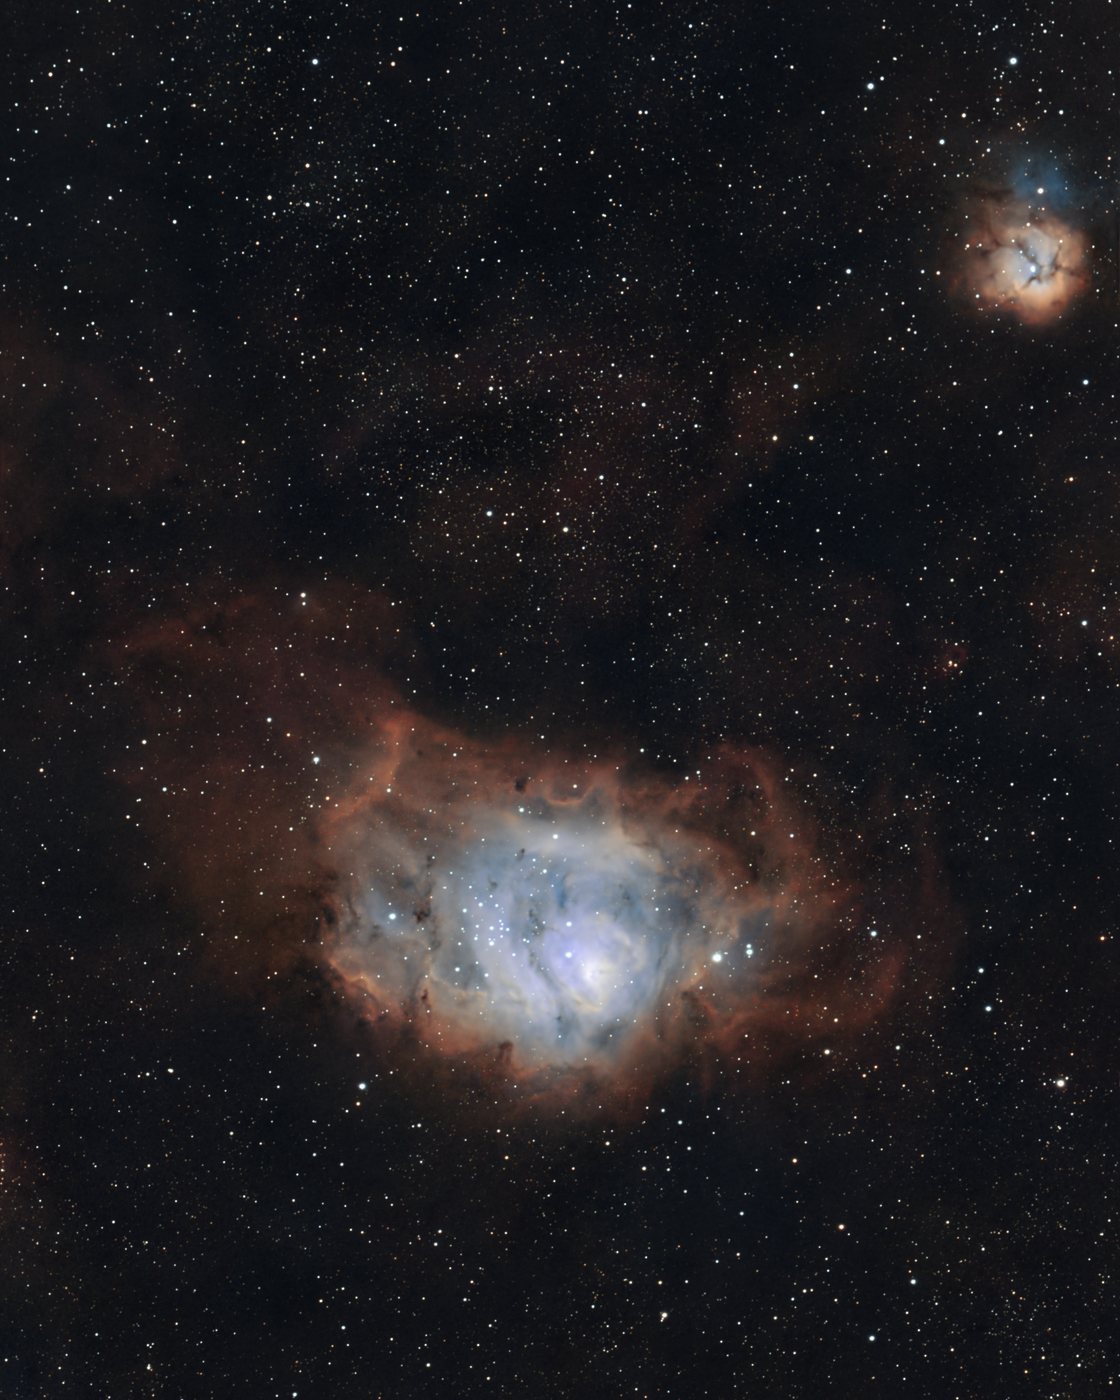
One free sample file, from the stack to a finished picture. Each step says what to click and what you should see, with the settings used for the picture below. Allow about half an hour the first time.
1. Get ready
Install Nocturne. Download it for macOS or Linux from the Download page. On a Mac, the first launch needs a right-click and Open; Install & set up explains why.
Download the sample. The stacked master of M 8 is one file of 92 MB: 460 exposures of 10 seconds, 1 hour 17 minutes in all, taken with a Seestar S30 Pro.
Download the M 8 masterFITS · 92 MB
Everything on this page uses free tools. Optional, but worth it: GraXpert and StarNet2 are free and make Background and the star-aware steps work better. Everything below also works without them; the steps that need one say so.
2. Open the file
Click Open Image in the toolbar and choose M8_460x10s_77min.fits.
In the Import panel, click Unlinked. It evens out the three colour channels, which
brings out more variety in the colour of the stars and dust. Nocturne then skips the
Colour step for you, because an unlinked stretch makes it unnecessary.
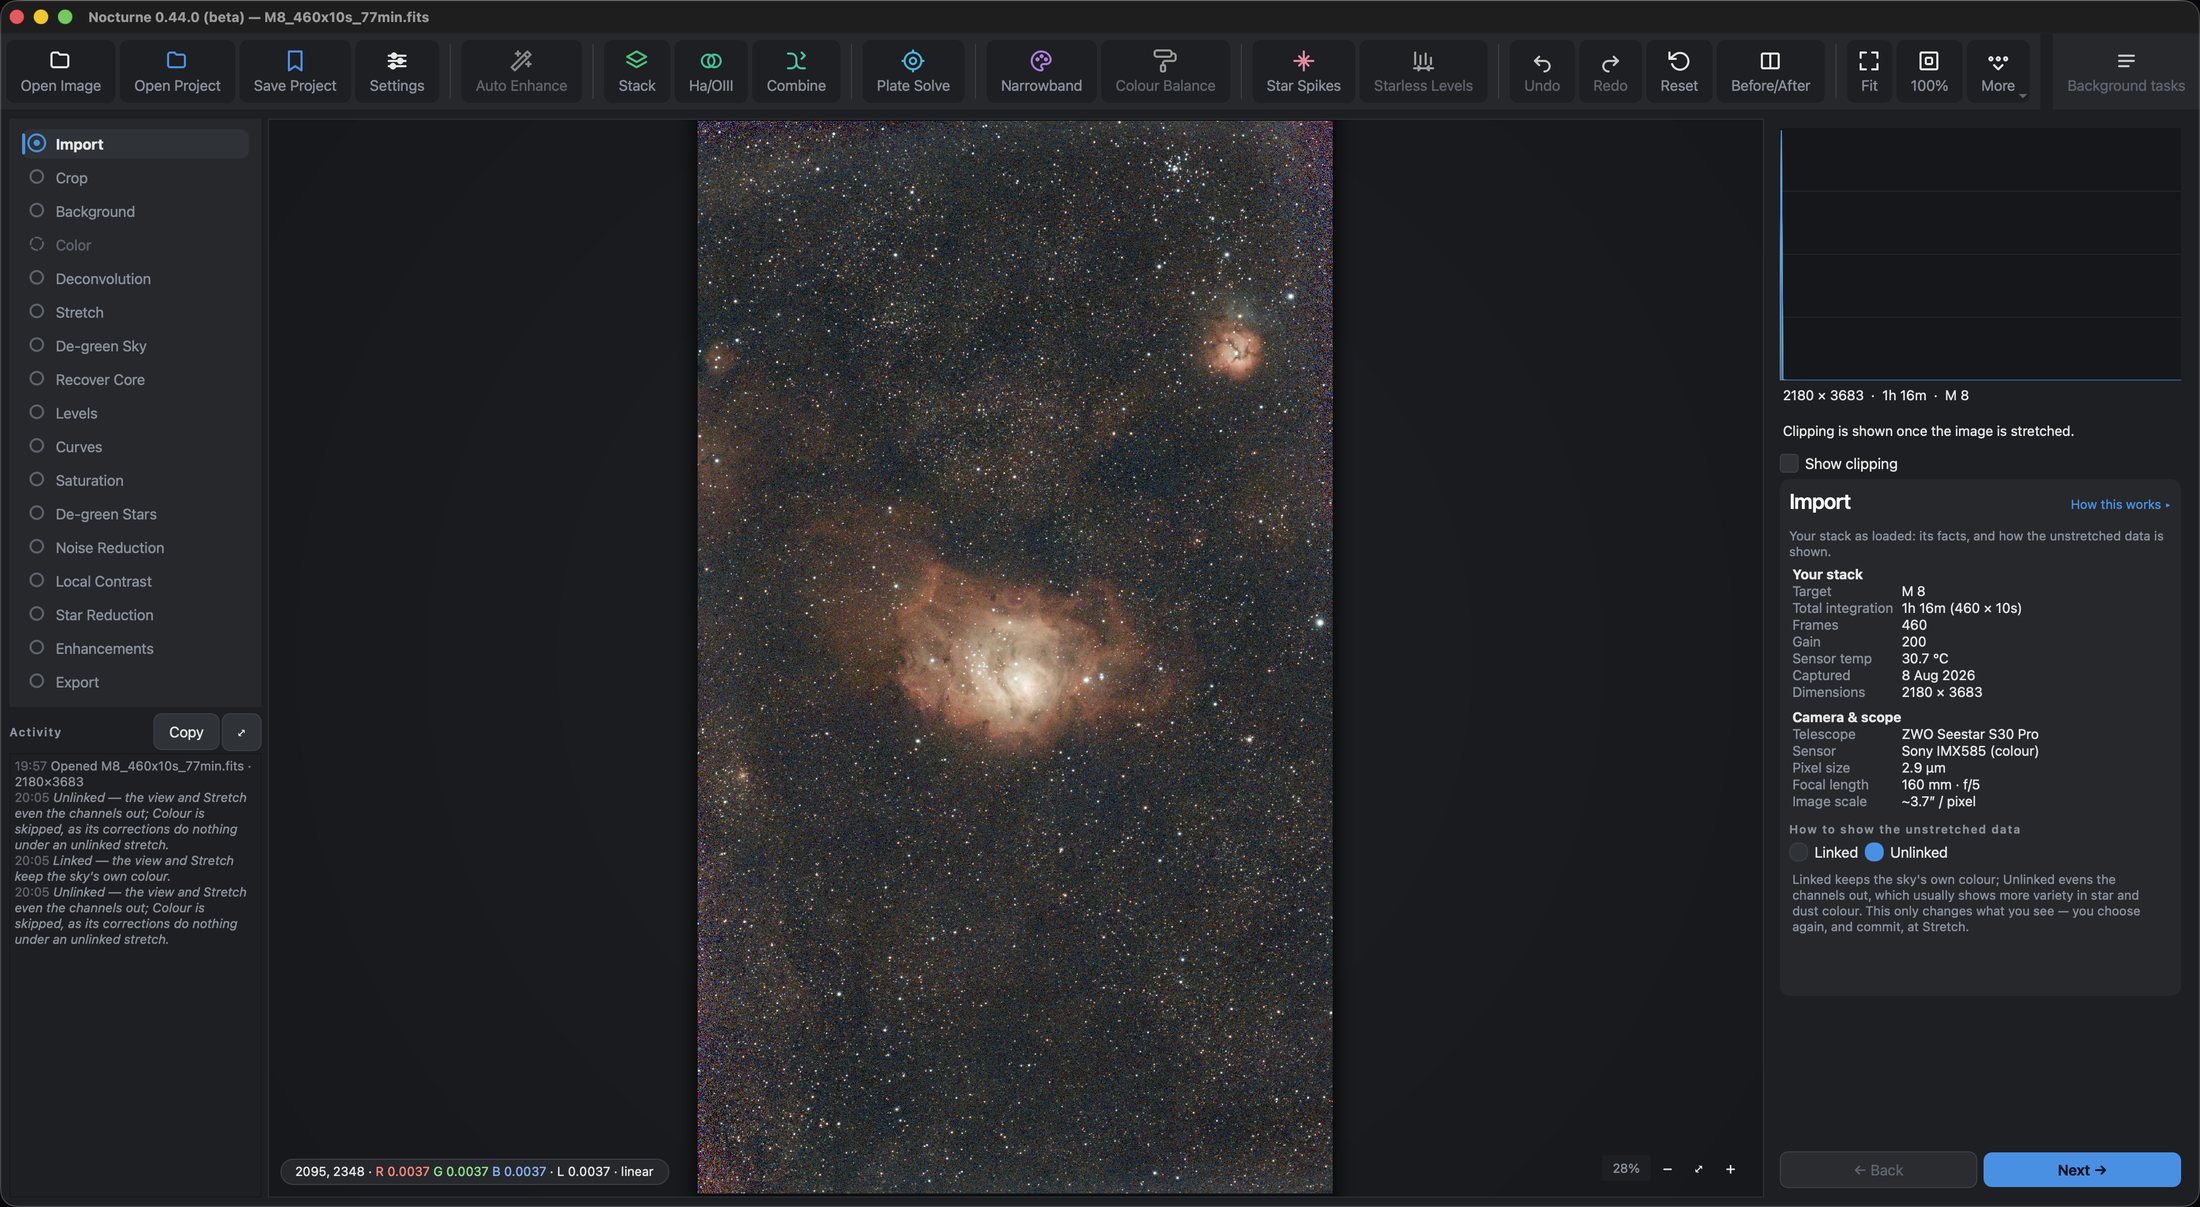
You should see: the Lagoon, already visible. Nocturne shows a brightened preview so you can see what you’re working on, but the data itself is still dark and untouched until the Stretch step; why a raw file looks black explains it.
Click Next to move on. You can go back to any step at any time, and nothing is permanent until you export.
3. Prepare the data
Crop
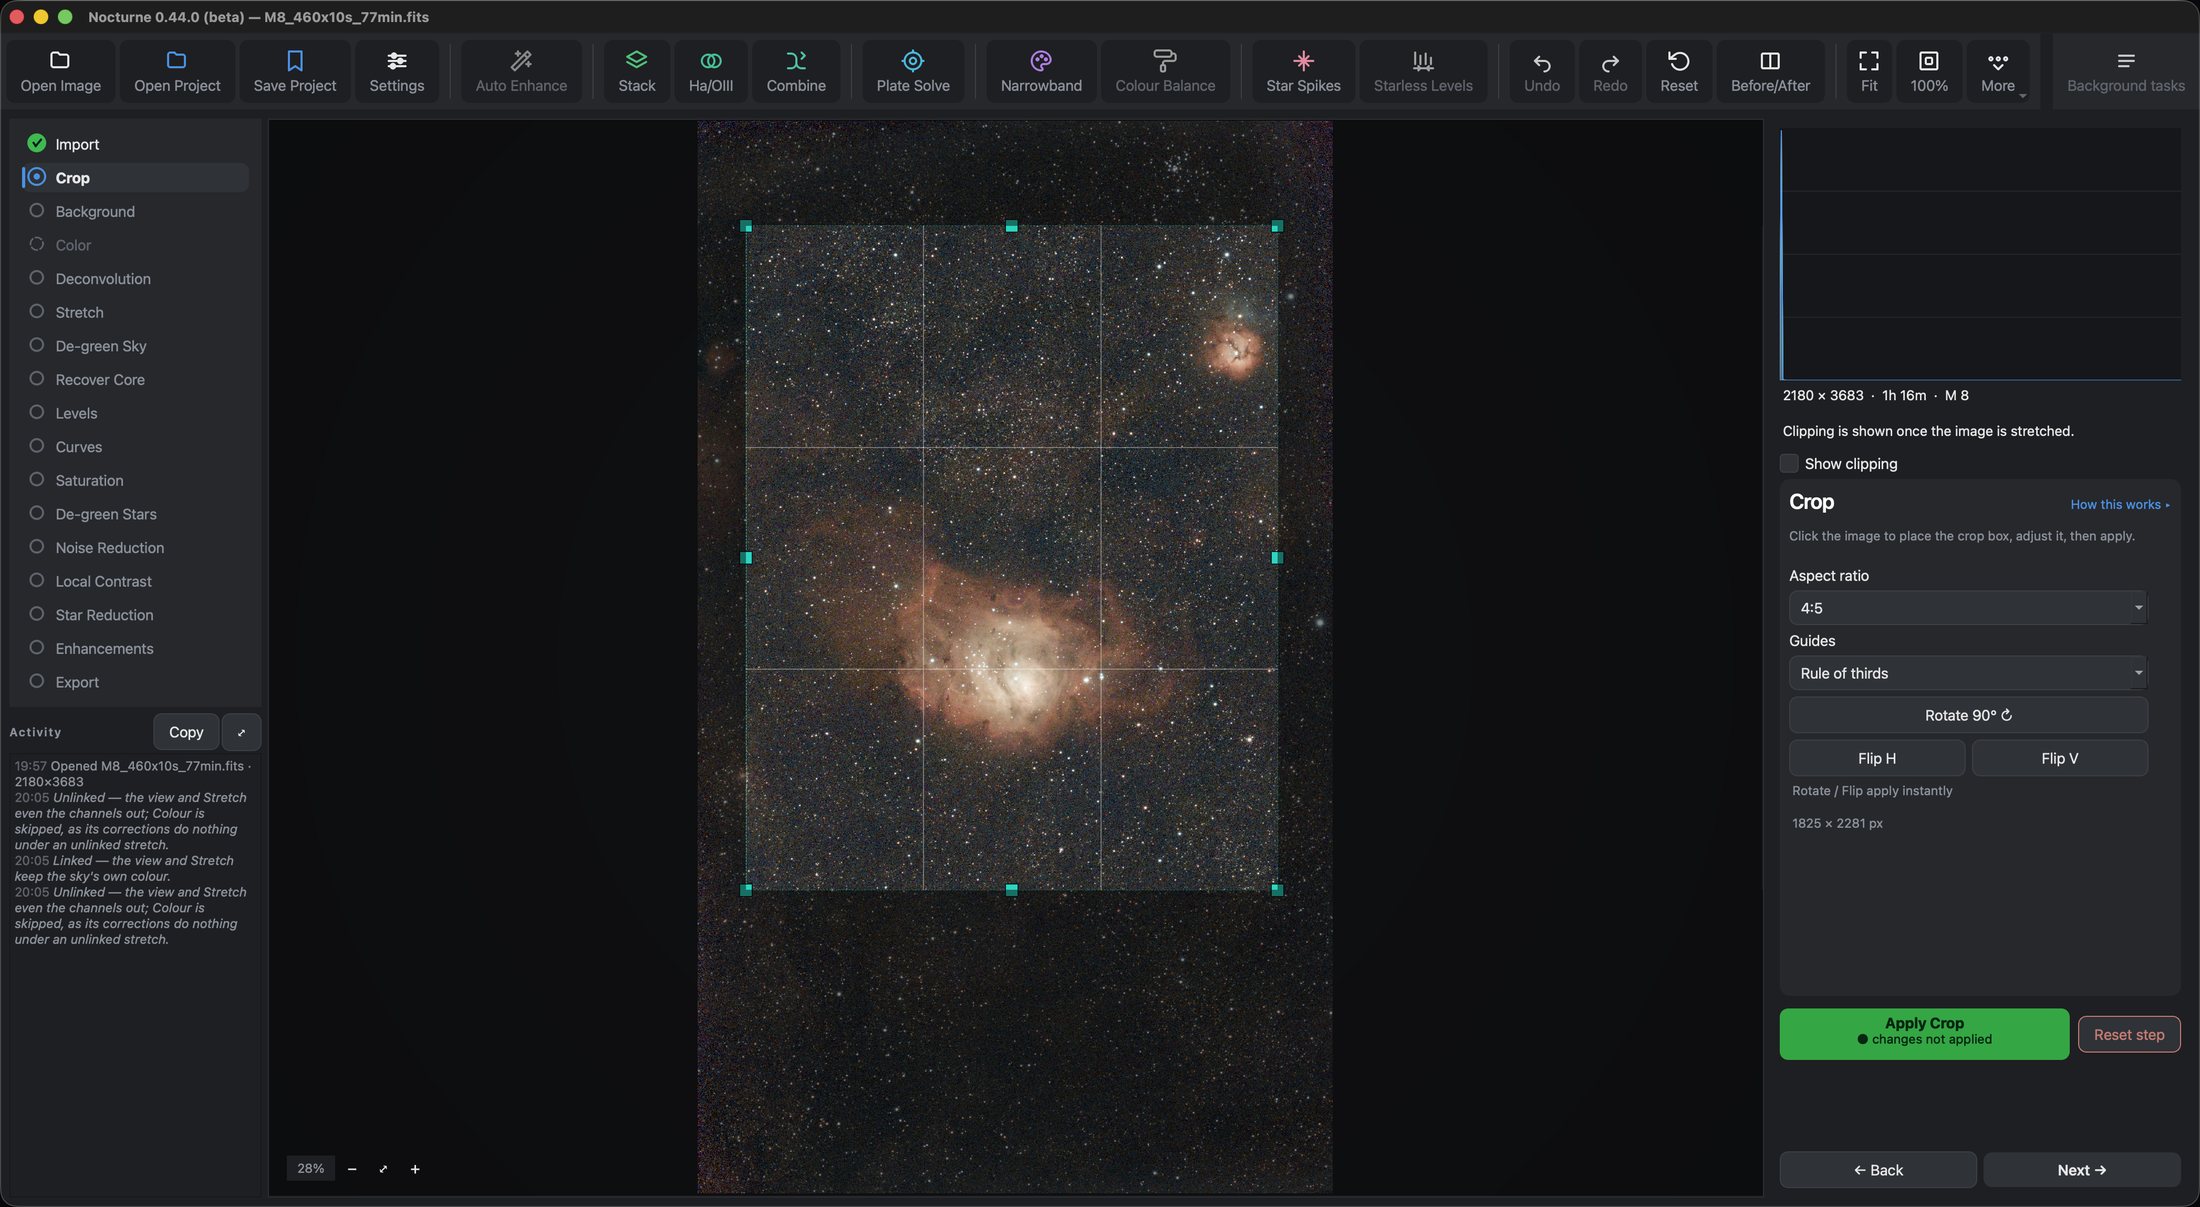
Choose the aspect ratio 4:5 and the guides Rule of thirds. Click the picture to place the crop box and move it so the Lagoon sits on one of the thirds, with the Trifid inside the frame. Keep the box inside the ragged edges the stacking left, then click Apply Crop.
Background
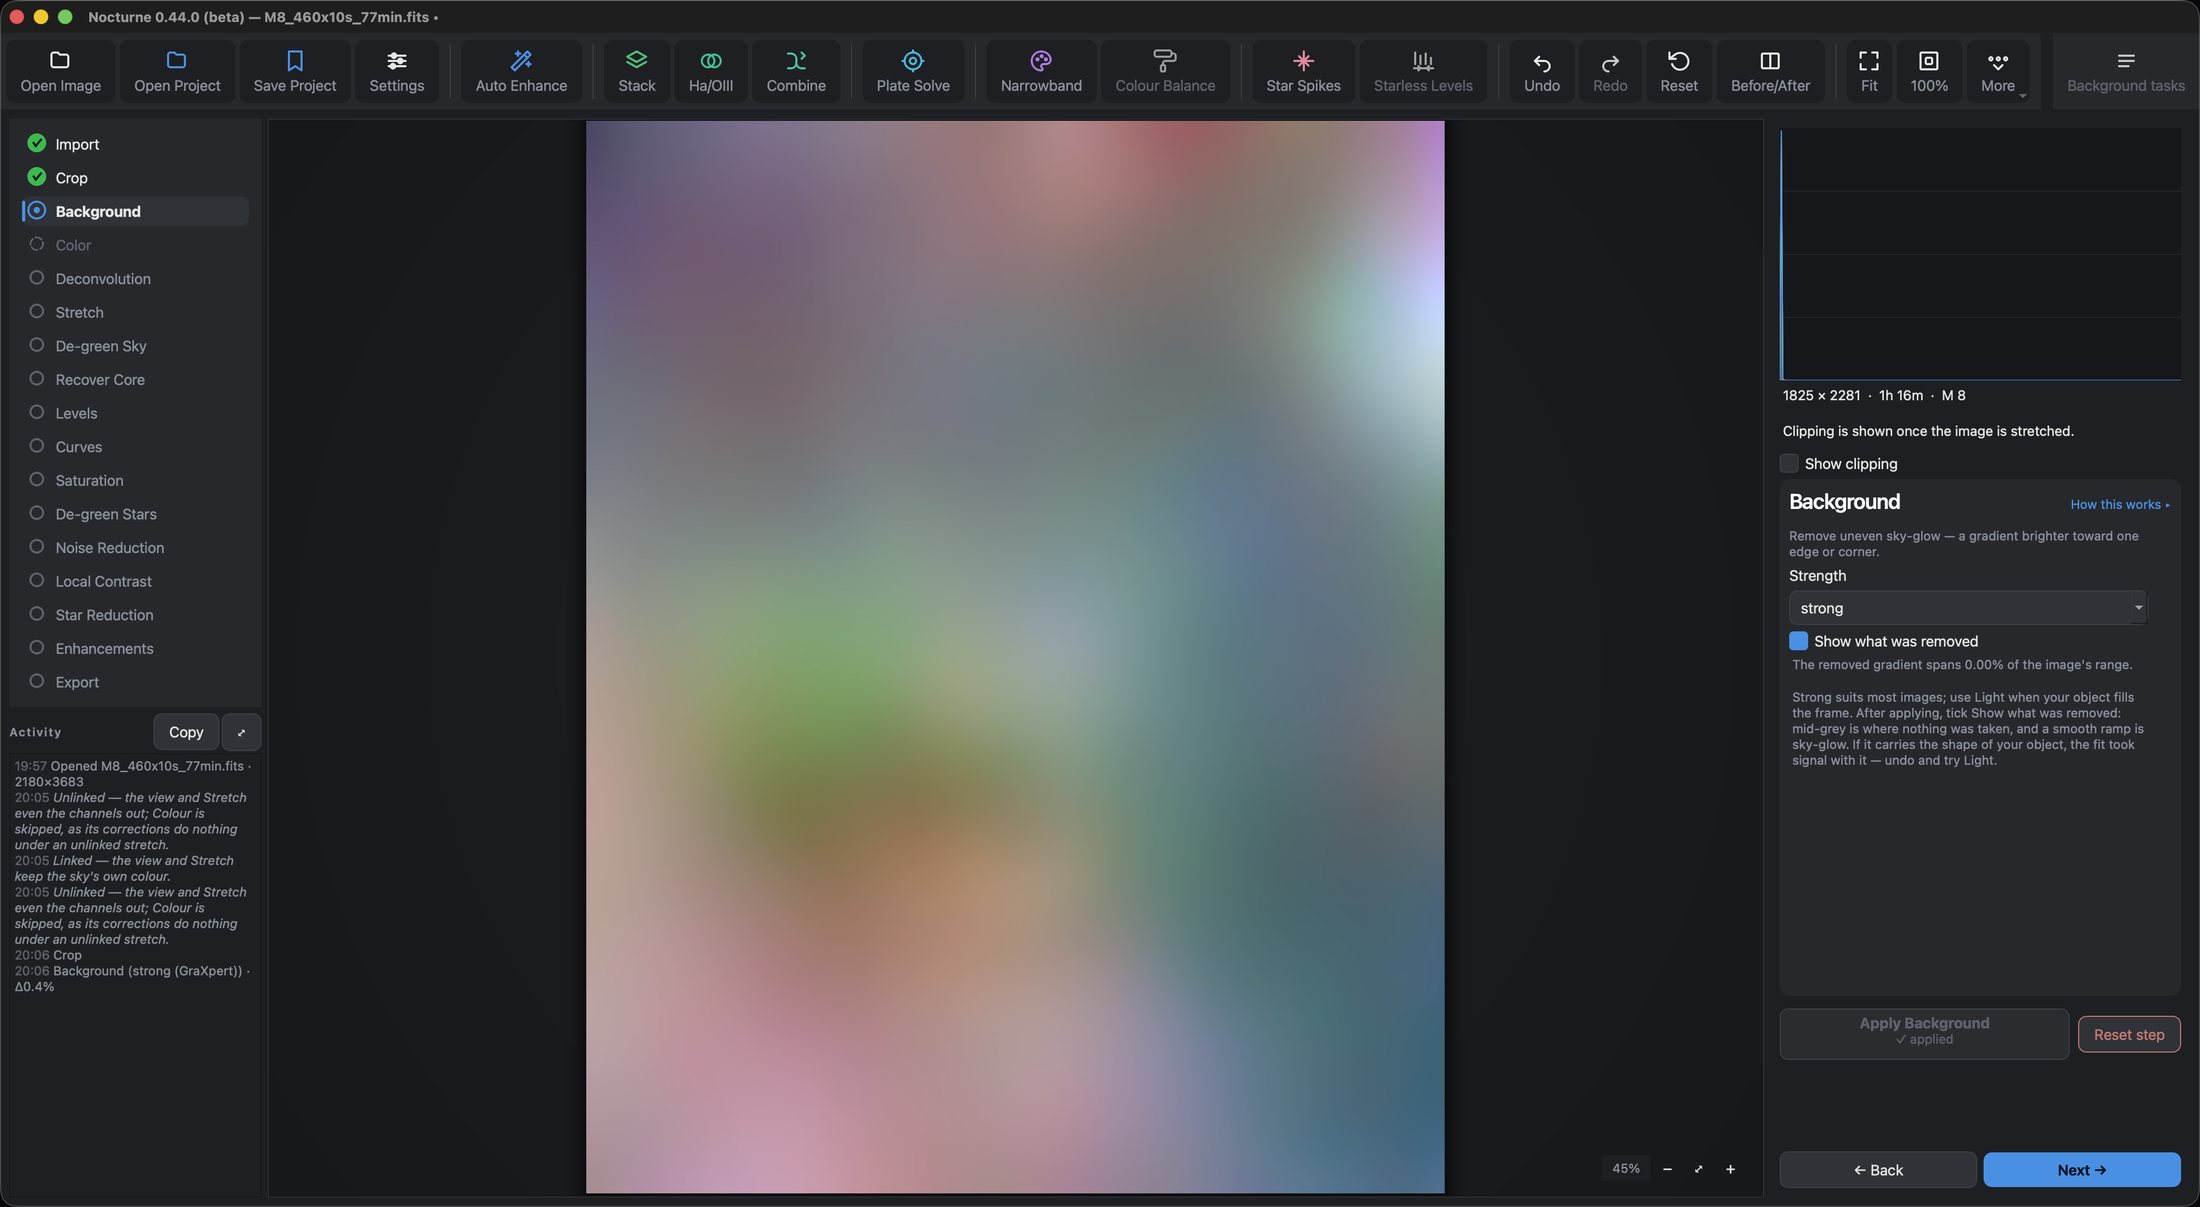
Choose strong and click Apply Background. Background removes the uneven glow of the sky. It needs GraXpert; without it, click Next.
Then tick Show what was removed. You should see: soft, smooth patches of colour, the glow on its own. That is right. If it carried the shape of the nebula, you would undo and try light. Untick it before moving on.
Deconvolution
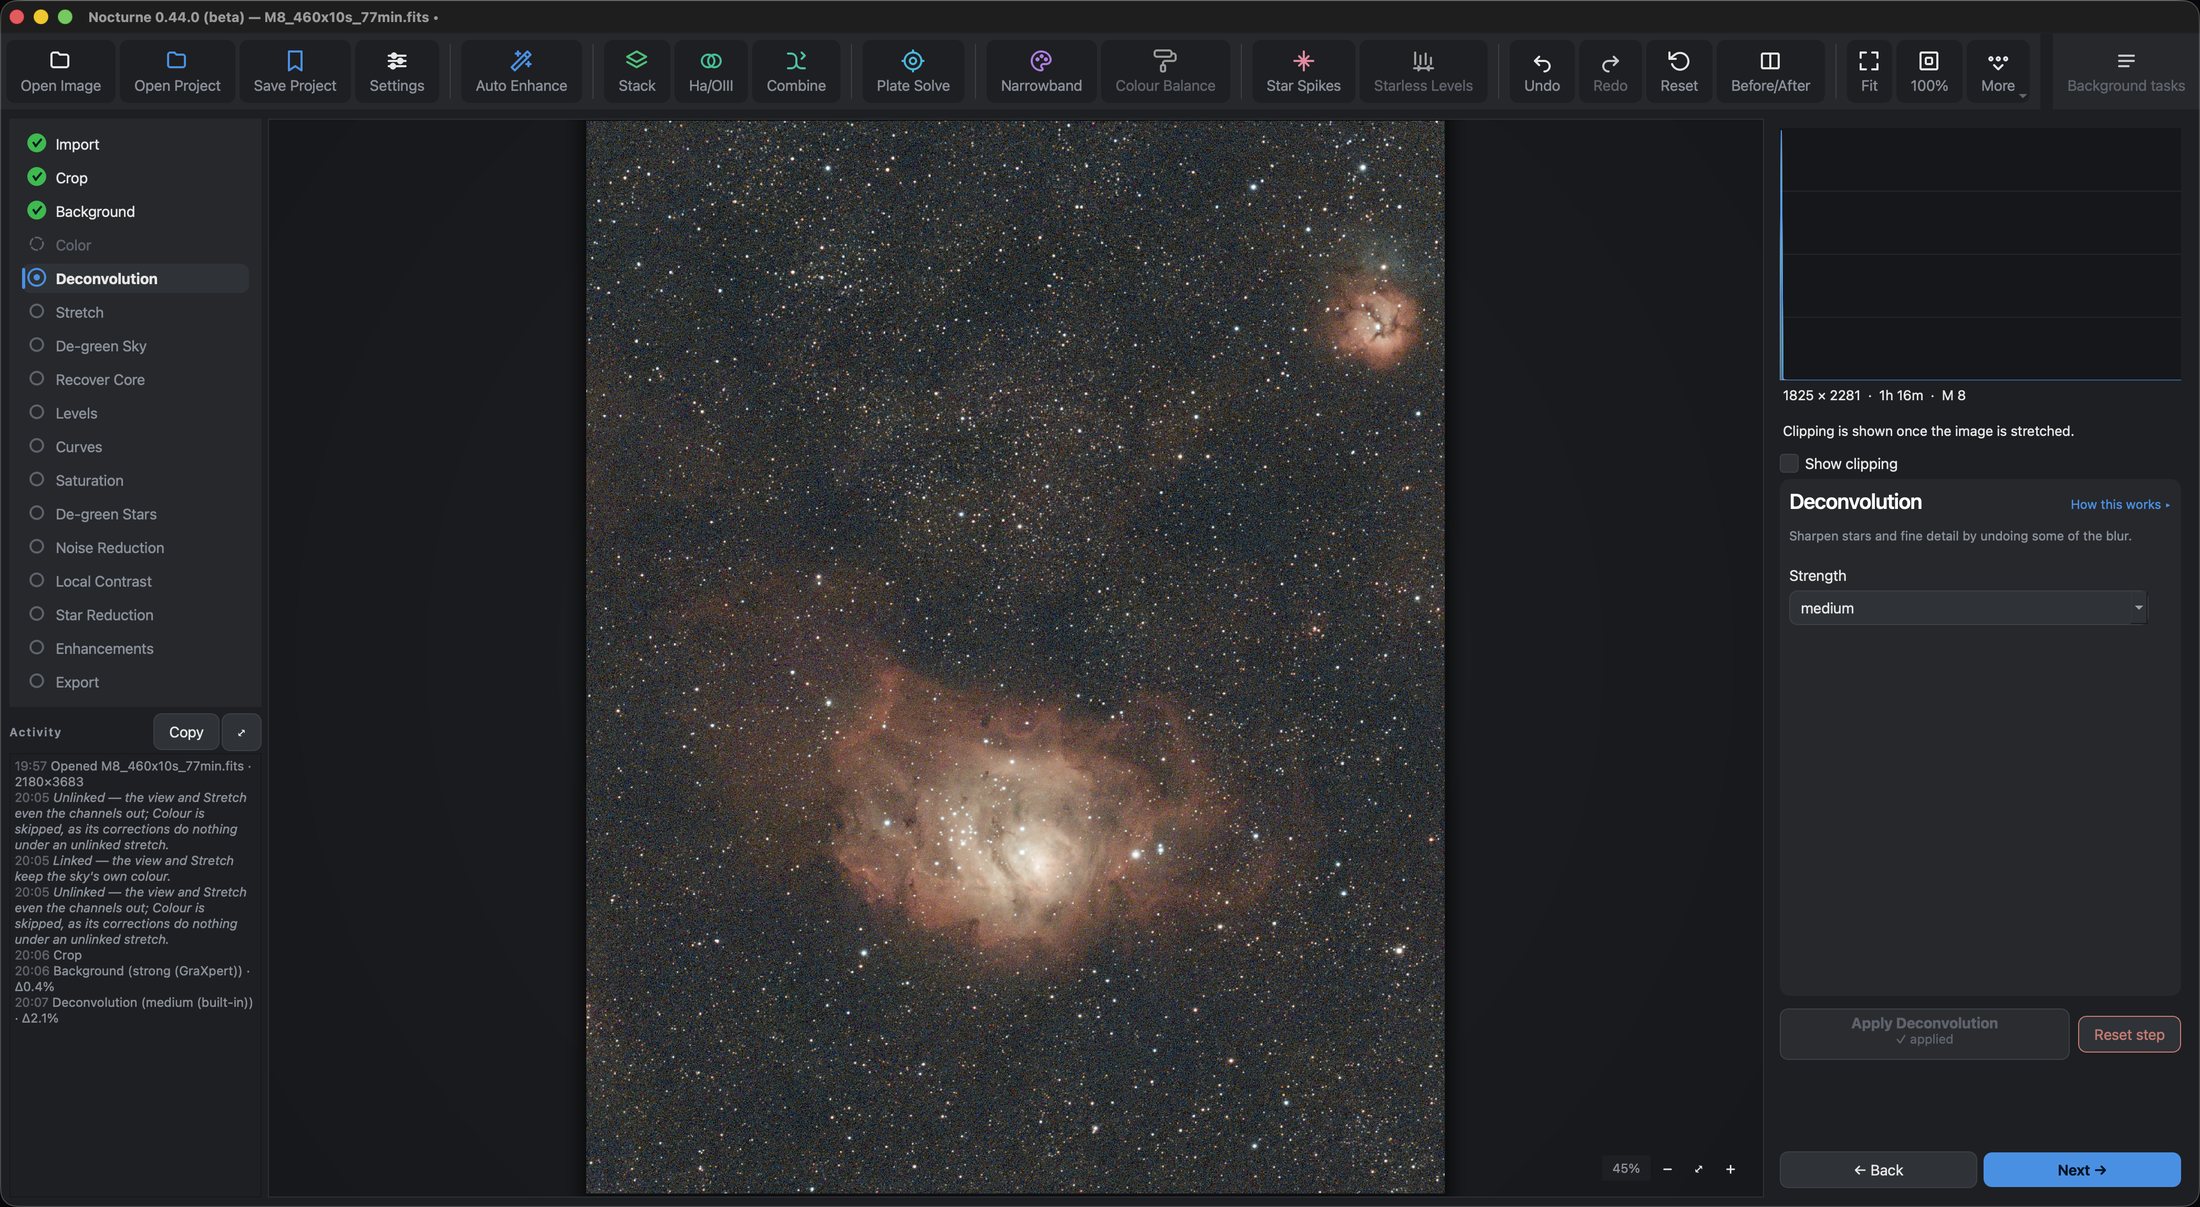
Click Next; Colour is skipped, as promised. Choose medium and click Apply Deconvolution. It sharpens the stars and fine detail a little.
4. Make the picture appear
Stretch
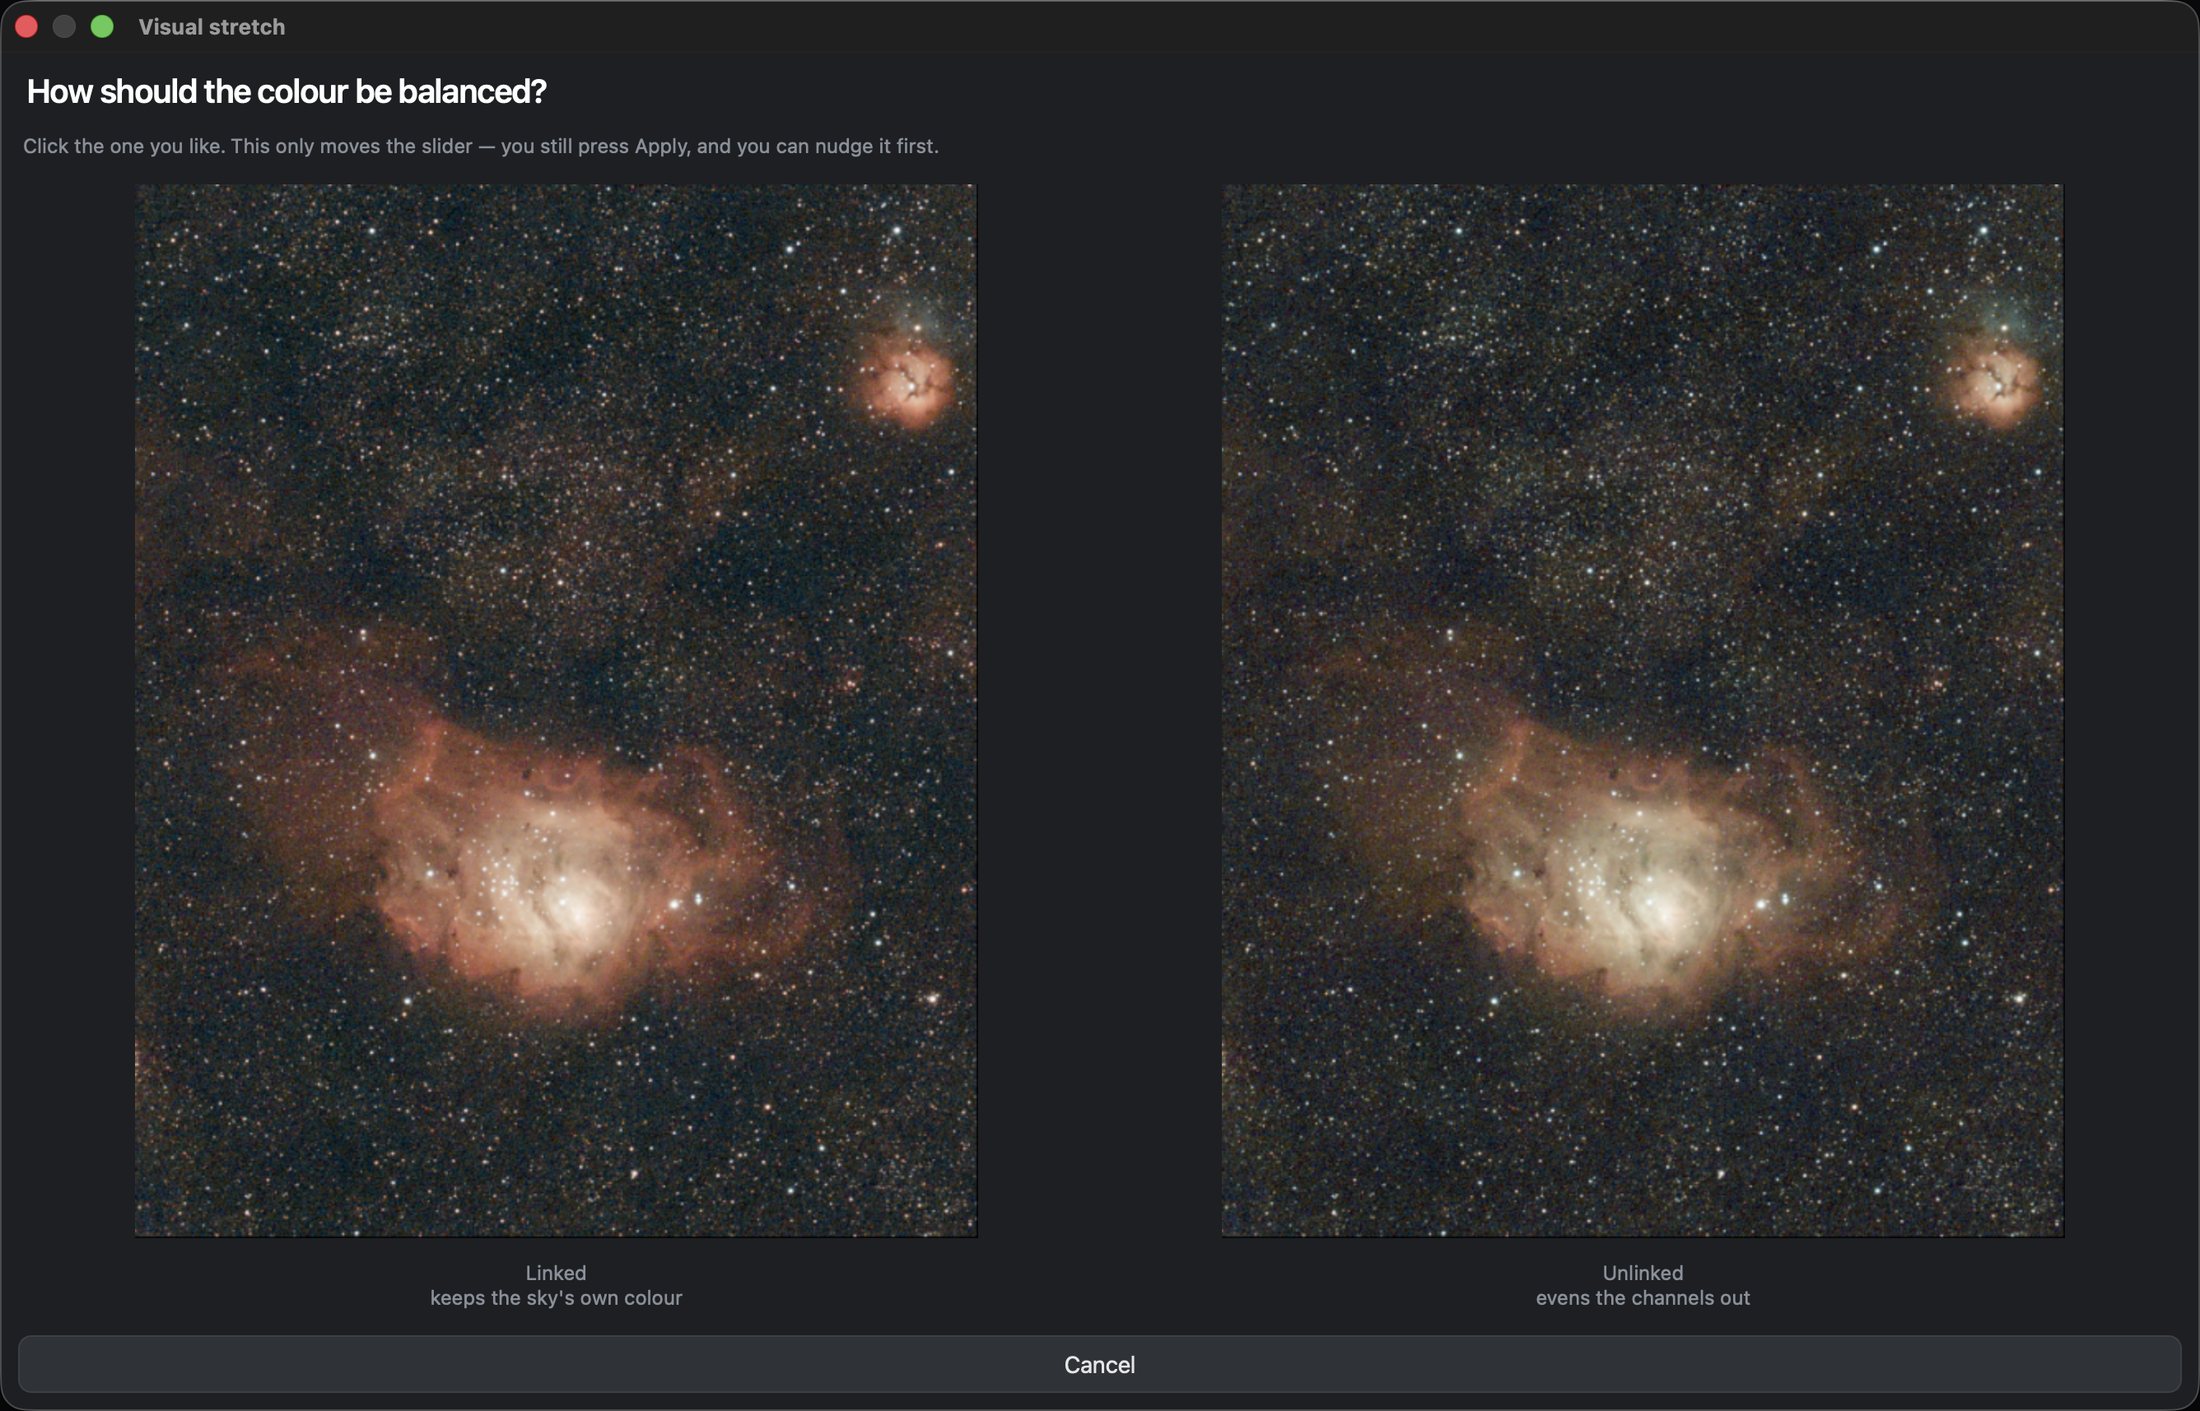
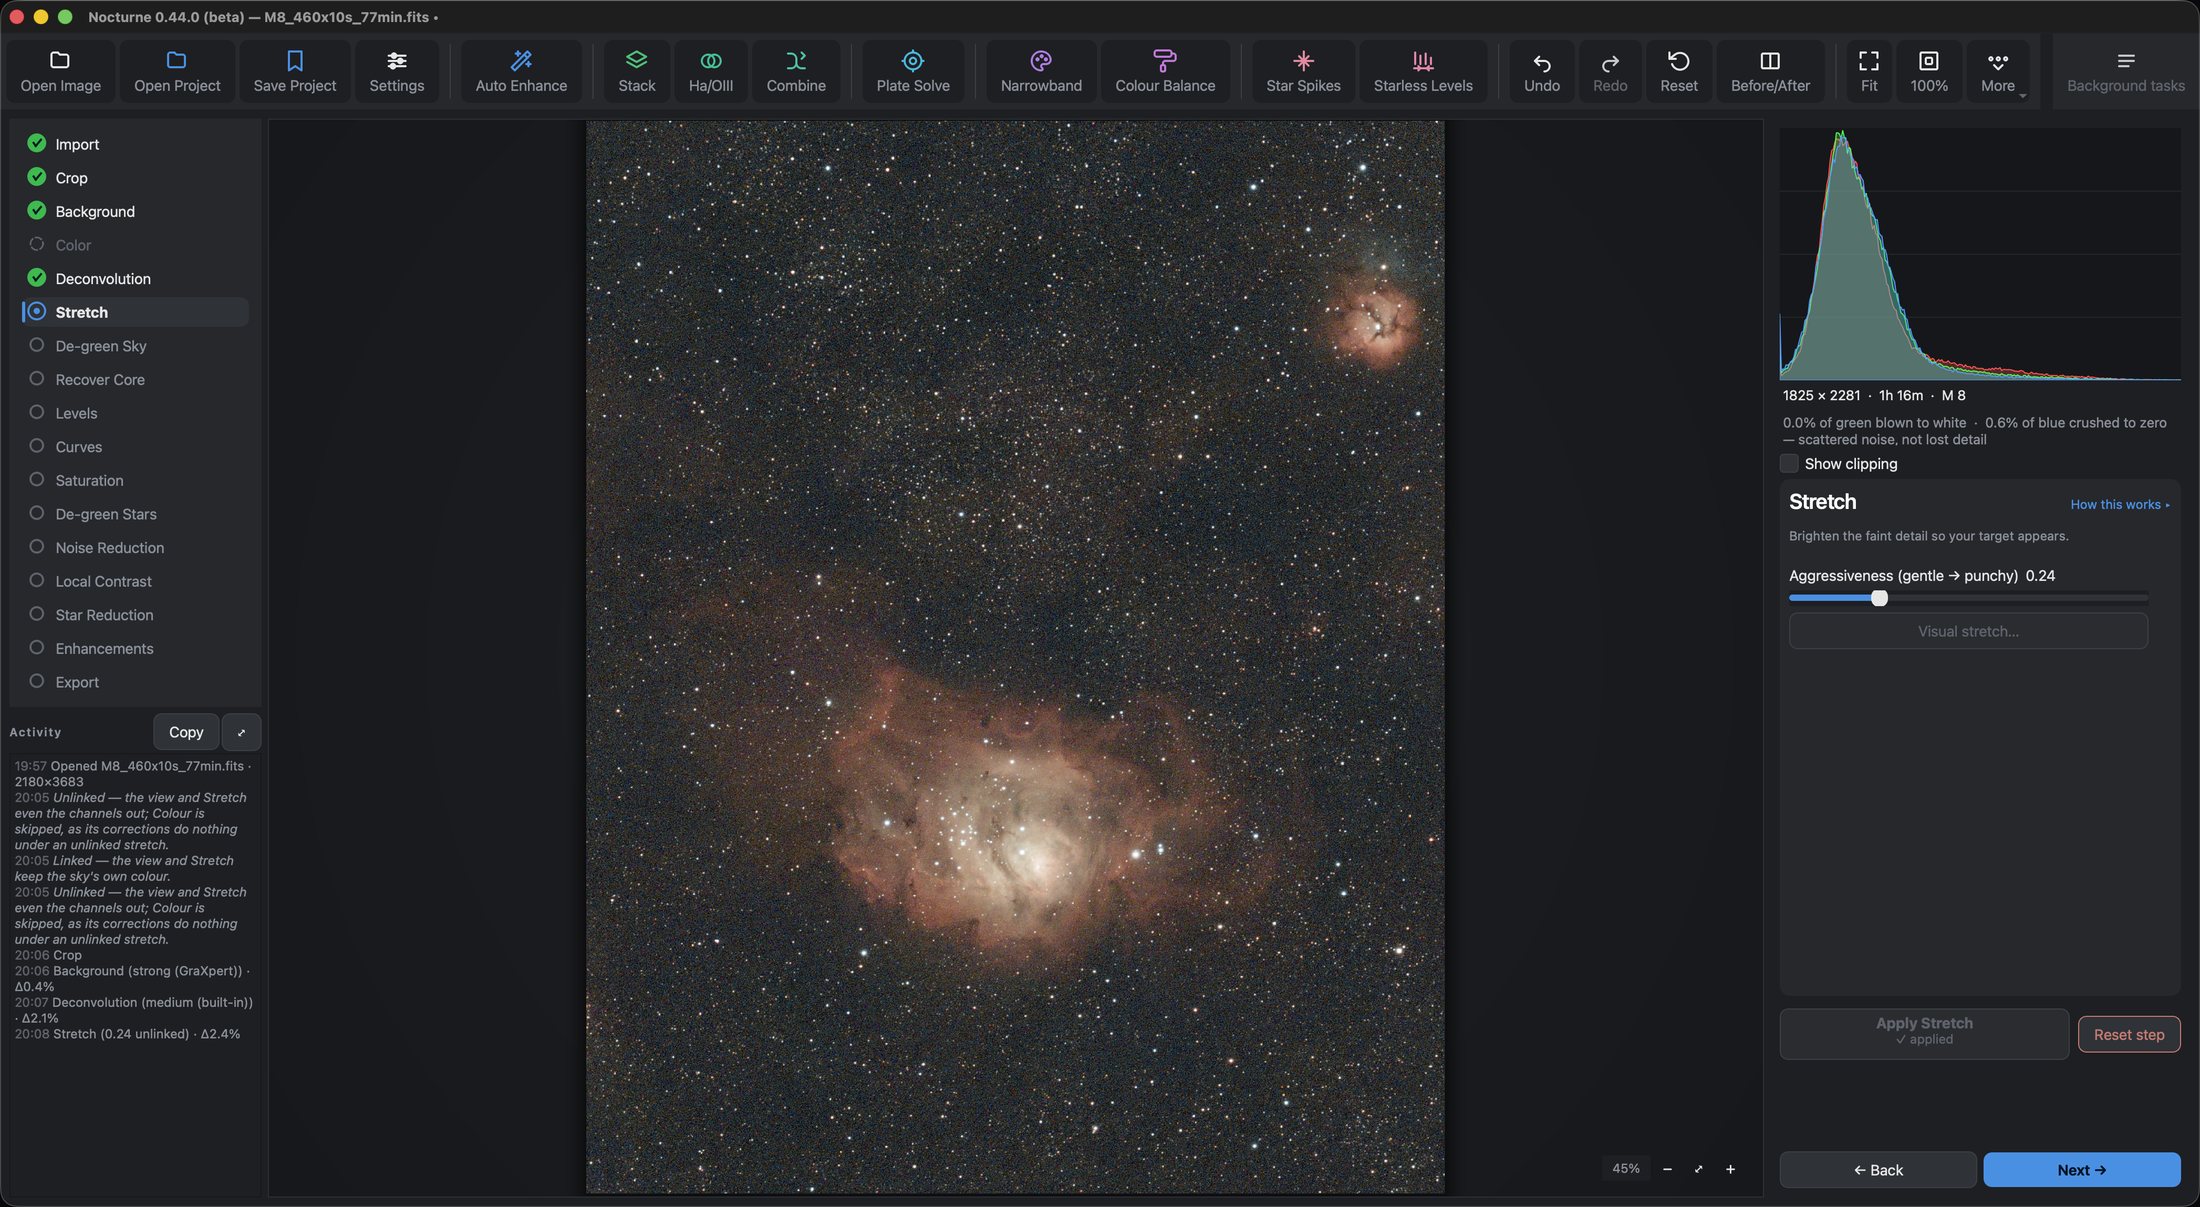
This is the step where the picture really appears. Click Visual stretch…. It shows your own image several ways and asks two questions. First the colour: click Unlinked.
Then the brightness: six versions from darkest to brightest. Click Balanced. A darker sky looks cleaner; a brighter one shows more faint detail, along with more grain.
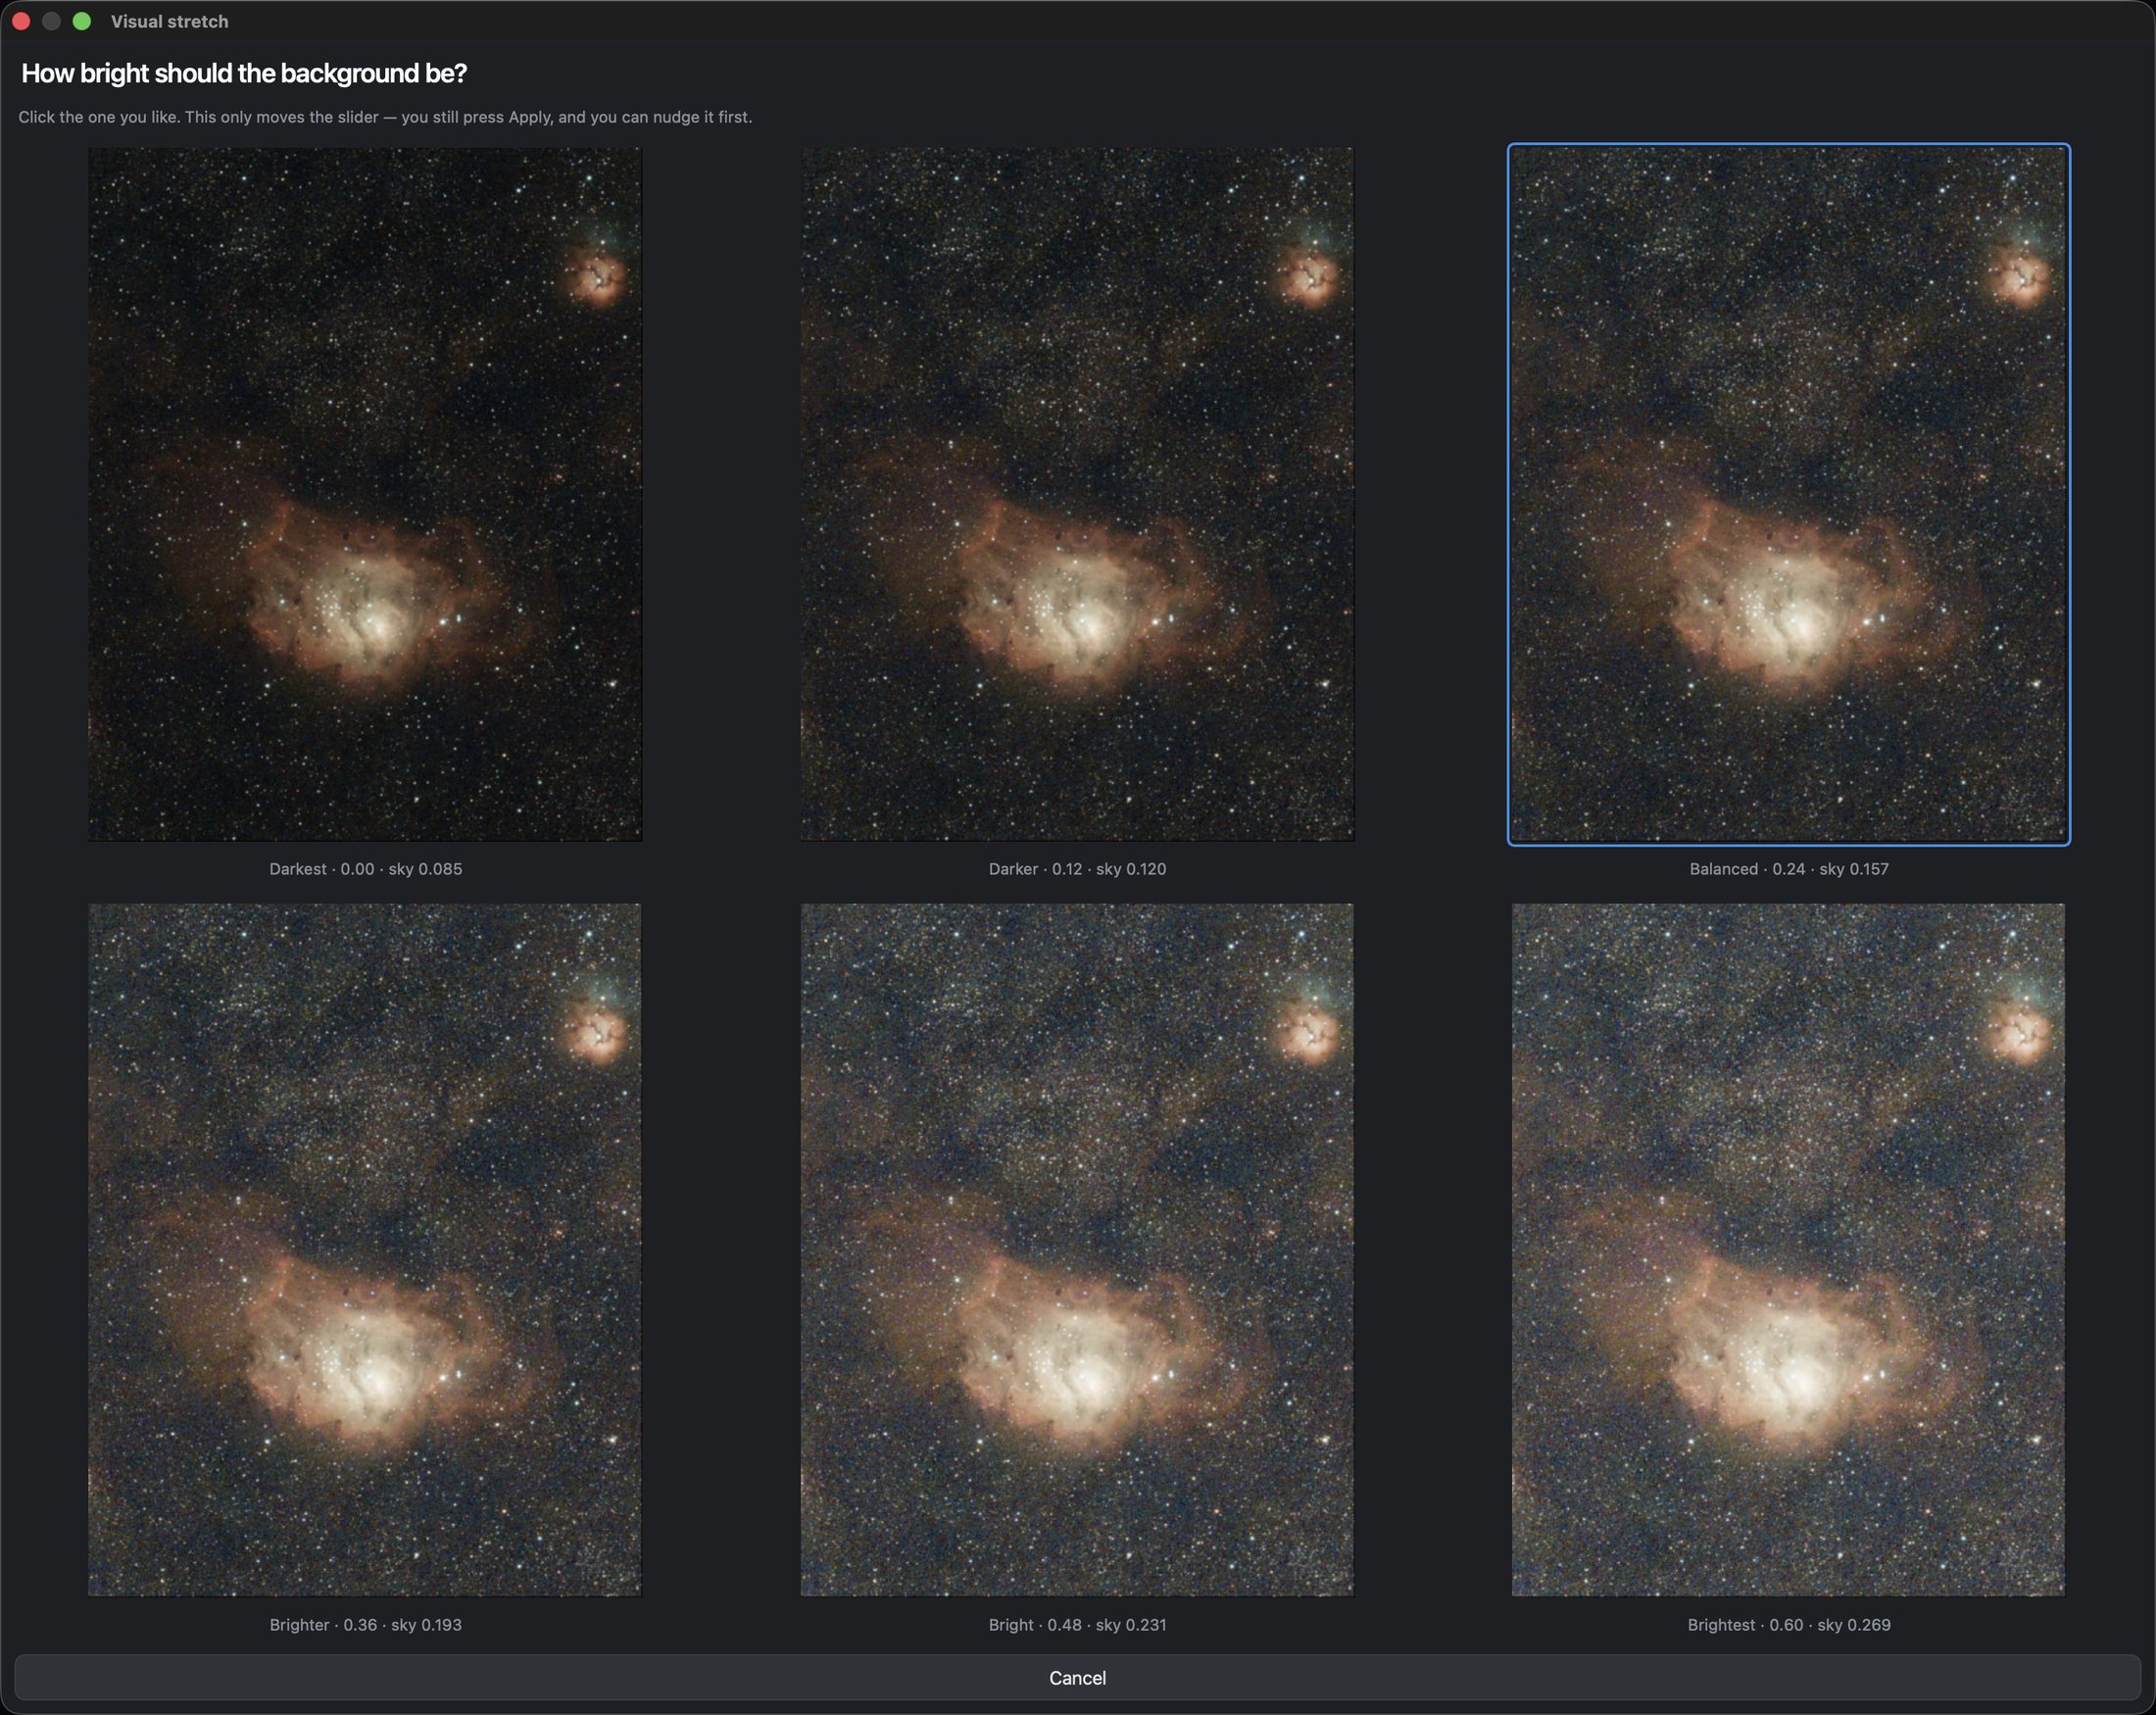
Your choice moves the slider. Click Apply Stretch to keep it.
De-green Sky
Set it to 0.50 and click Apply De-green Sky. It takes out a green tint that can sit over the sky after the stretch.
Recover Core
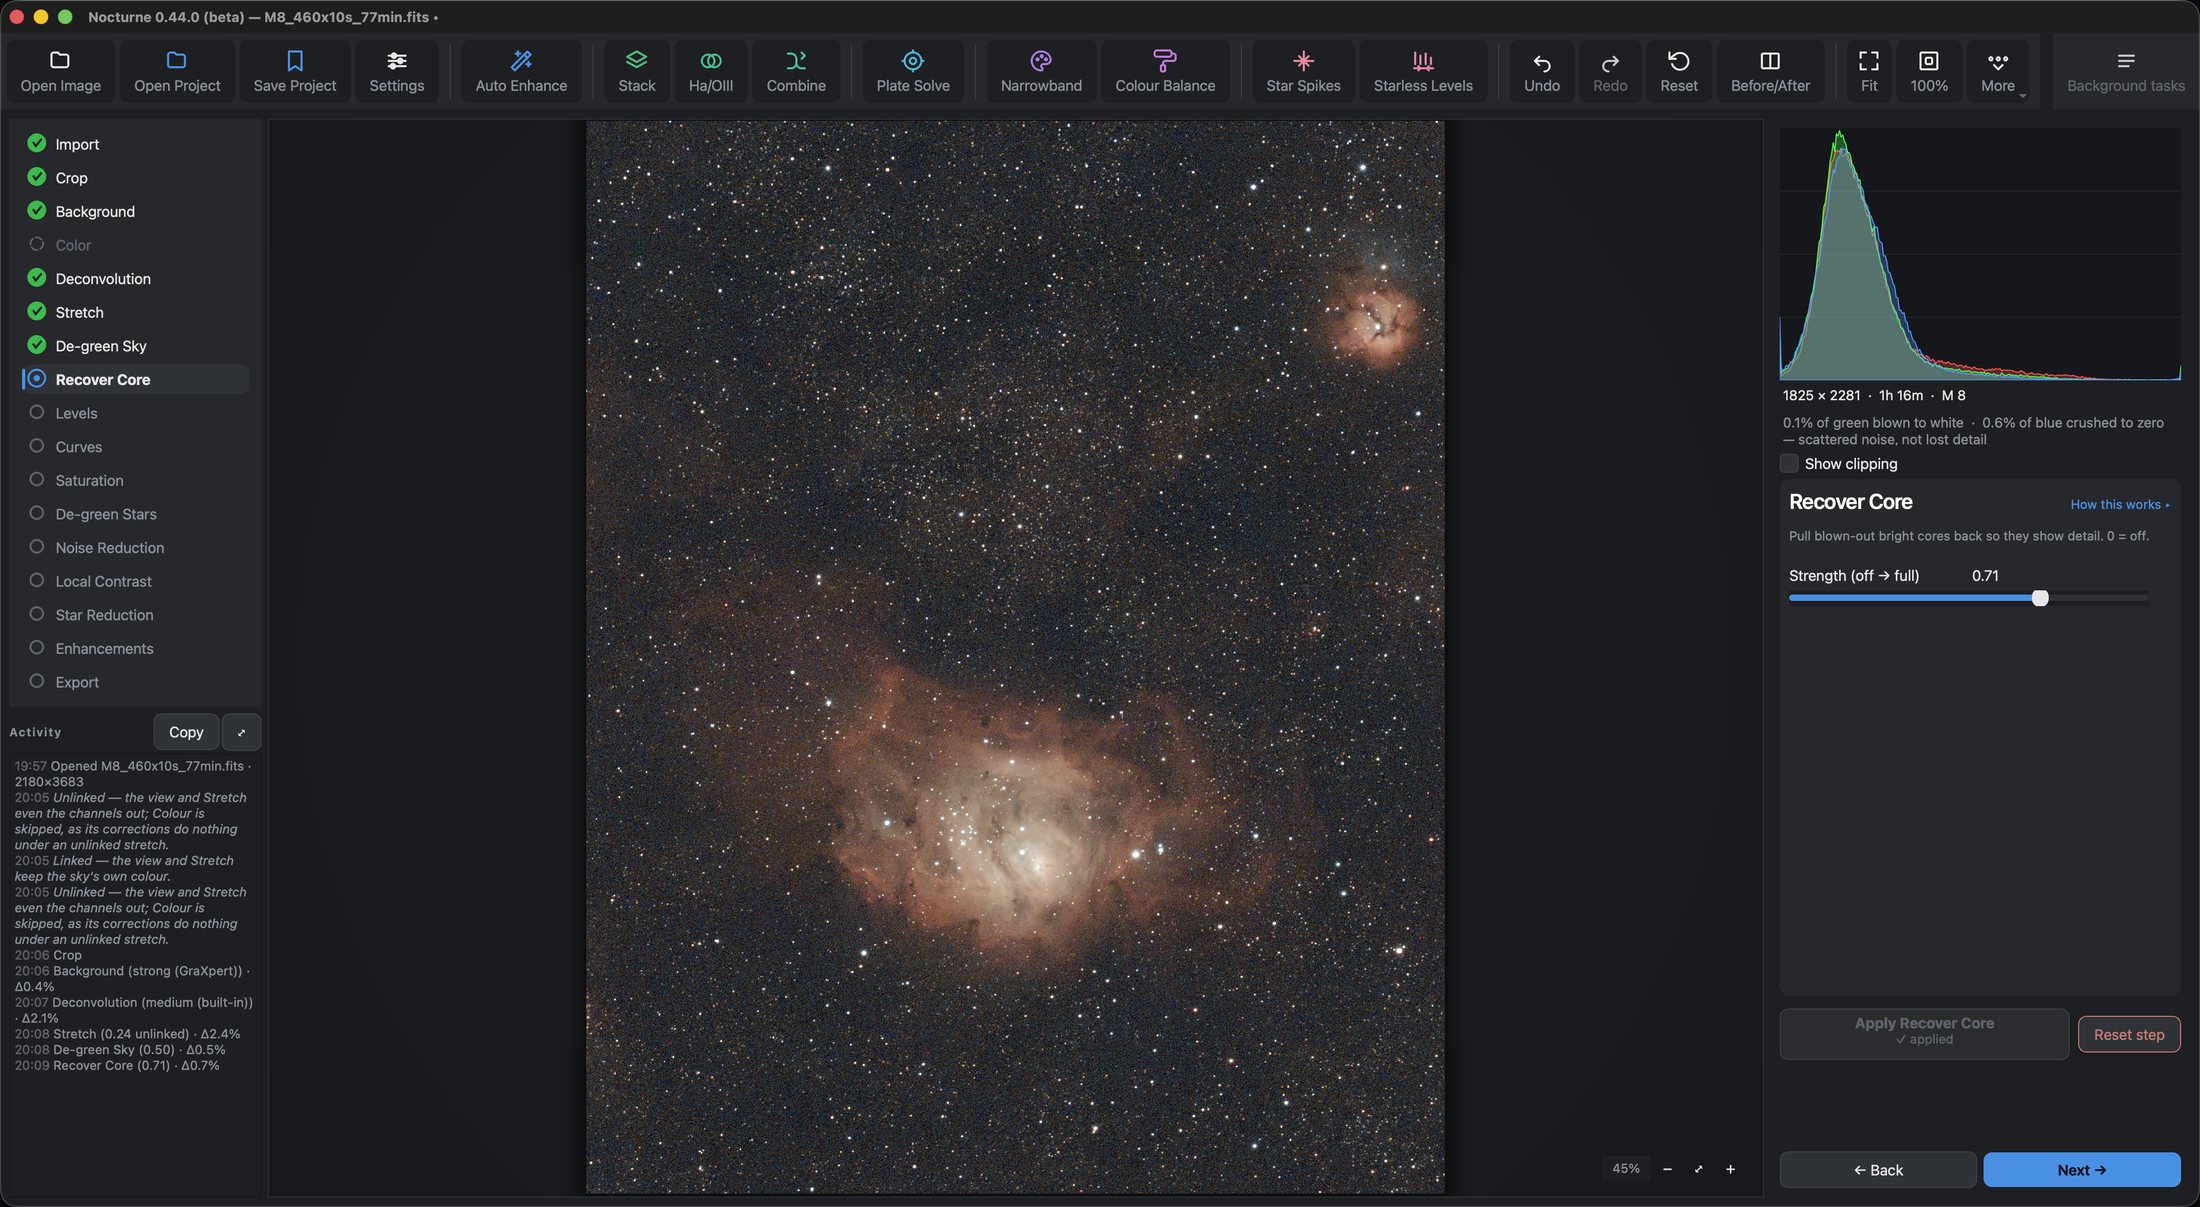
M 8 has a very bright core, and the stretch leaves it close to white. Set Recover Core to about 0.70 and click Apply Recover Core. You should see: detail and colour come back into the brightest part of the Lagoon.
Levels
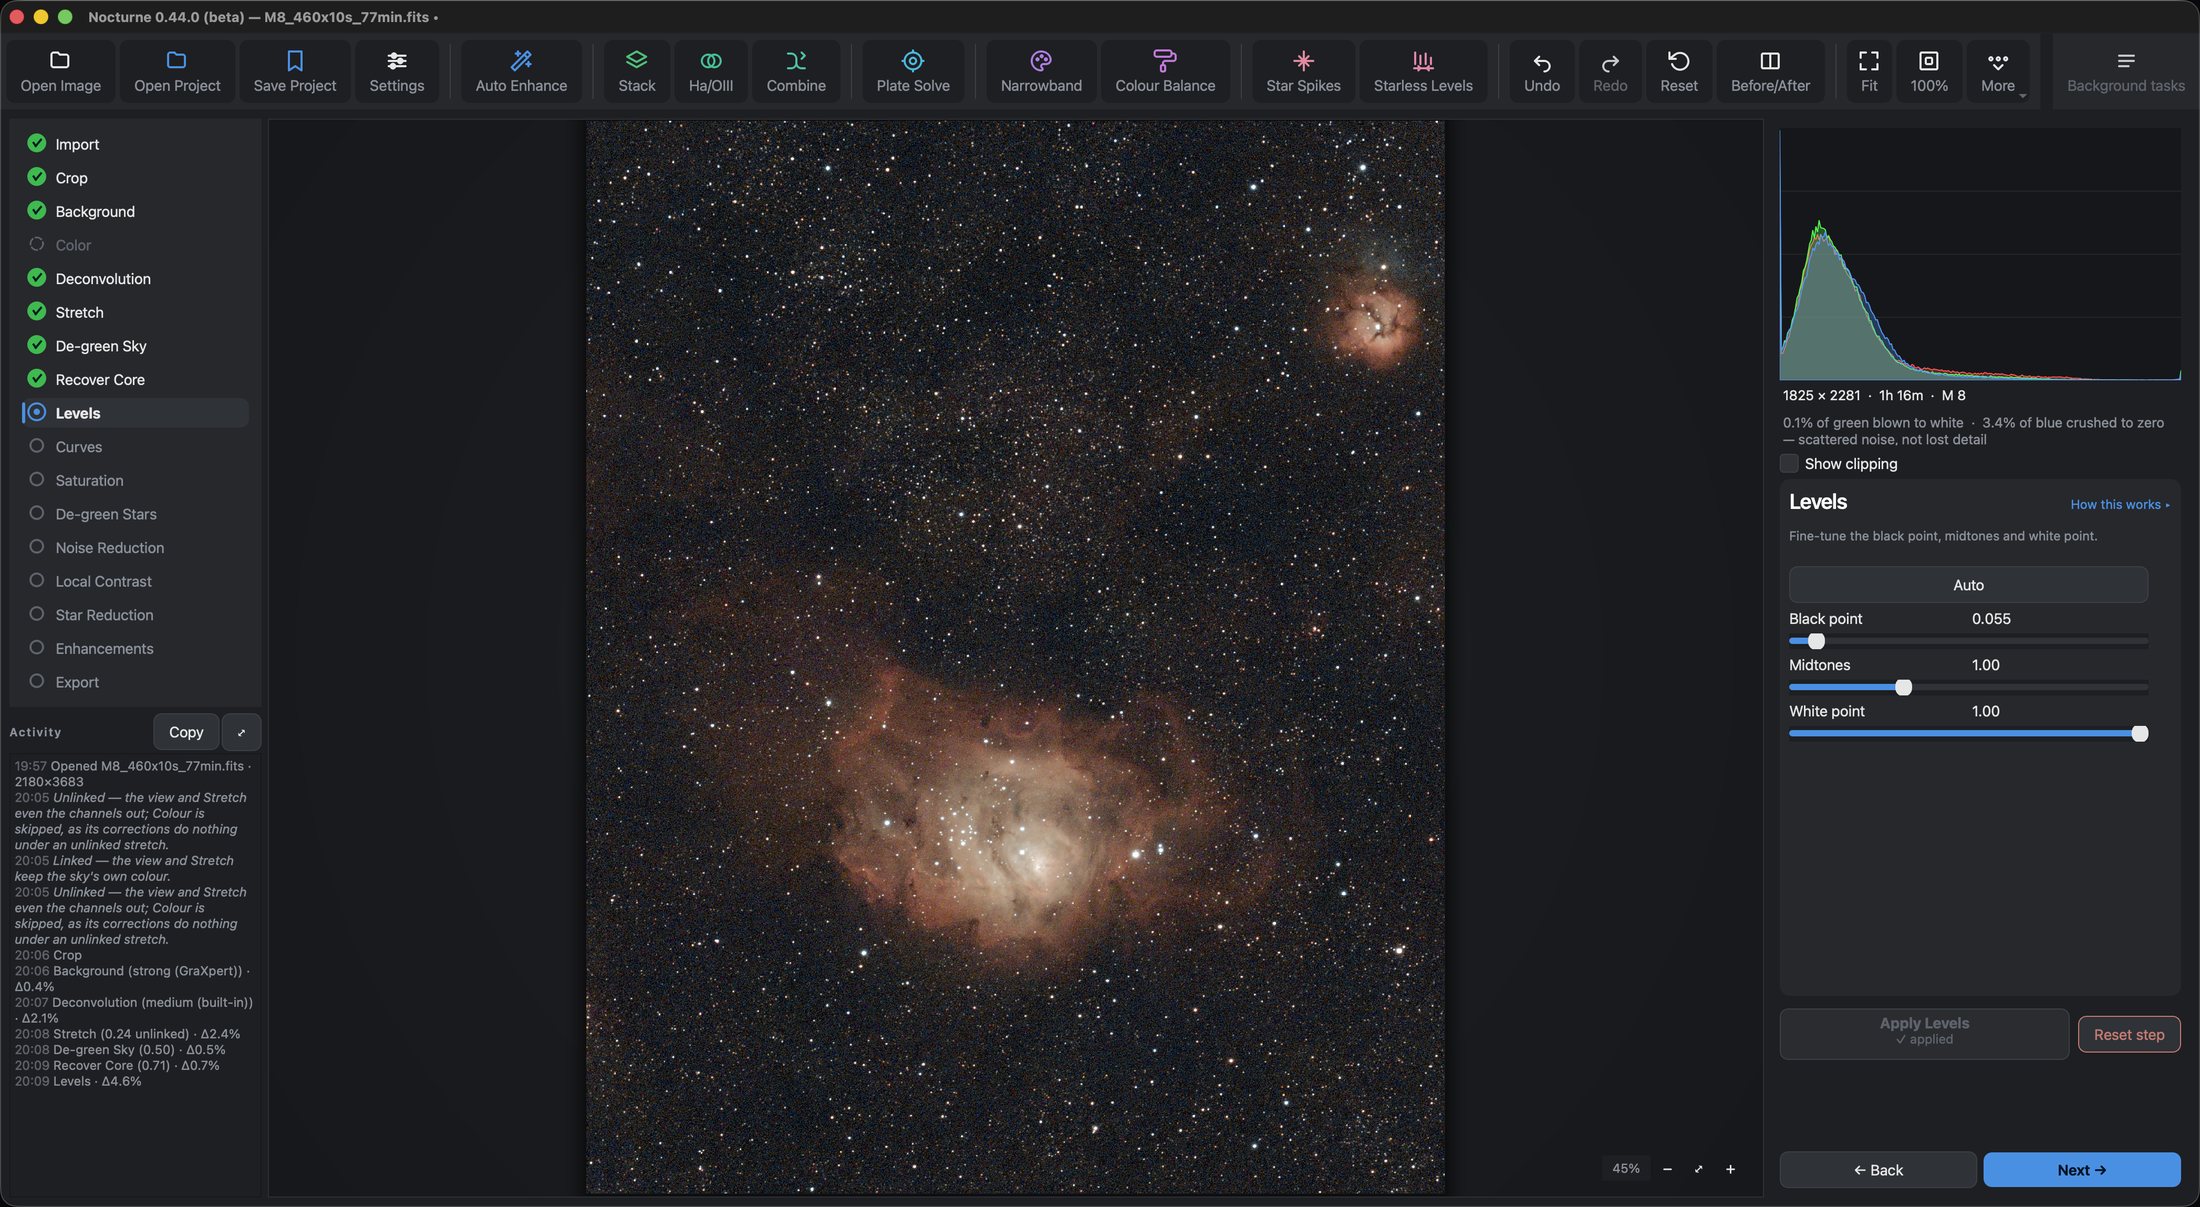
Raise the Black point to about 0.05 and click Apply Levels. The sky gets darker while the faint nebula stays. Auto sets a black point for you if you prefer. Click Next past Curves.
5. Finish it
Saturation
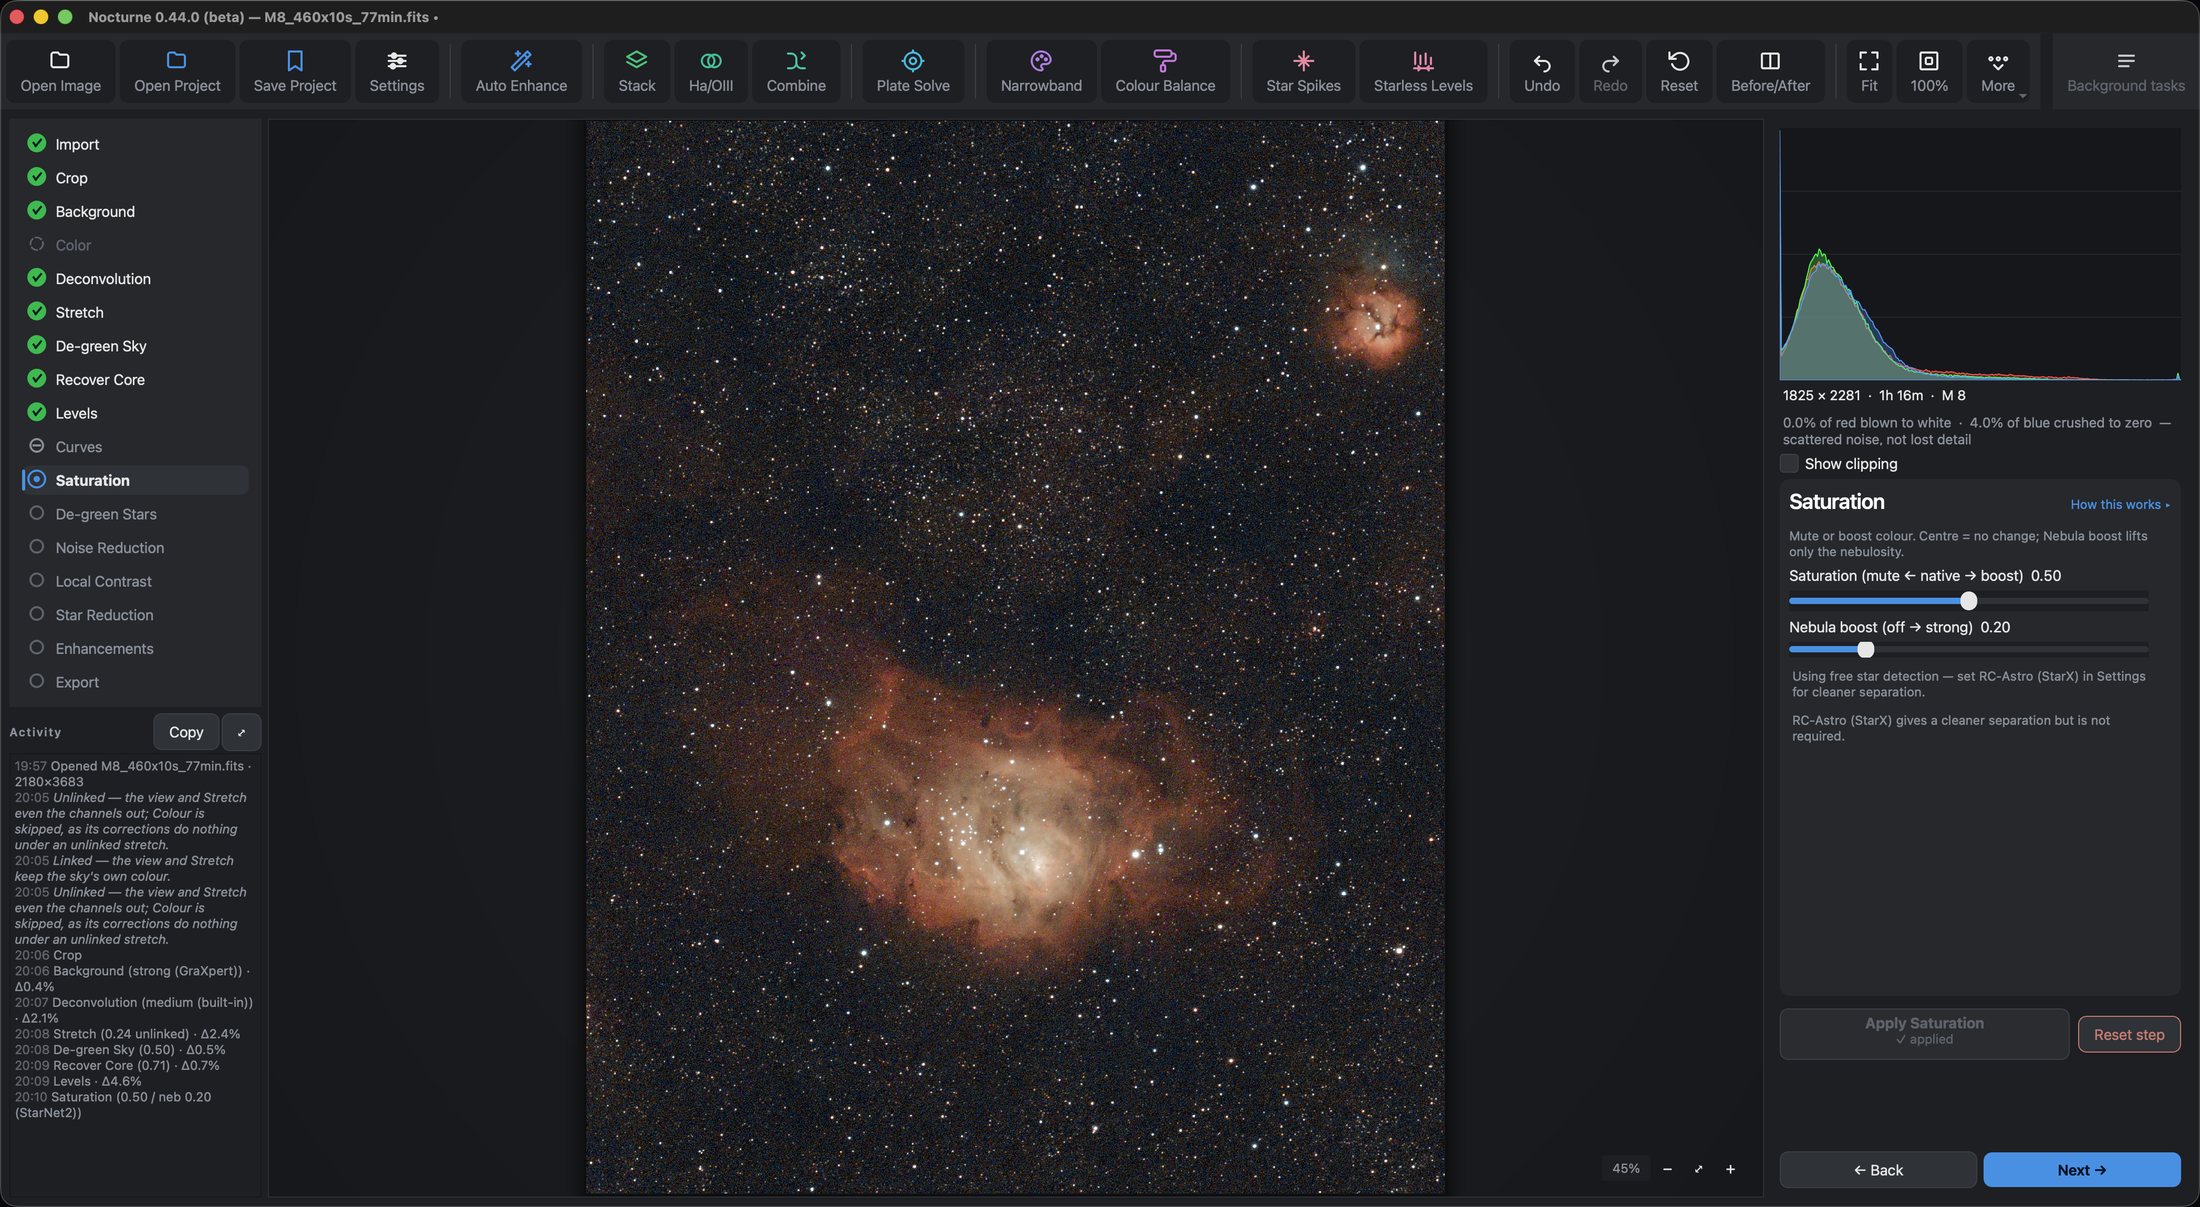
Leave the main slider in the centre, which changes nothing, and set Nebula boost to 0.20. Nebula boost lifts the colour of the nebula alone and leaves the stars as they are. Click Apply Saturation, then Next past De-green Stars.
Noise Reduction
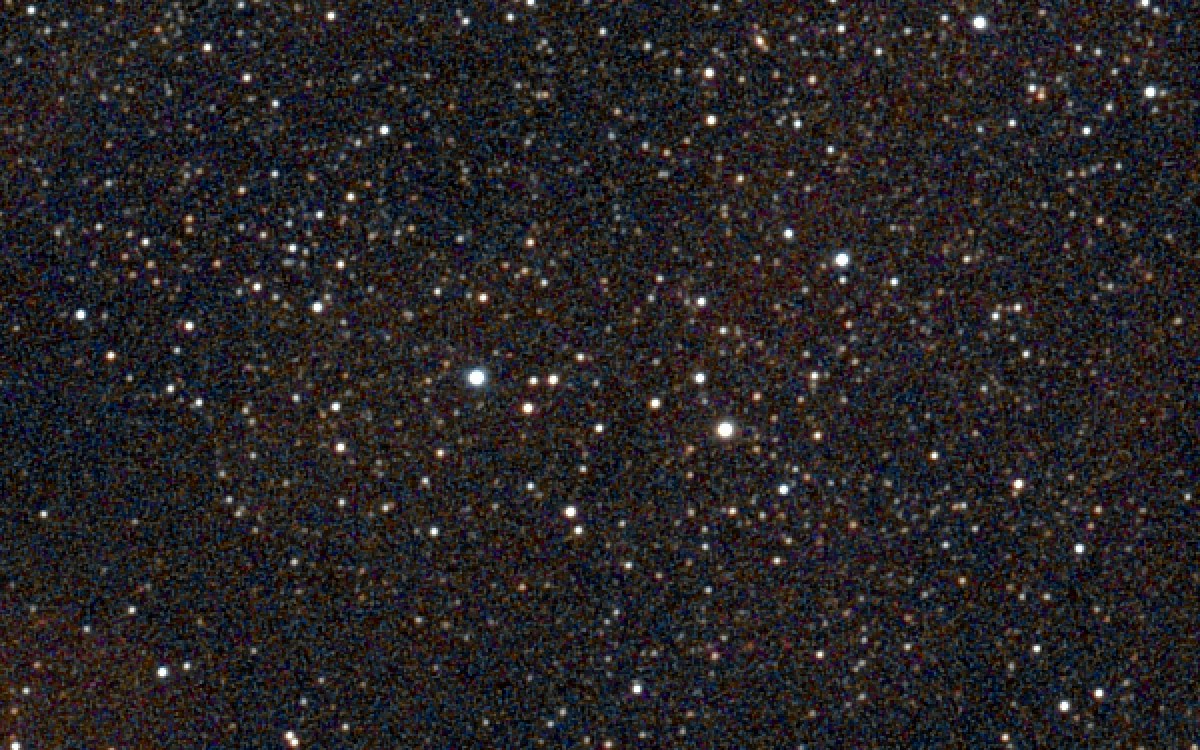
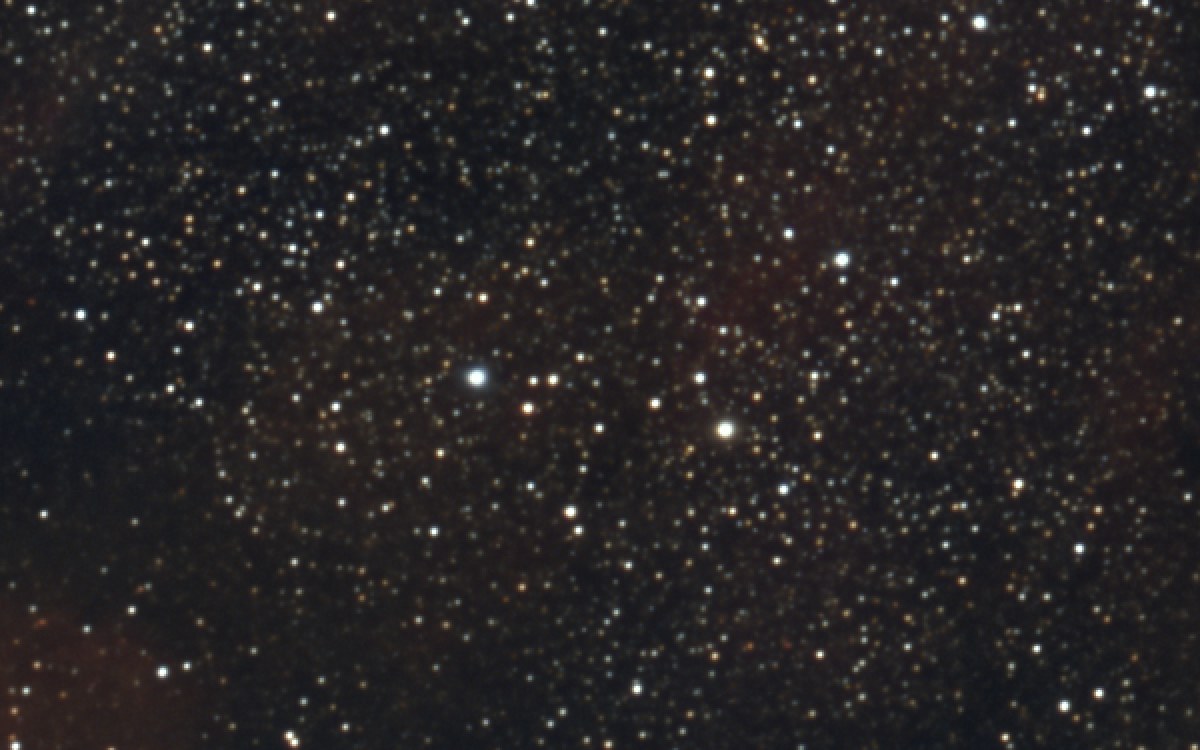
Choose strong. Before applying, click 100% in the toolbar and drag to a patch of dark sky, so you can see the grain. Then click Apply Noise Reduction and watch the same patch. Click Fit afterwards to see the whole picture again.
Local Contrast
Set it to 0.15 and click Apply Local Contrast. It adds depth to the lanes and folds of the nebula.
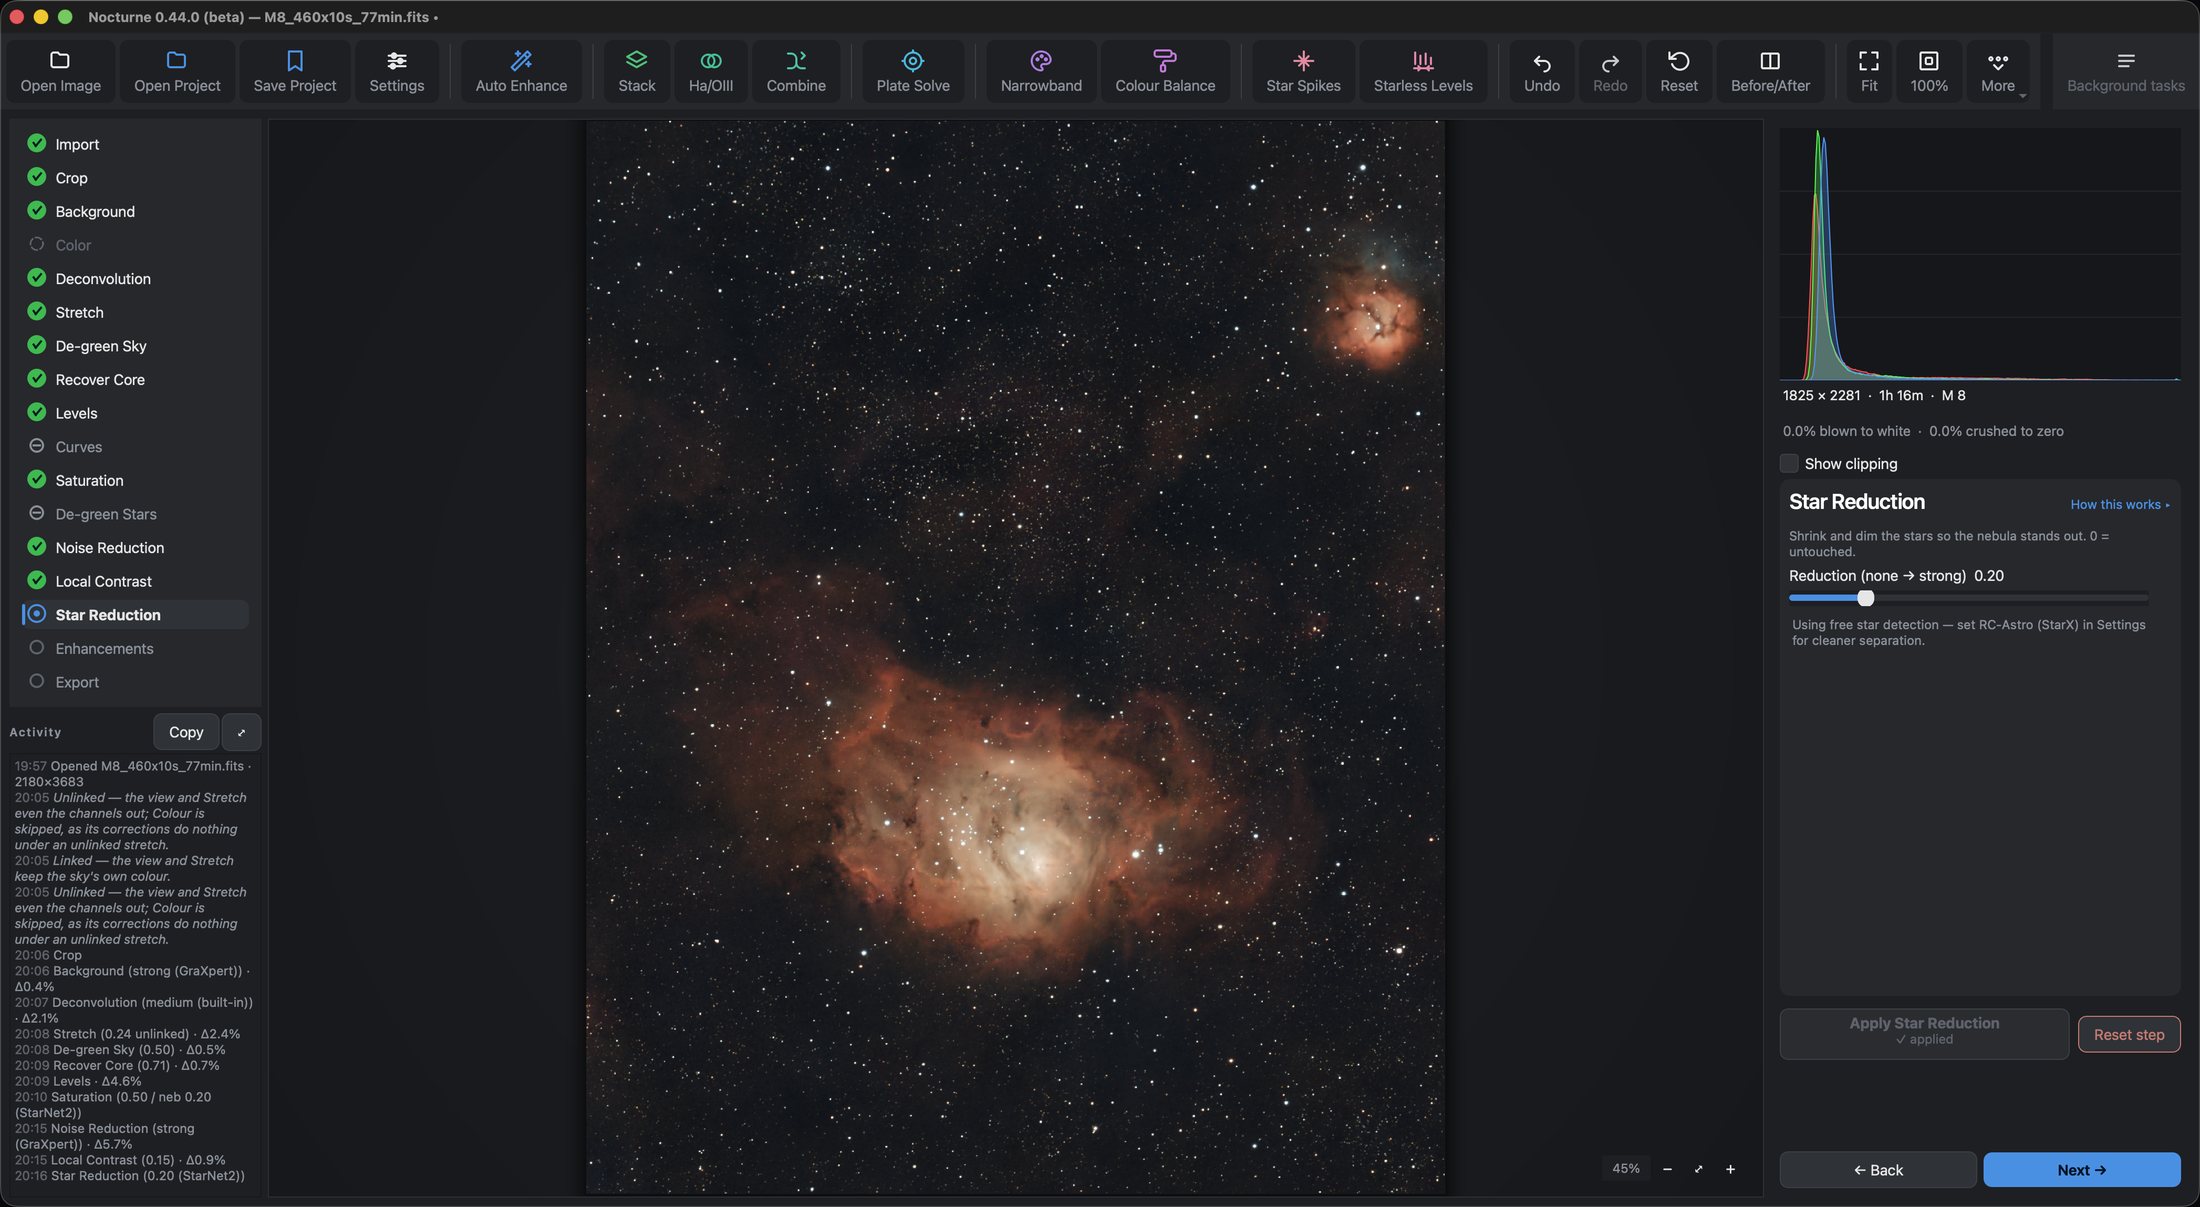
Star Reduction
Set it to 0.20 and click Apply Star Reduction. M 8 sits in a dense star field, and a little reduction lets the nebula stand out against it.
De-green Stars and Enhancements are other finishing touches. Try them another time.
6. Make it stunning (optional)
Your picture is finished, and you can save it now. These two tools are what take it a step further.
Narrowband
The M 8 file was taken through the Seestar’s dual-band filter, so it holds two gases: hydrogen (Hα), which glows red, and oxygen (OIII), which glows blue-green. Click Narrowband in the toolbar and choose the HOO palette. The defaults are a good start; adjust the sliders while you watch the preview, and tick Compare with original to see what changed. Click Apply, then Close.
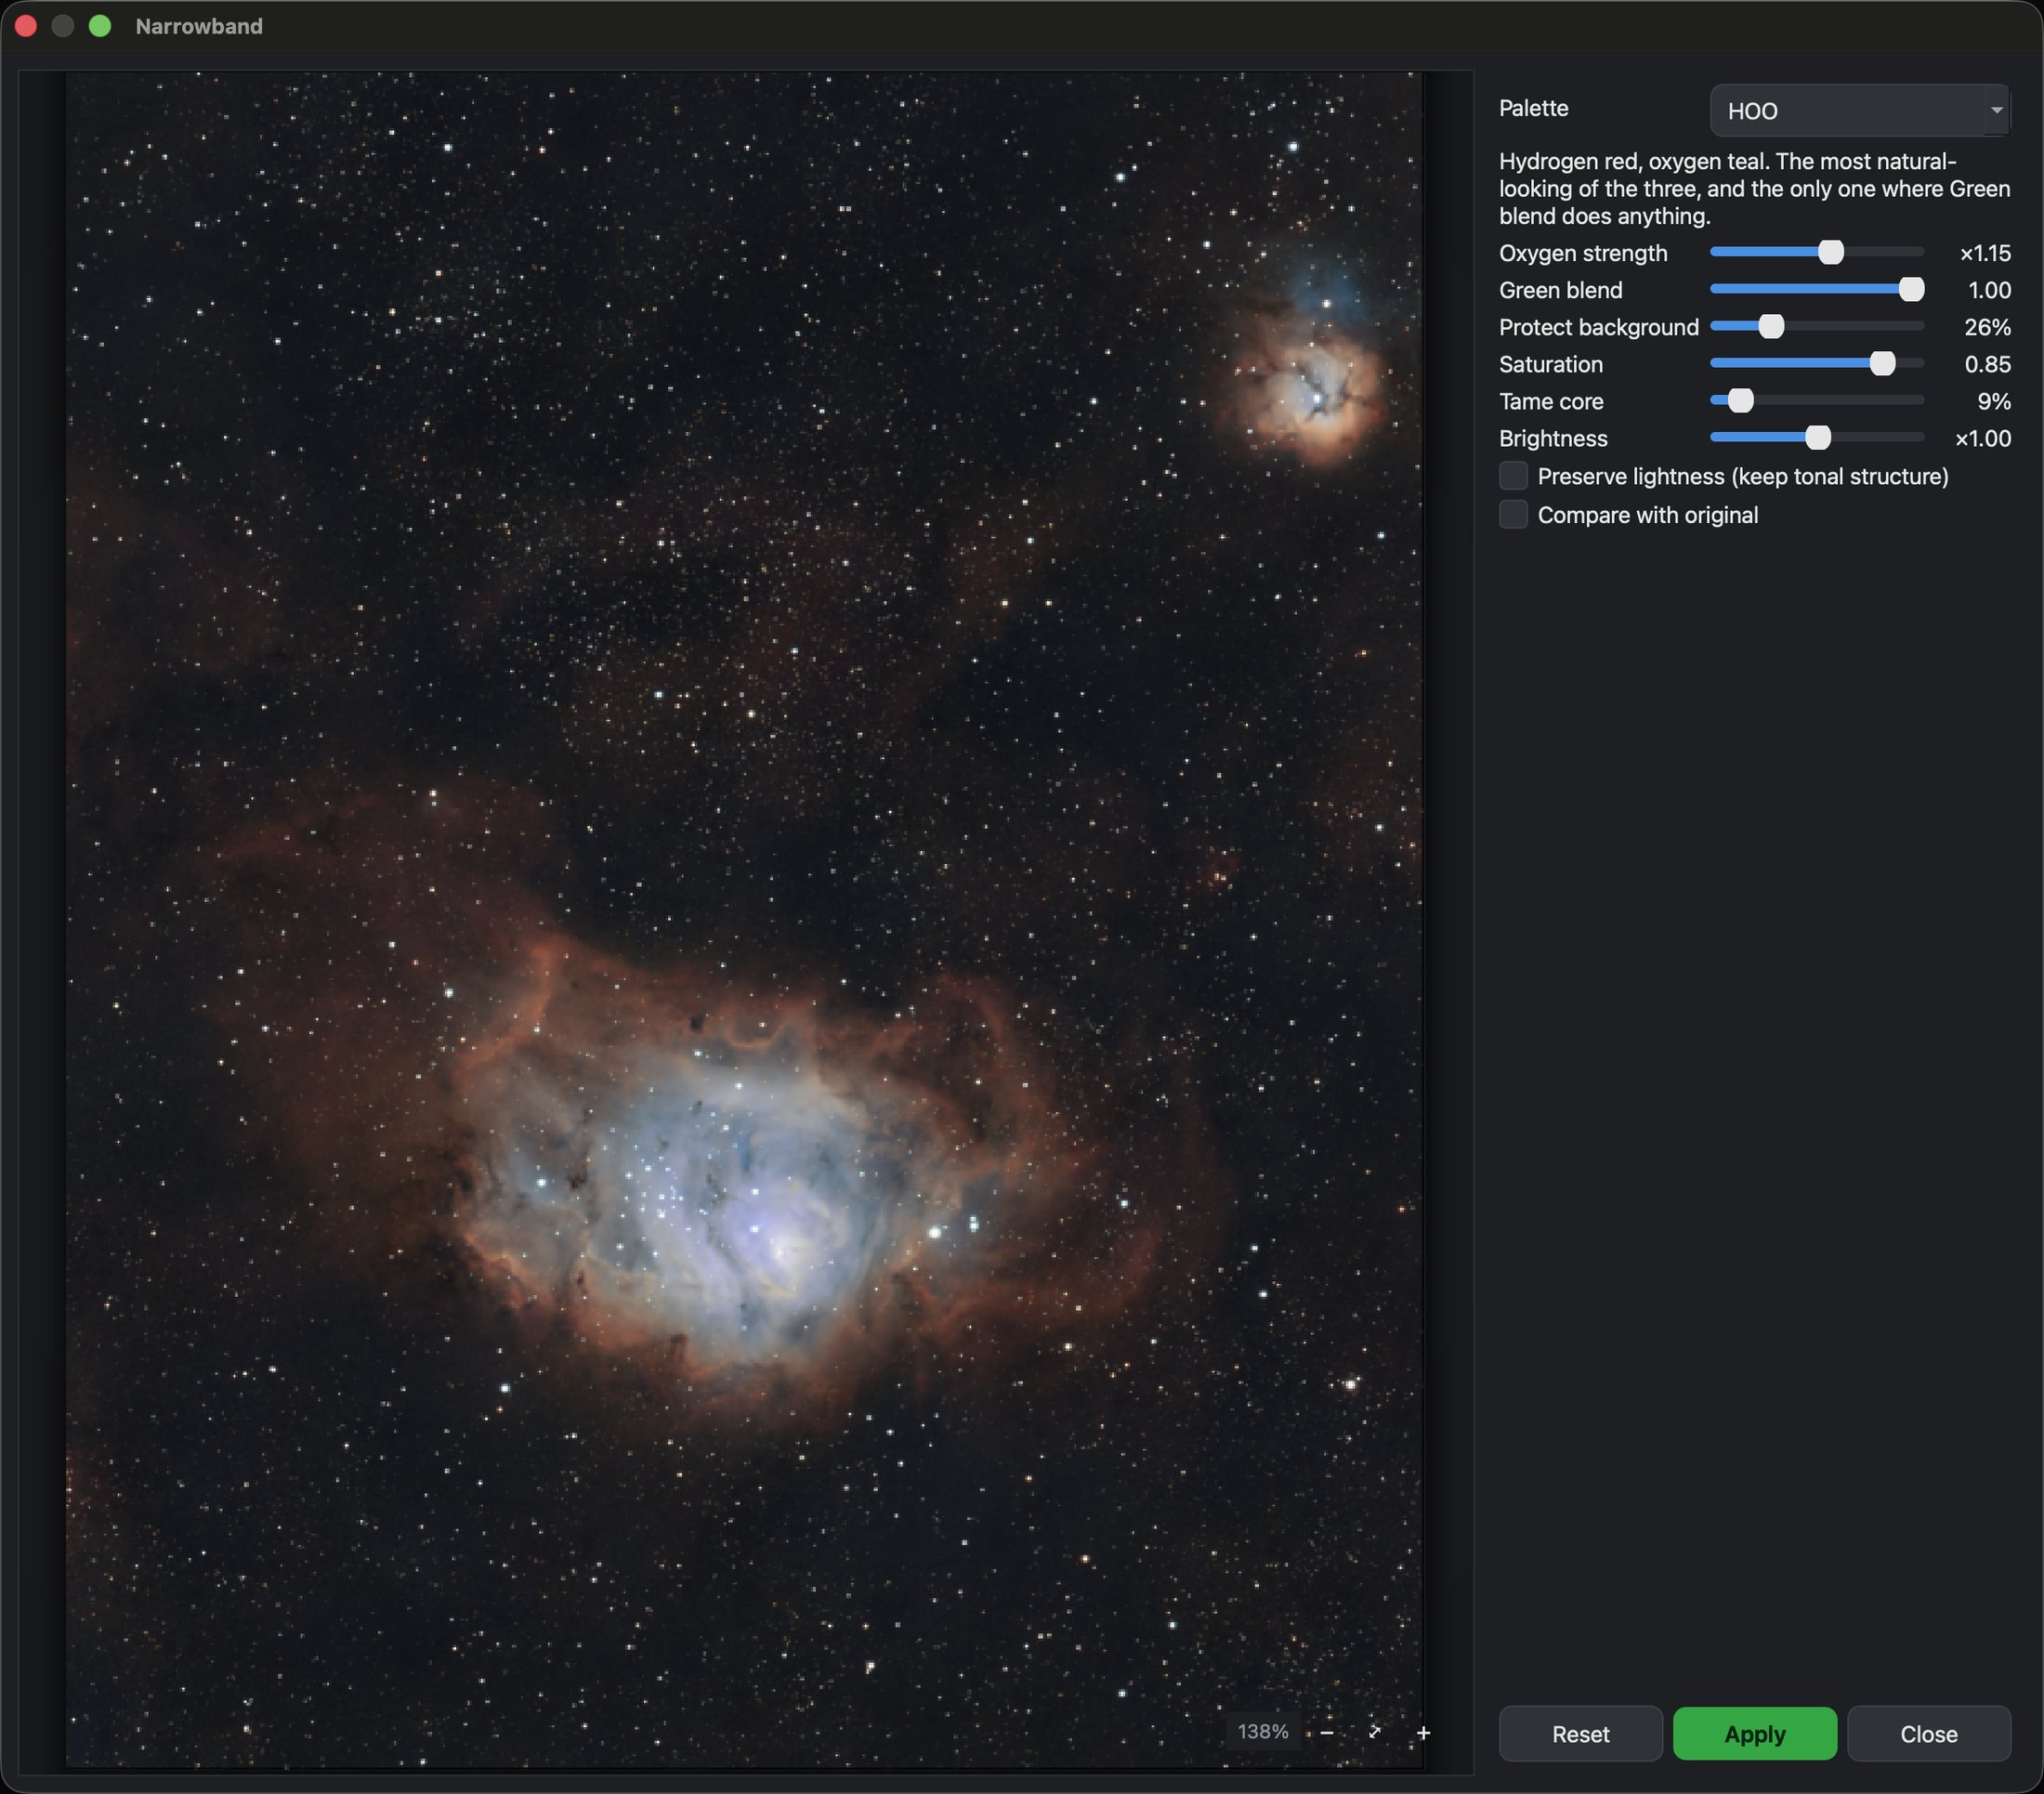
You should see: blue-green wherever the oxygen glows, standing out against the red hydrogen.
Starless Levels
Click Starless Levels in the toolbar; on a smaller window it sits under More. It takes a moment to open while it separates the stars. Drag the two handles below the histogram in towards where the data begins and ends; here the black point went to about 0.03 and the white point to 0.92. Set Compare to Side by side to check the change, and tick Show Clipping if you want to see whether you’ve gone too far. Click OK to keep it.
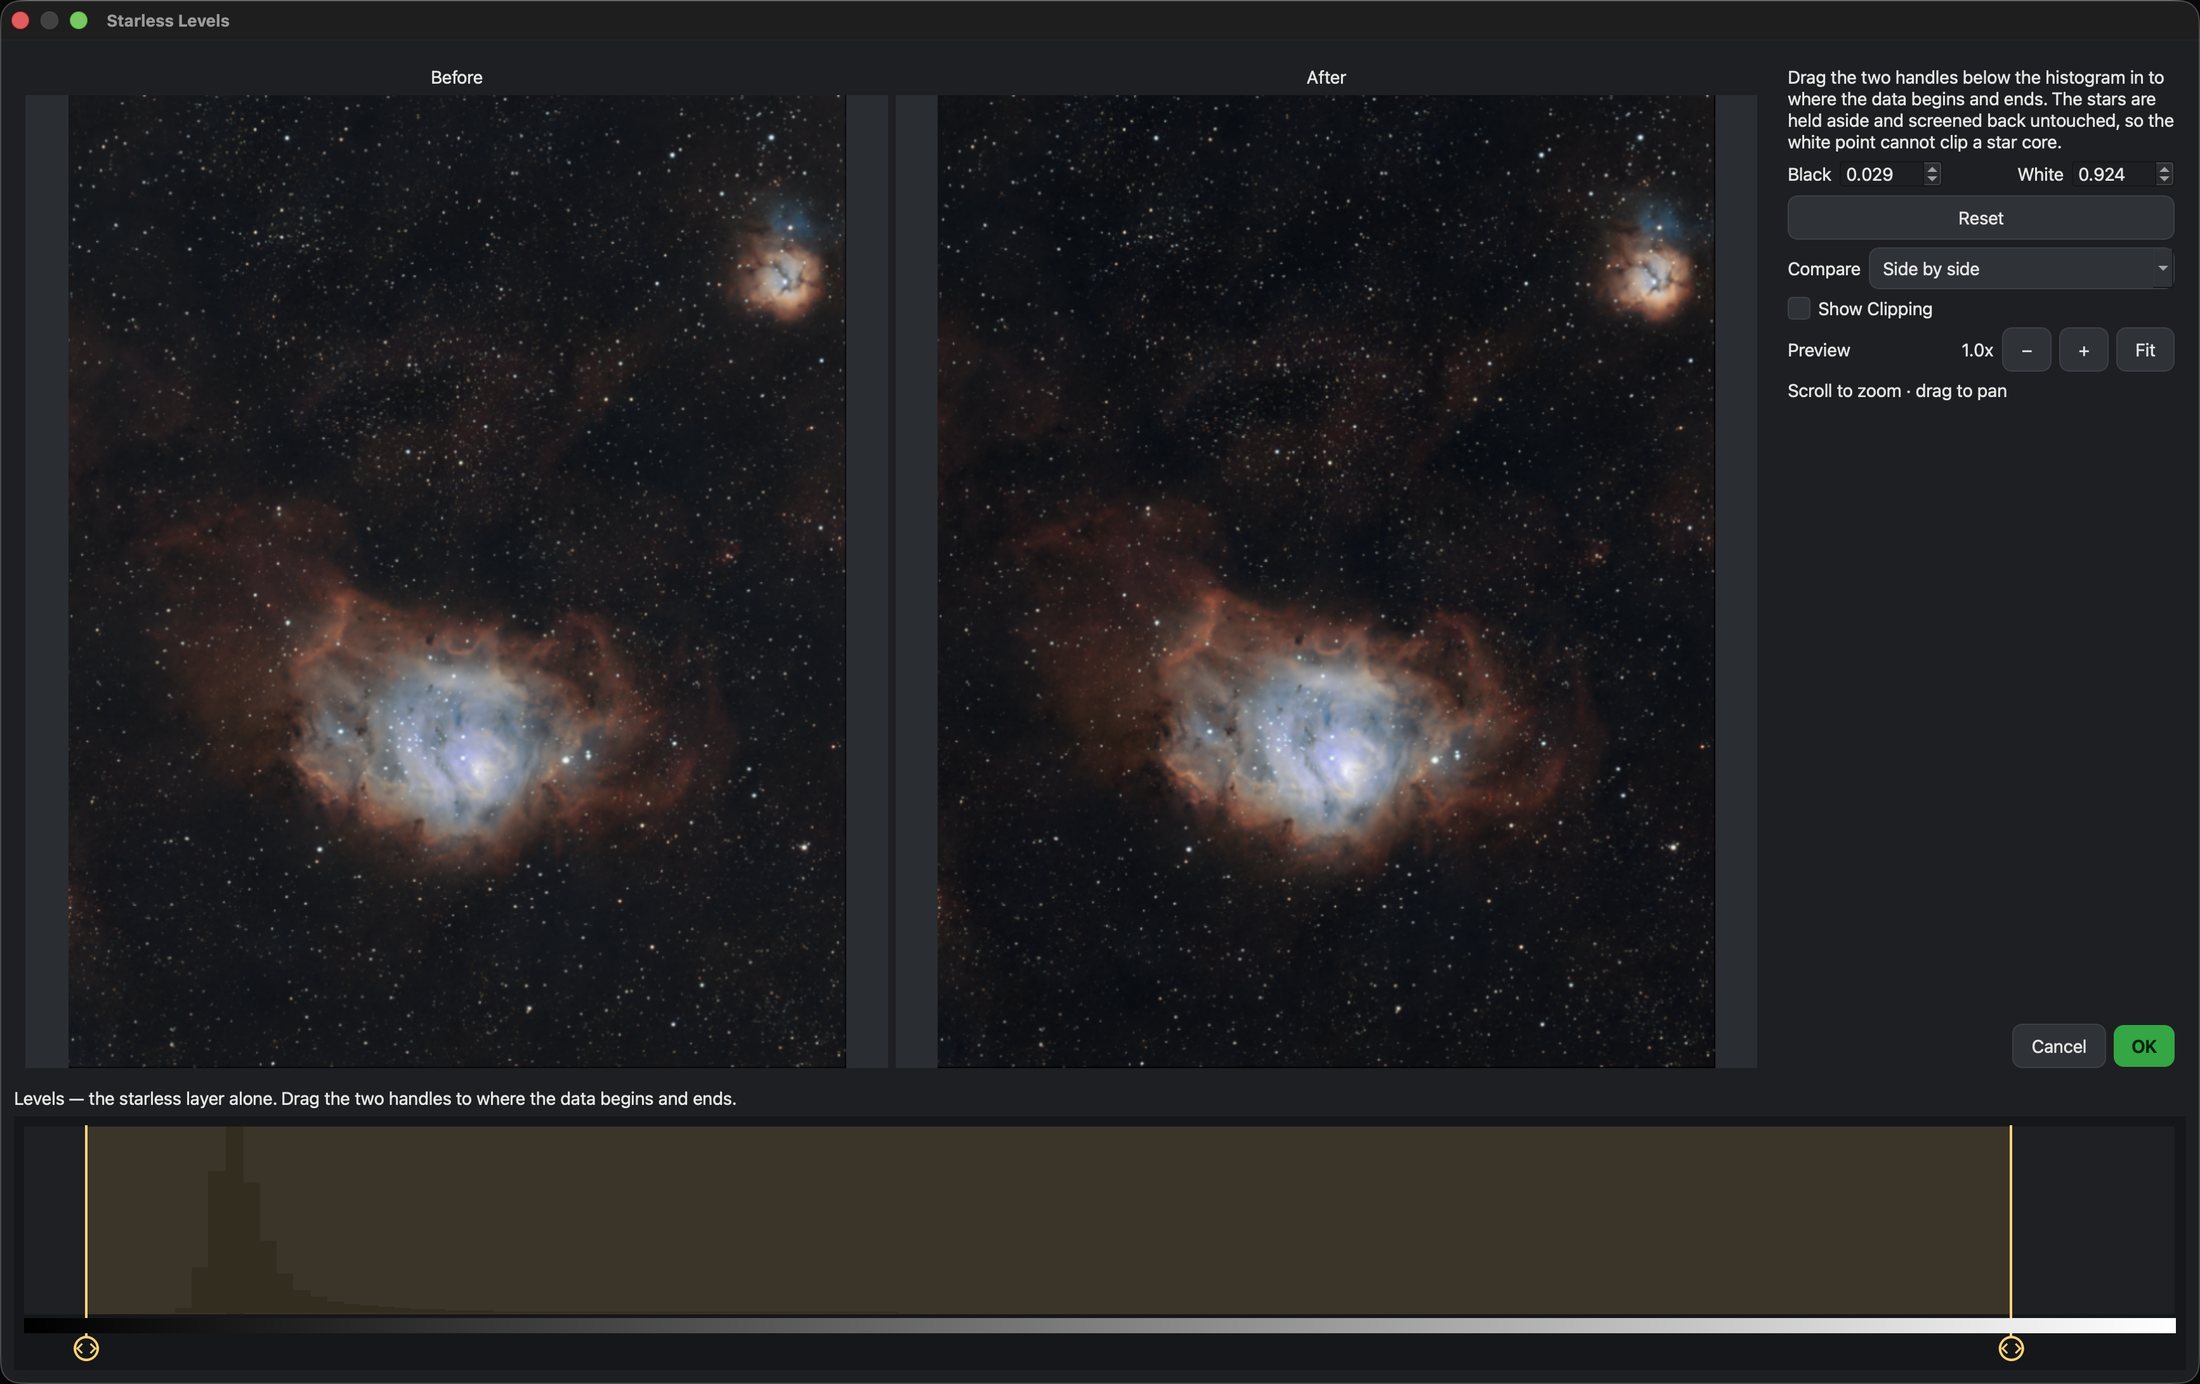
You should see: deeper, richer colour in the nebula, while the stars keep theirs. Why it works explains the difference from ordinary Levels.
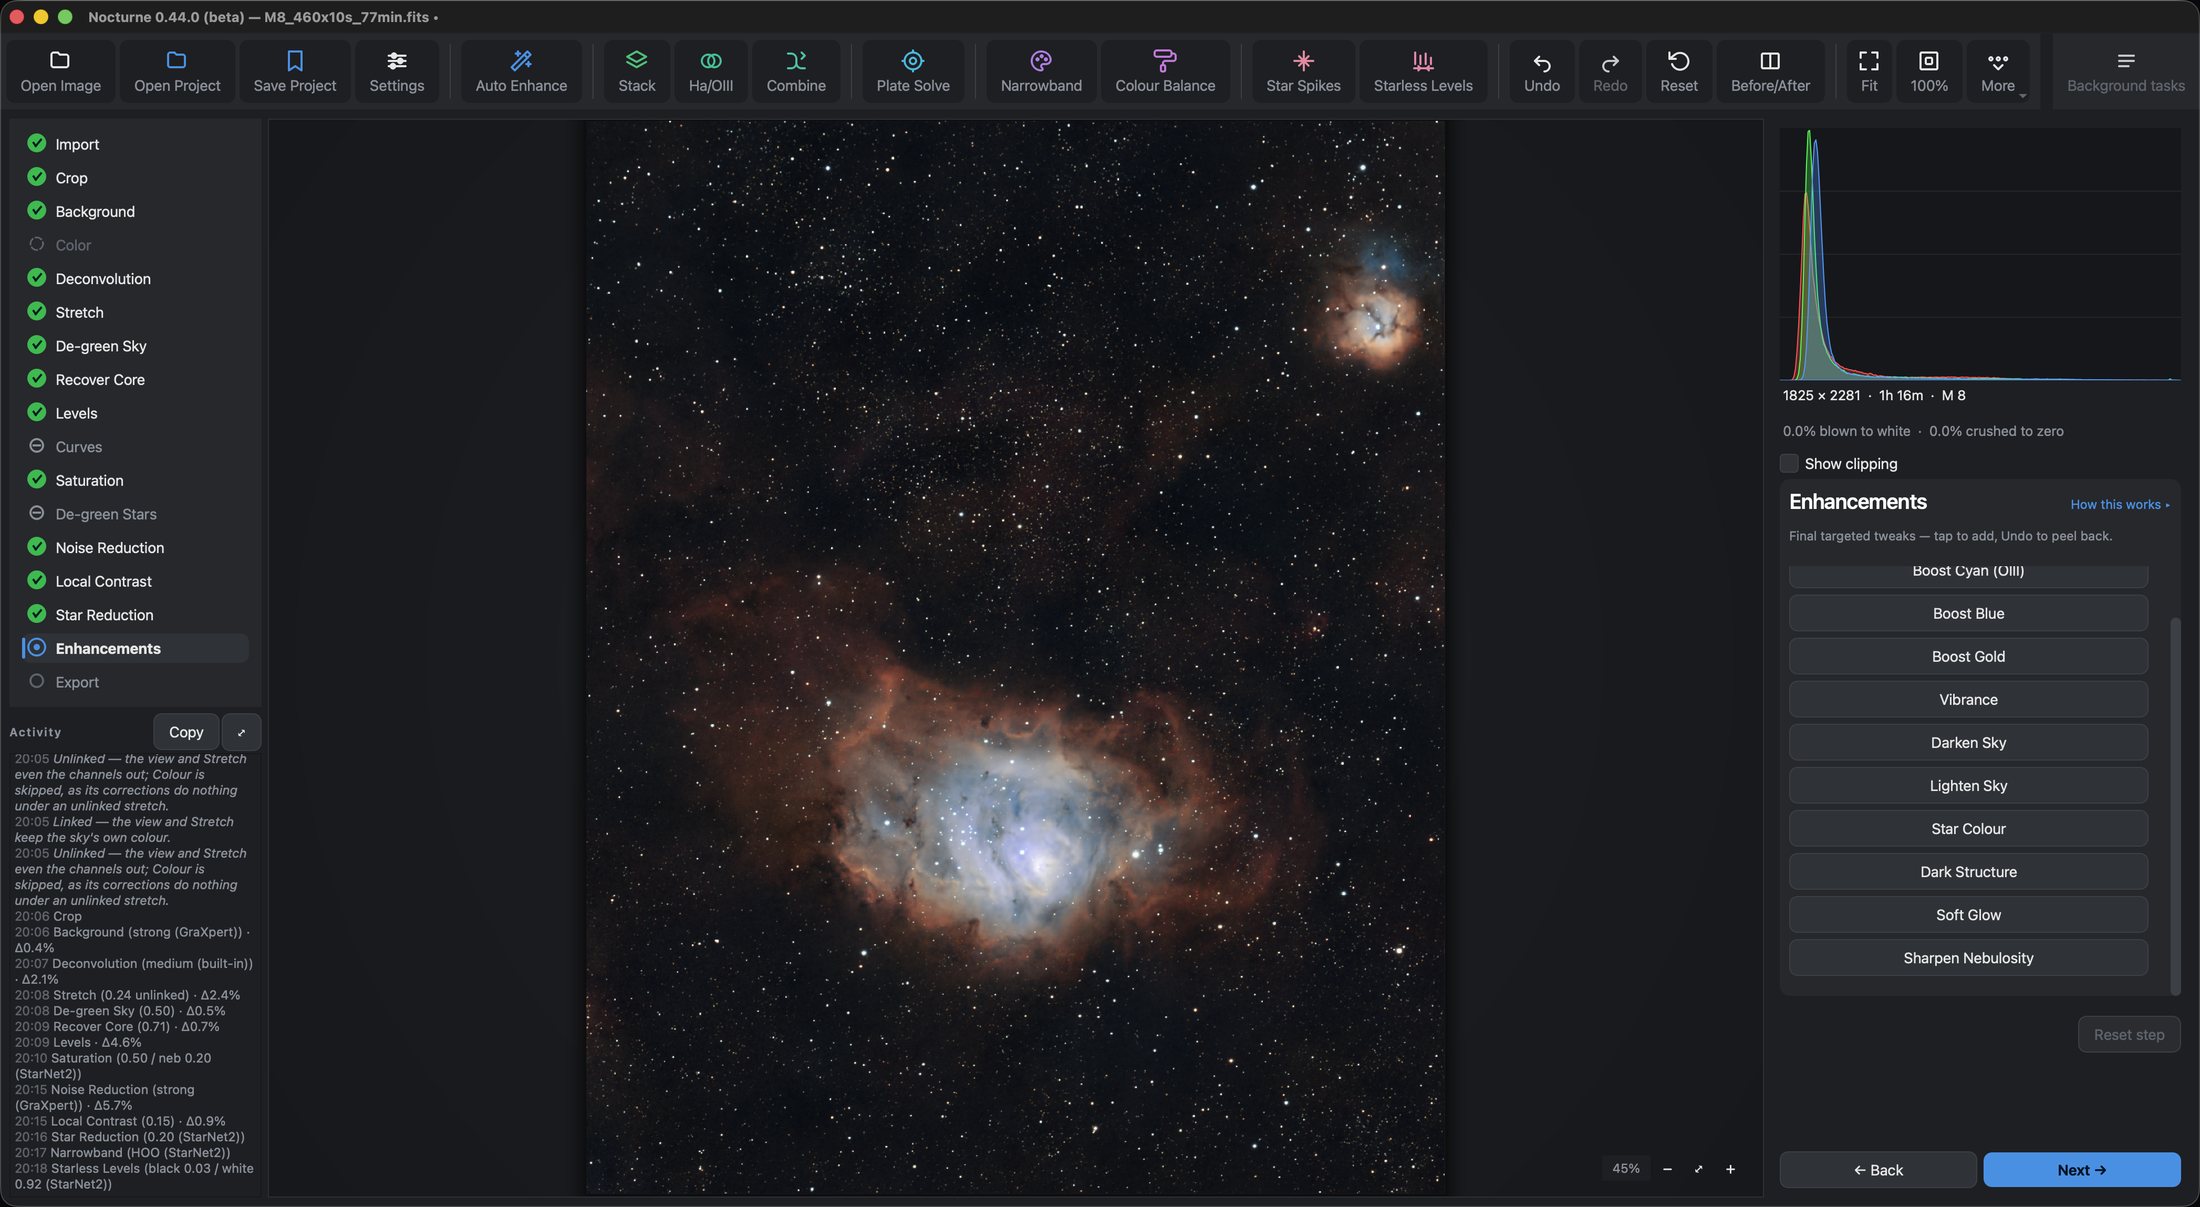
7. Save your picture
Click Next until you reach Export. Choose TIFF (16-bit) to keep working on the picture elsewhere, or PNG to share it. Leave the colour space on sRGB, which is right for screens and the web. Then click Export….
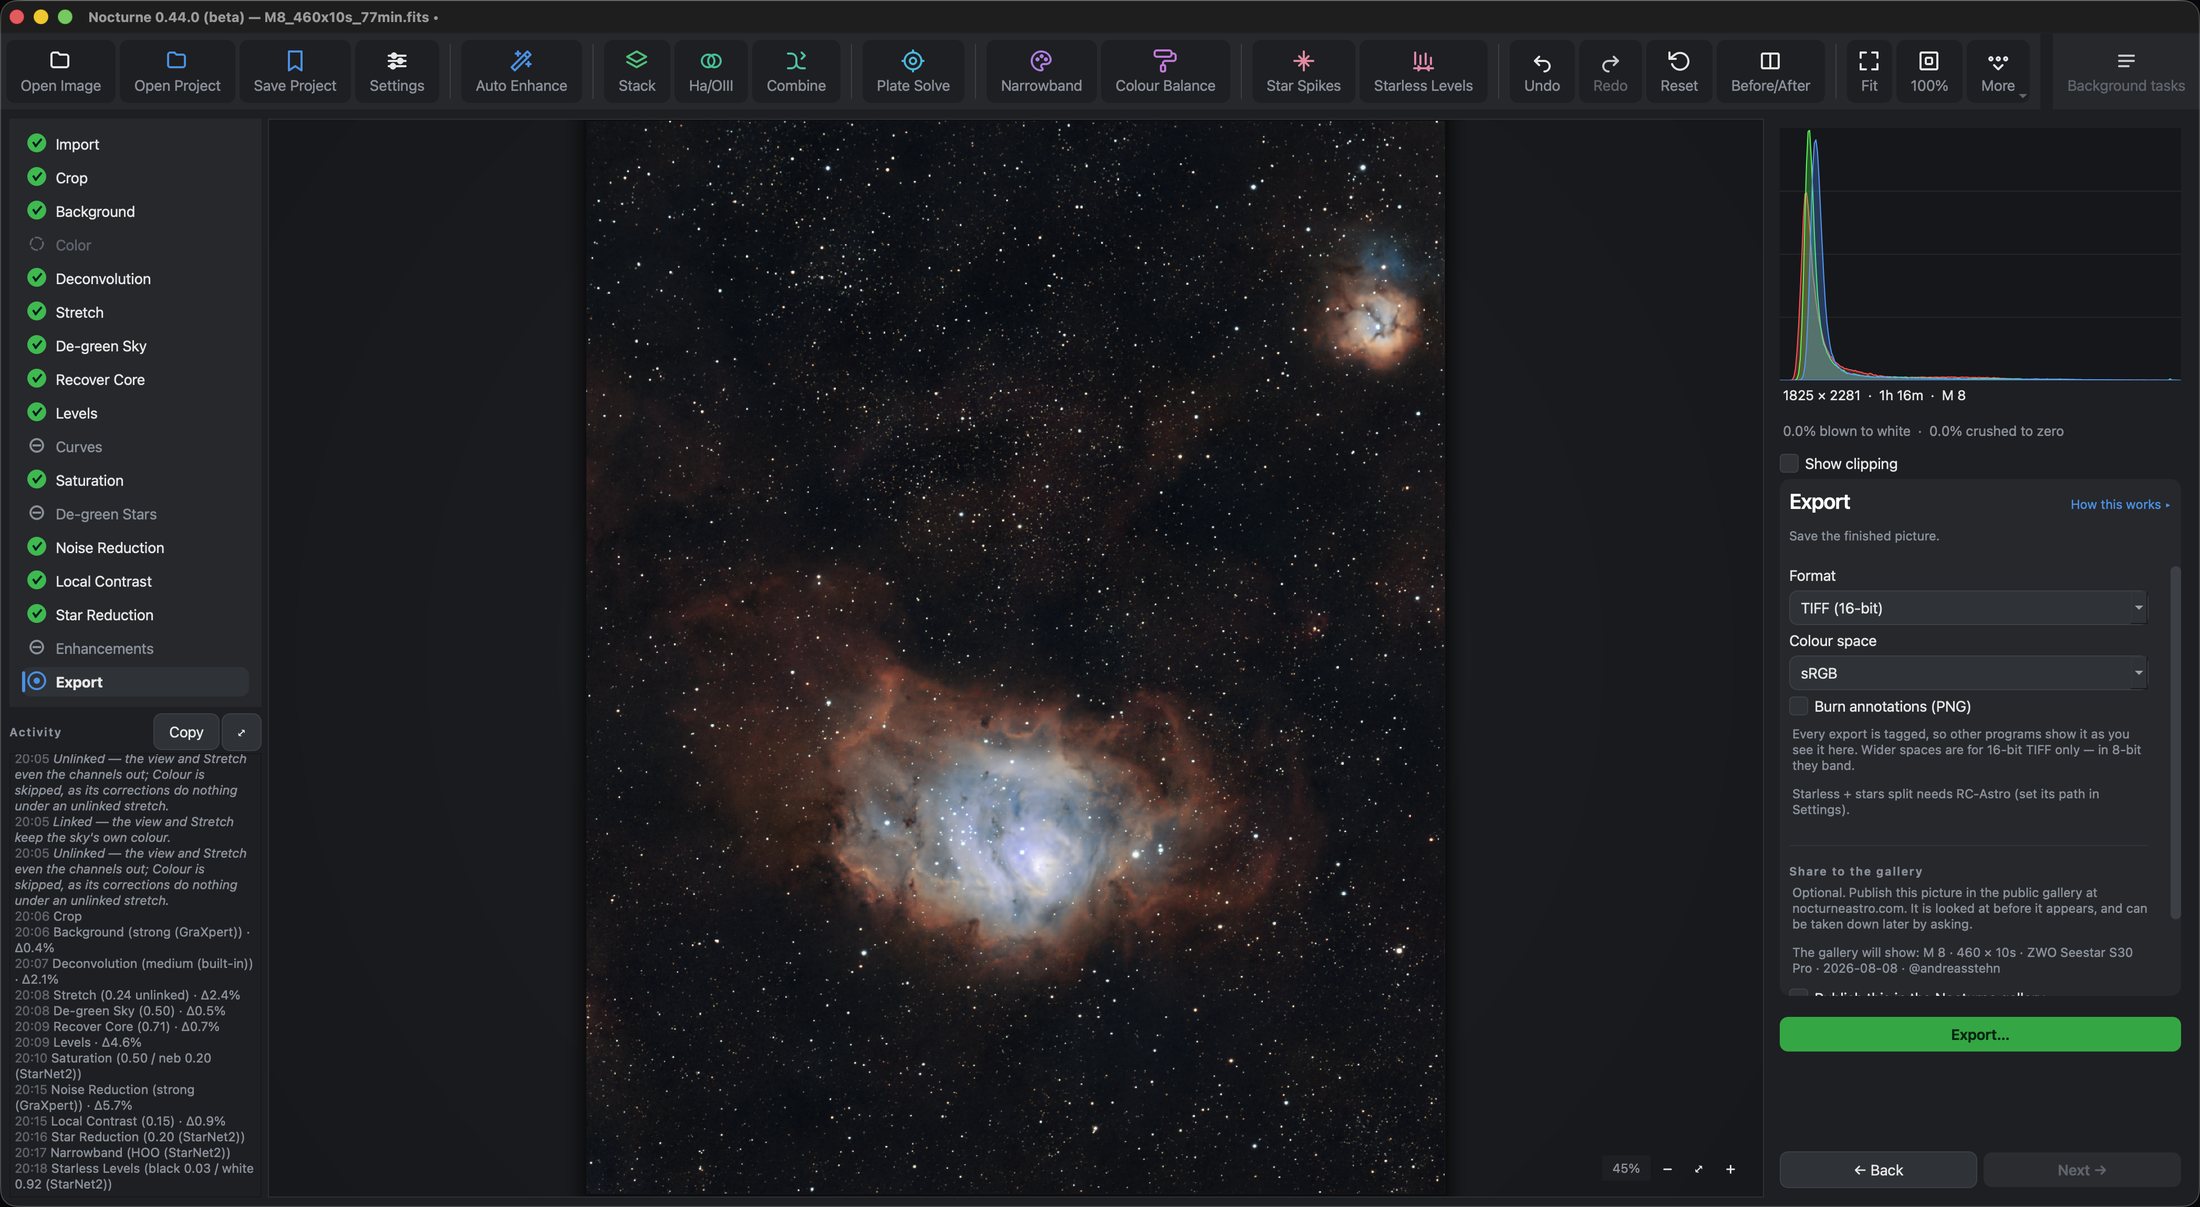
To compare the result with where you started, click Before/After in the toolbar.
The one-click version
Open the same file again and click Auto Enhance in the toolbar. It runs a sensible version of the main steps in one go. Comparing its result with your own is a quick way to see which choices made the difference.
Where to go next
The guide explains every step and its options in detail. The tools pages cover stacking your own subframes, plate solving and more. When your own data is ready, it goes through the same steps.