Tools / Auto Enhance
Toolbar tool
Auto Enhance
One click from a raw stacked master to a finished picture — background, colour, stretch and finishing polish, all at once.
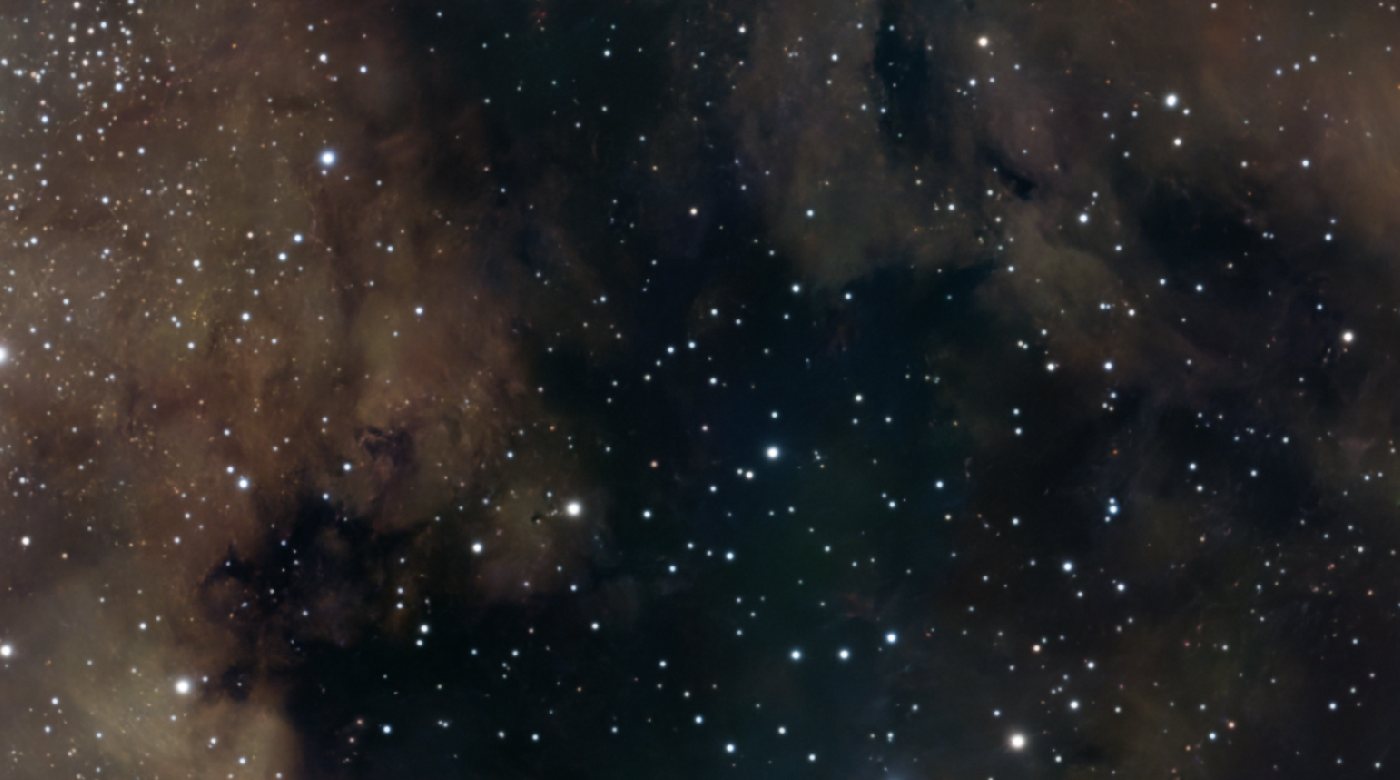
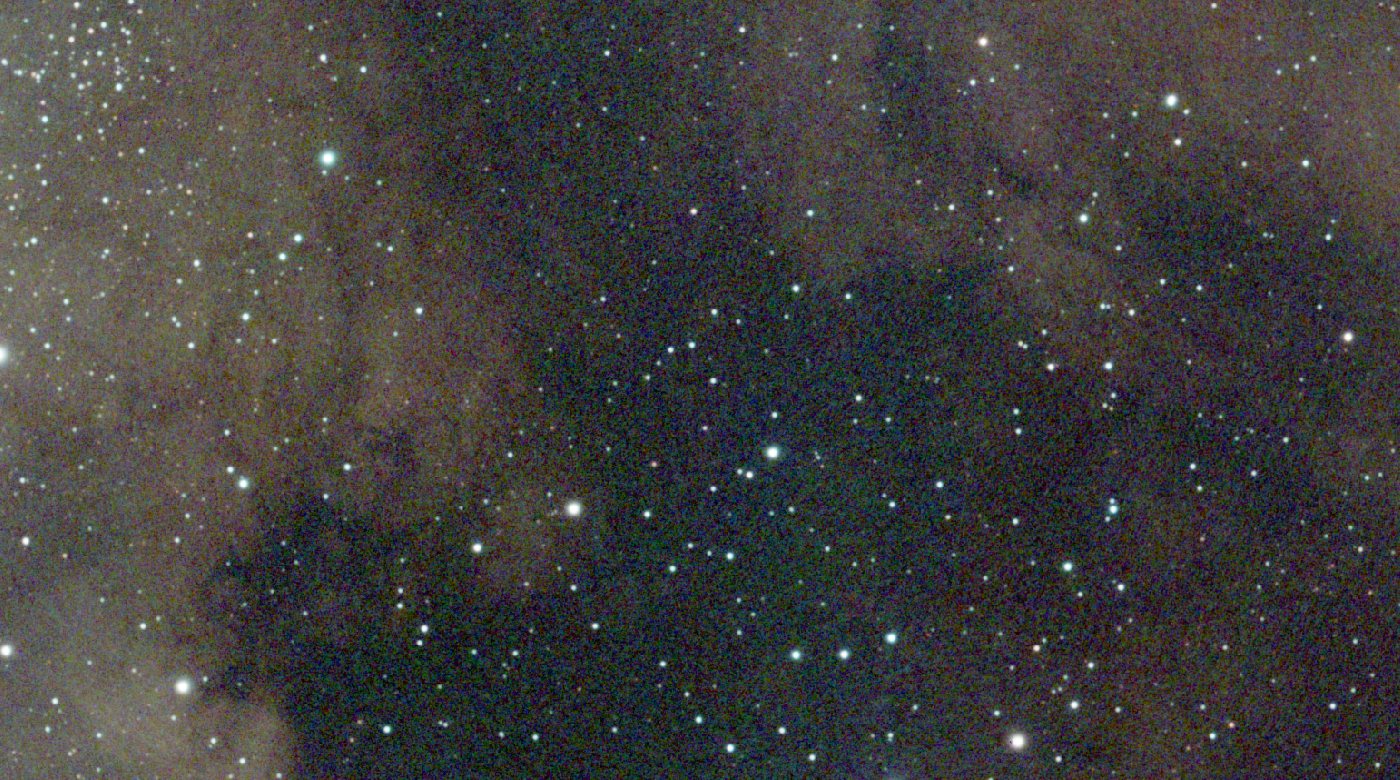 BeforeAfter
Drag to compare: the flat, noisy raw stack on the left, one click of Auto Enhance on the right.
What it does
Auto Enhance runs a complete set of steps for you in one click: background extraction, colour calibration, stretch and finishing touches, starting from your cropped frame. Use it as a starting point, or as a quick finished result when you don’t want to go through every step by hand.
How to use it
- Crop your image first. Auto Enhance becomes available once you have, and it keeps your crop.
- Click Auto Enhance in the toolbar for the Natural look. If you have already applied other steps, it asks before replacing them.
- For another look, open the small arrow beside the button and choose Vivid, for stronger colour and contrast, or Gold and blue, for nebulae shot through a dual-band filter.
Noise reduction uses NoiseXTerminator if you have RC-Astro, and Nocturne’s own otherwise, so a run takes about a minute. If a step cannot run, Auto Enhance says which one and why.
Natural and Vivid aim for photometric-style colour. Gold and blue is offered only for dual-band data, and finishes with the Narrowband tool’s gold-and-blue palette.
LimitsTips
You can keep editing from the result, or Undo straight back to where you were — every step it applied is a normal, editable step in your history.
Download Nocturnefree · macOS, Linux & Windows Try it on sample data
New to Nocturne? The guide walks through every step in order.